How to use my PSD to recolor my conversion of Grouped Posters by CosmicCC-S4
Change description width if images looks cut.
You need:
- Photoshop with .dds plugin
- My retexture PSD and package file of posters
- 19 pictures to your liking, preferably vertical
- TSRW
- Sims3Pack Multi Installer and Compressionizer
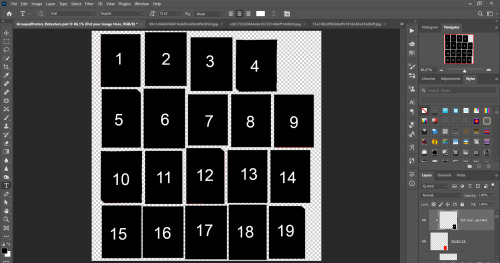
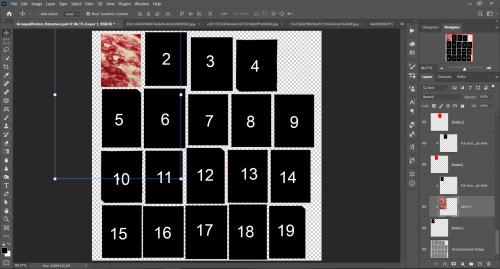
Step 1: Open my PSD file, open your images:
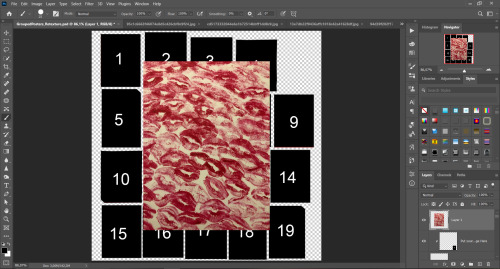
Step 2: Select (Ctrl+A) copy and paste to posters file (Ctrl+C, Ctrl+V) first of your images :

Step 3: Choose where you want to put it, for reference you can use one of the presets:
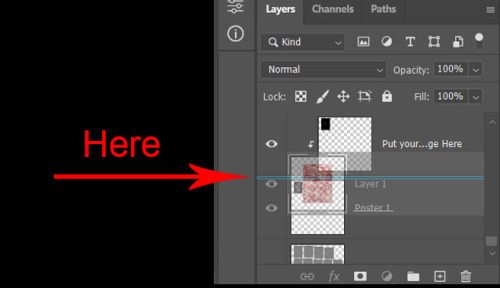
Step 4: After you decided with placement of your image. Move its layer in the Layers tab between “ Poster x ” and “ Put your image here ” layers, it will create a clipping mask , which allows the picture to be fit within the poster without cropping. Hide or delete “ Put your image here ” layer.
Step 5: Use Transform , Free Transform and Move tools to resize the image by your liking:

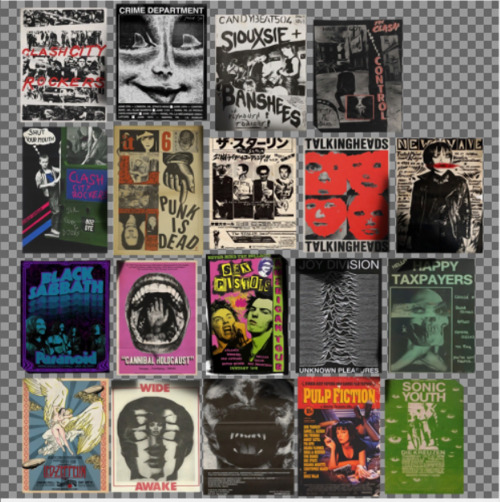
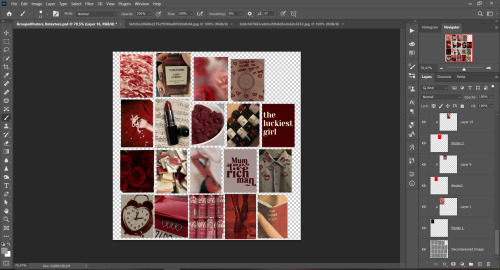
Step 6: Repeat the Step 2-5 with other 18 images:
vibes are totally random, all images from Pinterest
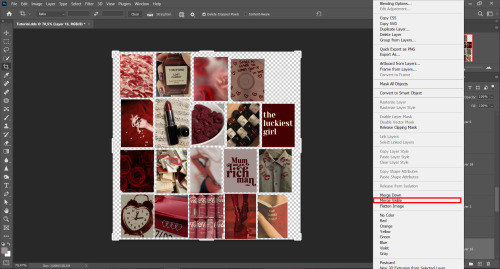
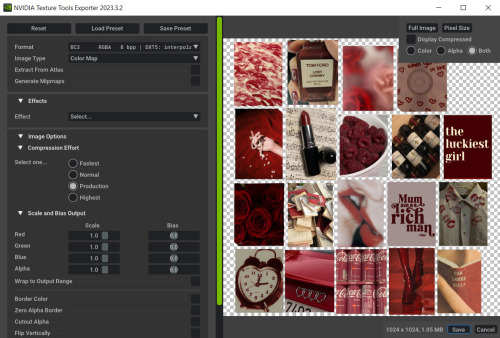
Step 7: After you’ve done, delete all the “ Put your image here ” layers, if you didn’t it before. Right-click on the Layers tab and press Merge Visible (Shift + Ctrl + E). Now press Save As (Control + Shift + S) and save your image as .DDS with this parameters (2nd picture):
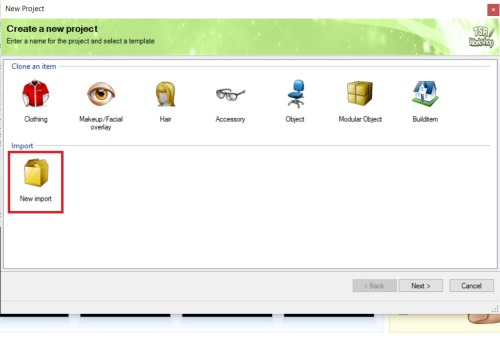
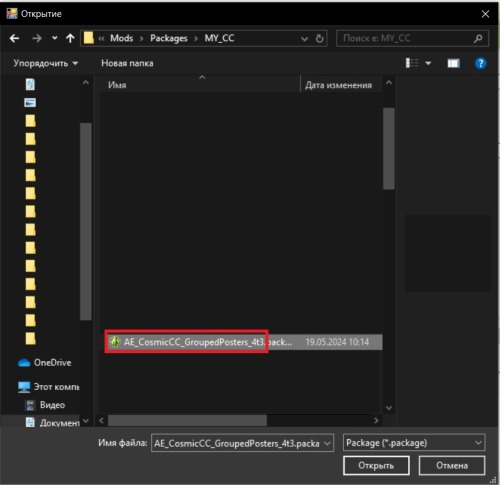
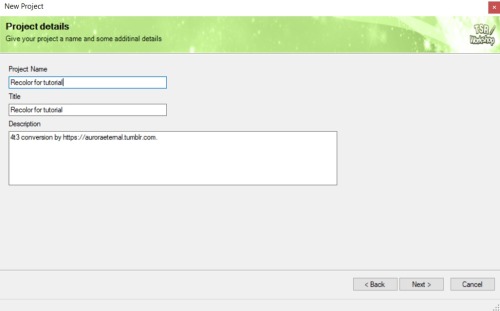
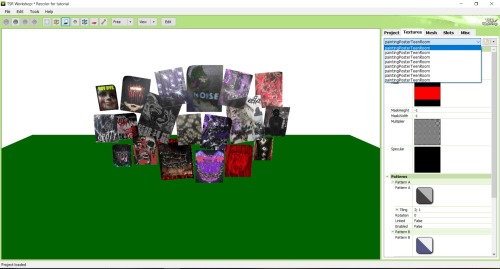
Step 8: Go to TSRW. Press Create New Project > New Import, and select package with my posters. Give for your recolor unique Title and Project name , otherwise it will override original posters:
Step 9: In Textures tab go through all the presets except the first one and delete them. Then go to Edit > Project Contents and remove all the textures of removed presets. Its pretty common when someone make retexture of TS3 mesh and leave that unused textures in file, which leads to increasing its size:
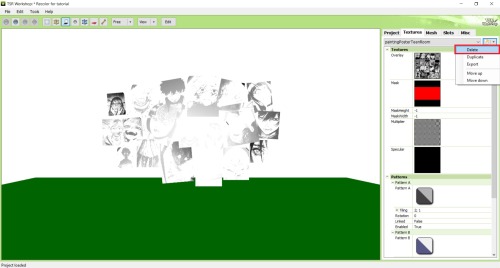

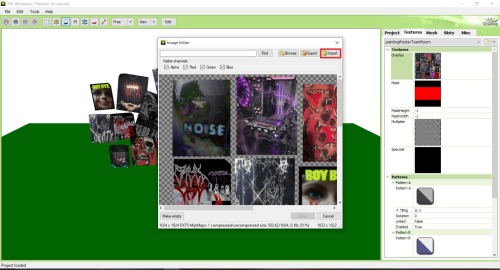
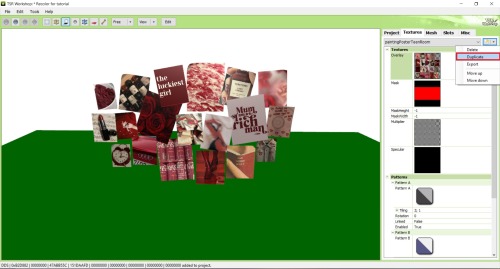
Step 10: Press Edit button next to the Overlay tab. Then press Import button and select your retexture. Press Done and when this pop-up appears, press Yes :
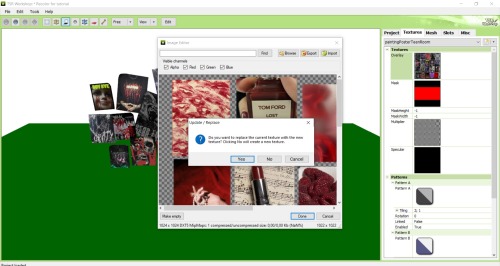
Step 11: If you want to add more presets press Duplicate and reapeat Step 10, but instead, when pop-up about replacing the texture appears, press No.
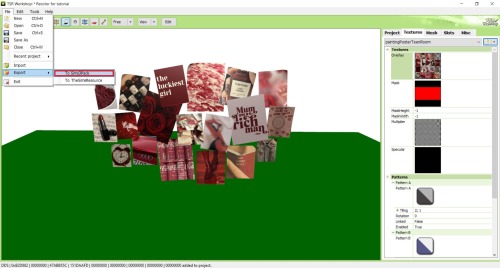
Step 12: After you’ve done, press File > Export > To Sims3pack or Edit > Project Contents > Export > To .package. If you choose the first method, convert your Sims3pack to Package and in both cases run it through Compressionizer. Test your recolor In-game, make thumbnails (if you want to share it) and have fun!

For those who read this tutorial to the end, click HERE to download this recolor.
