Tiptorial: How I take pictures in InZOI!
Project: InZOI Tutorials
by Lyralei
Uploaded Aug. 27, 2025, 4 p.m.
Updated Aug. 28, 2025, 9:47 a.m.
Tiptorial: How I take pictures in InZOI!
Hey! I figured I'd make a quick tutorial on how I take pictures in InZOI, since I've had now a couple of people asking me.
I'll go over:
- How to take pictures
- How to find the right angles
- How to control lighting (and what to look for)
- Pictures for stories vs Landscapes/Portraits.
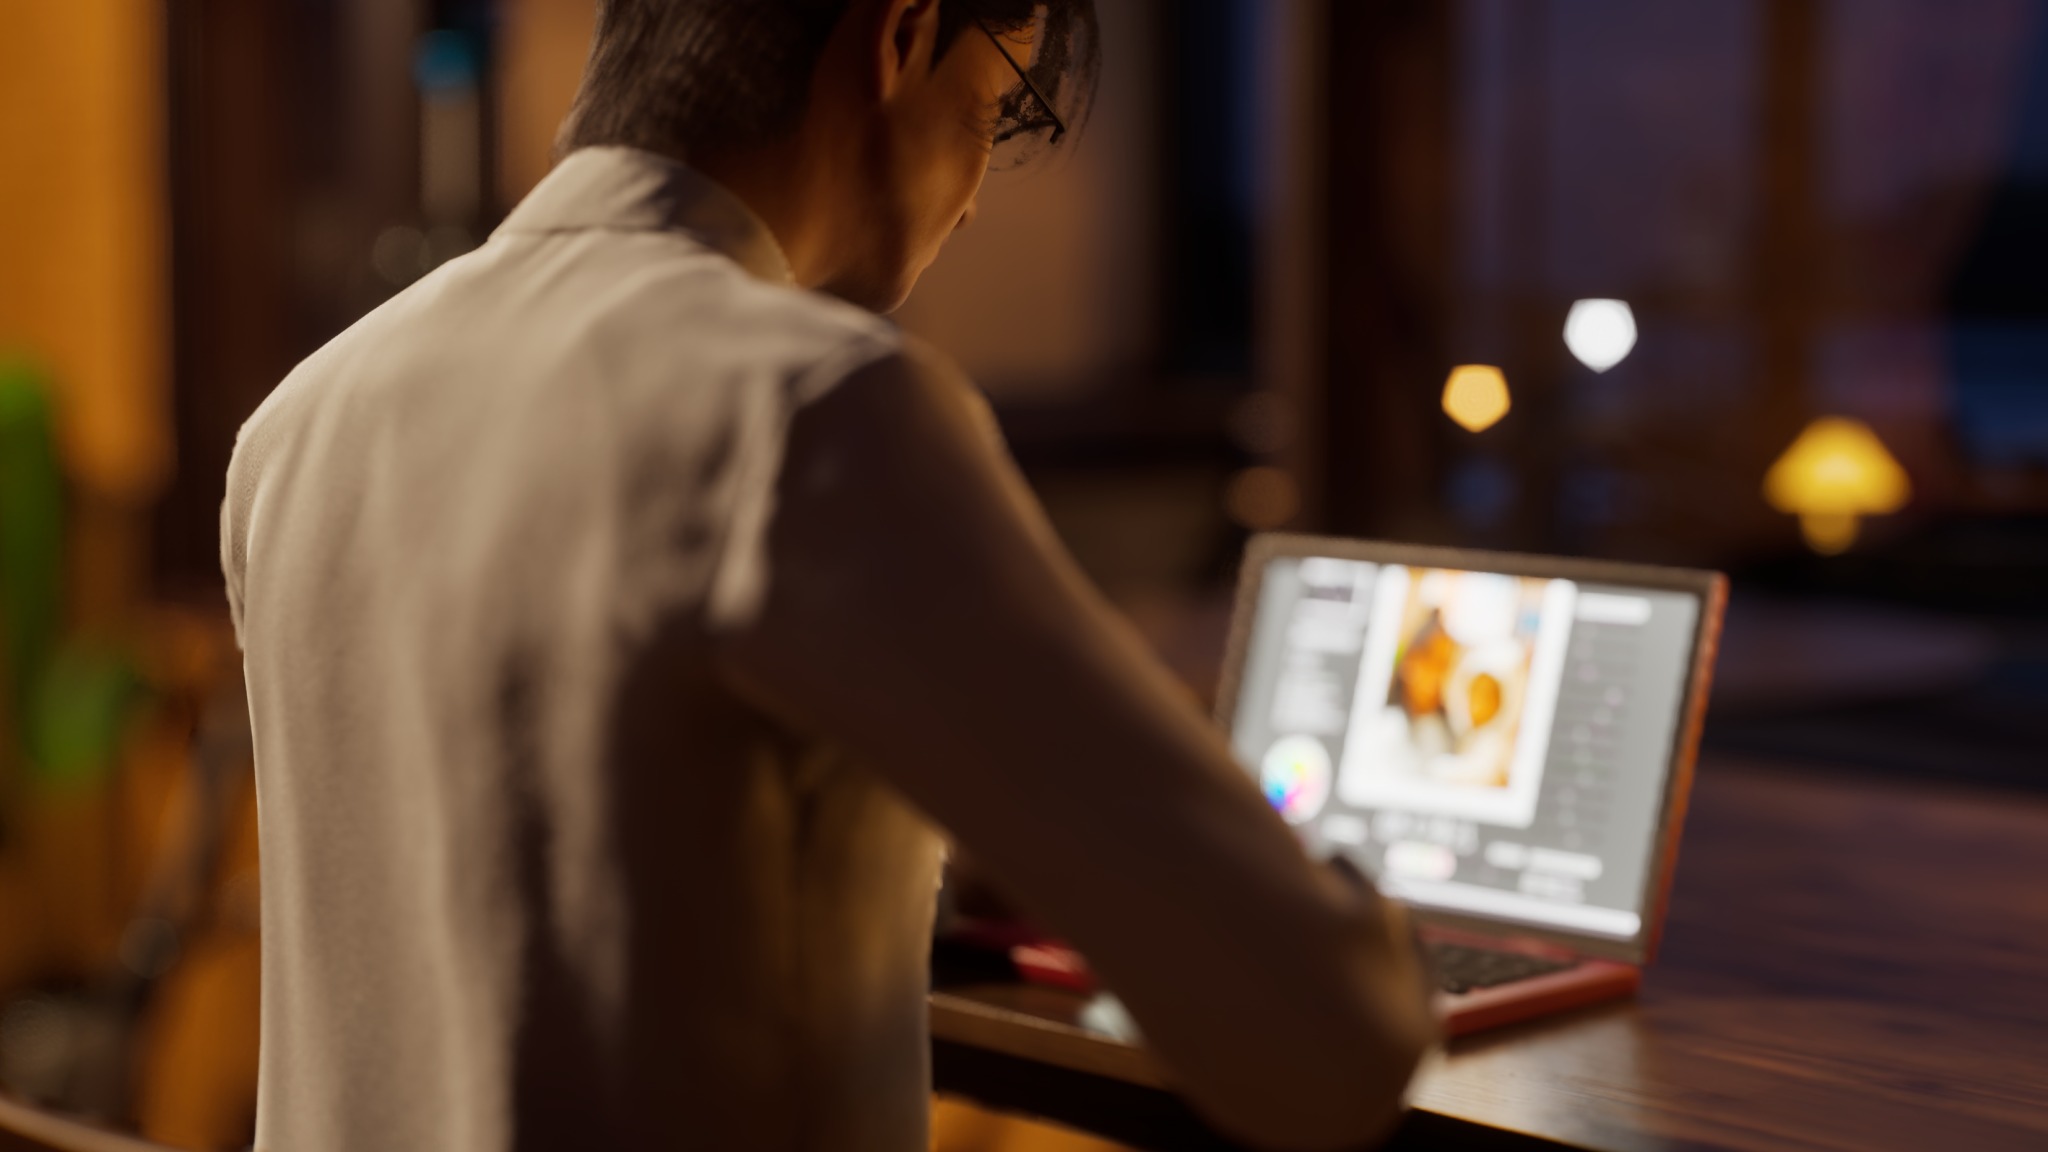
- (Optional) Editing your pictures
... and generally what goes on in my head before taking the final snapshot!
Allright, Let's go! 😄
📸 How to take pictures:
So, before I begin, I figured I'd first go over the basics. You never know if someone doesn't know! :)
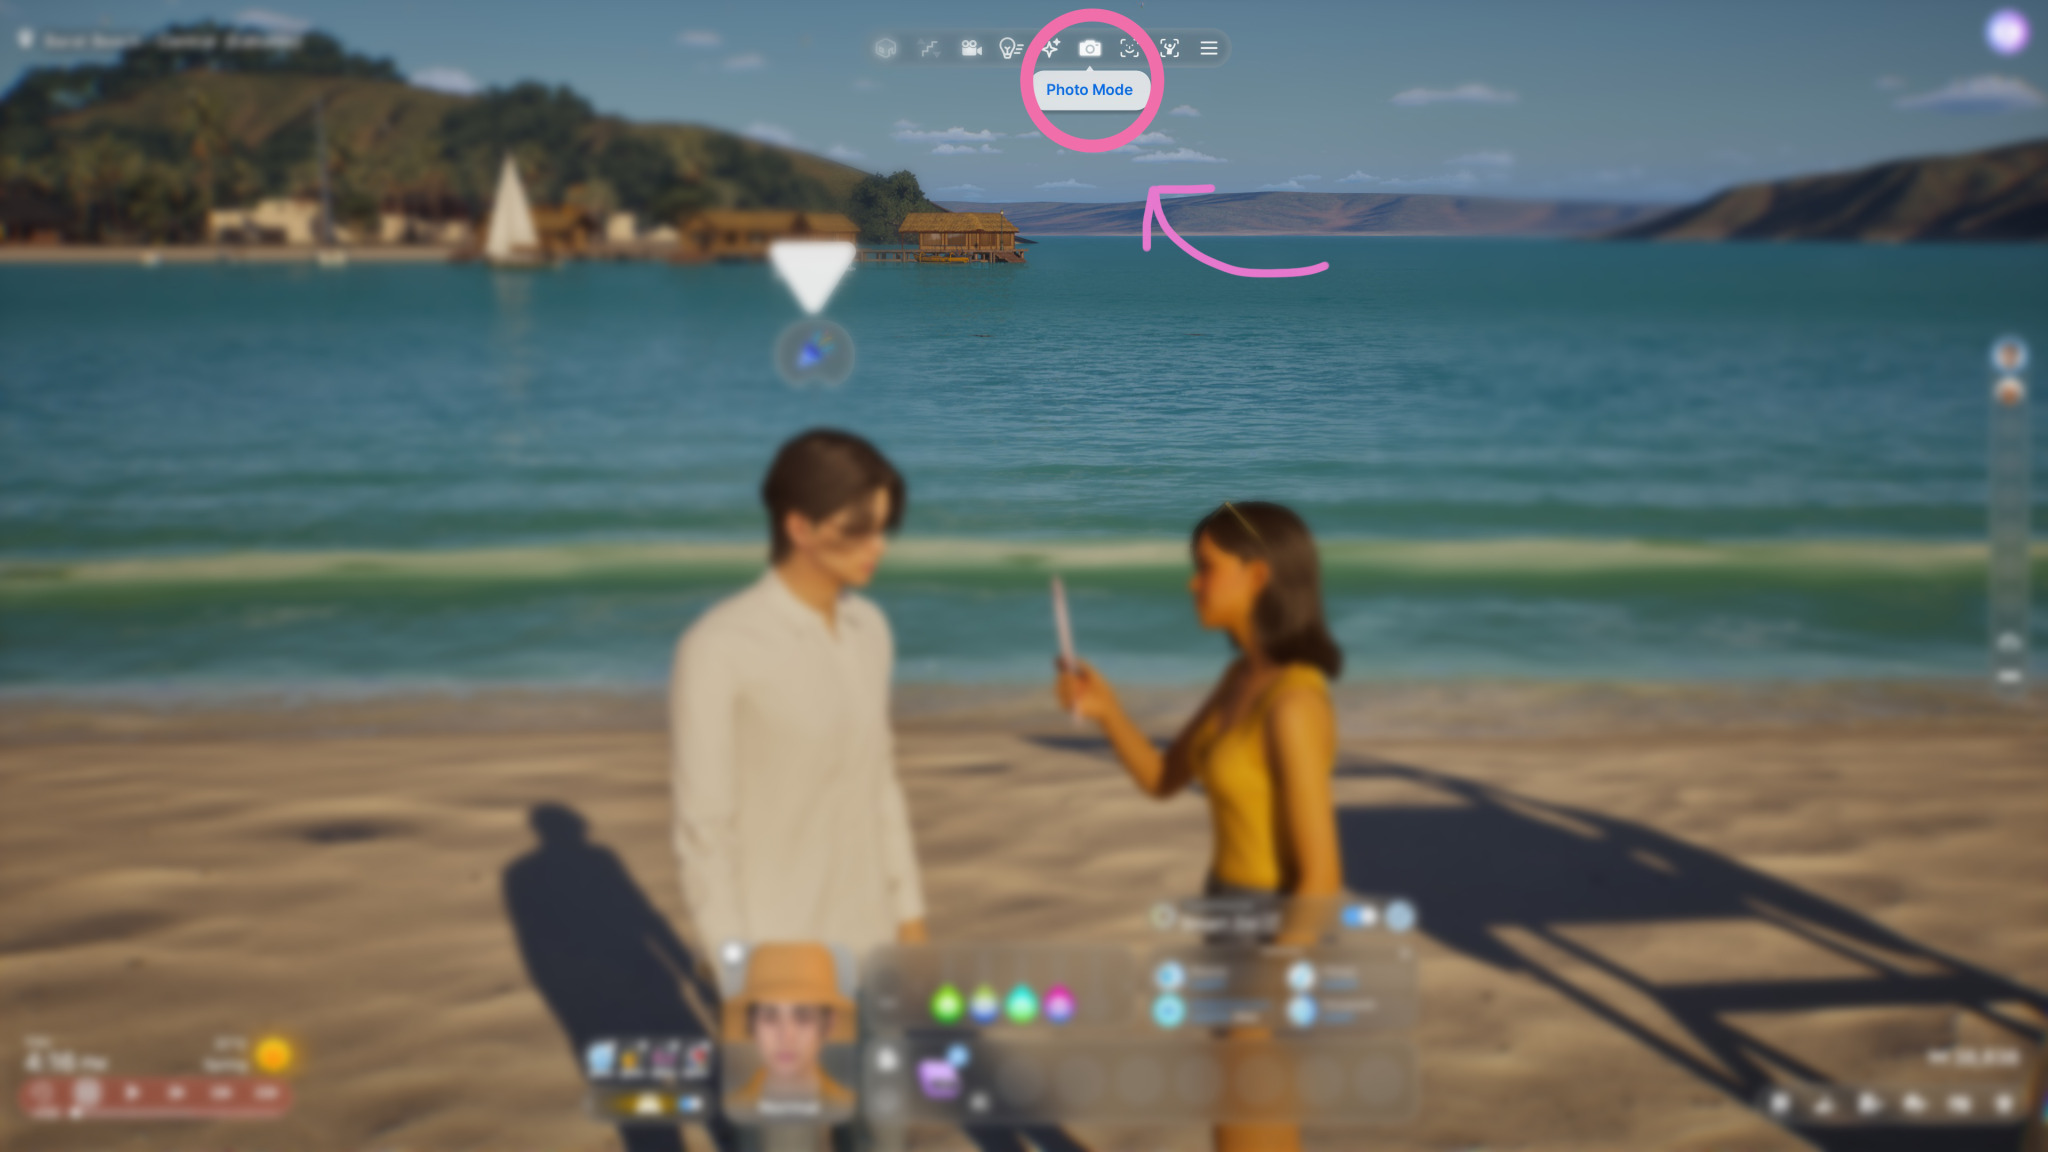
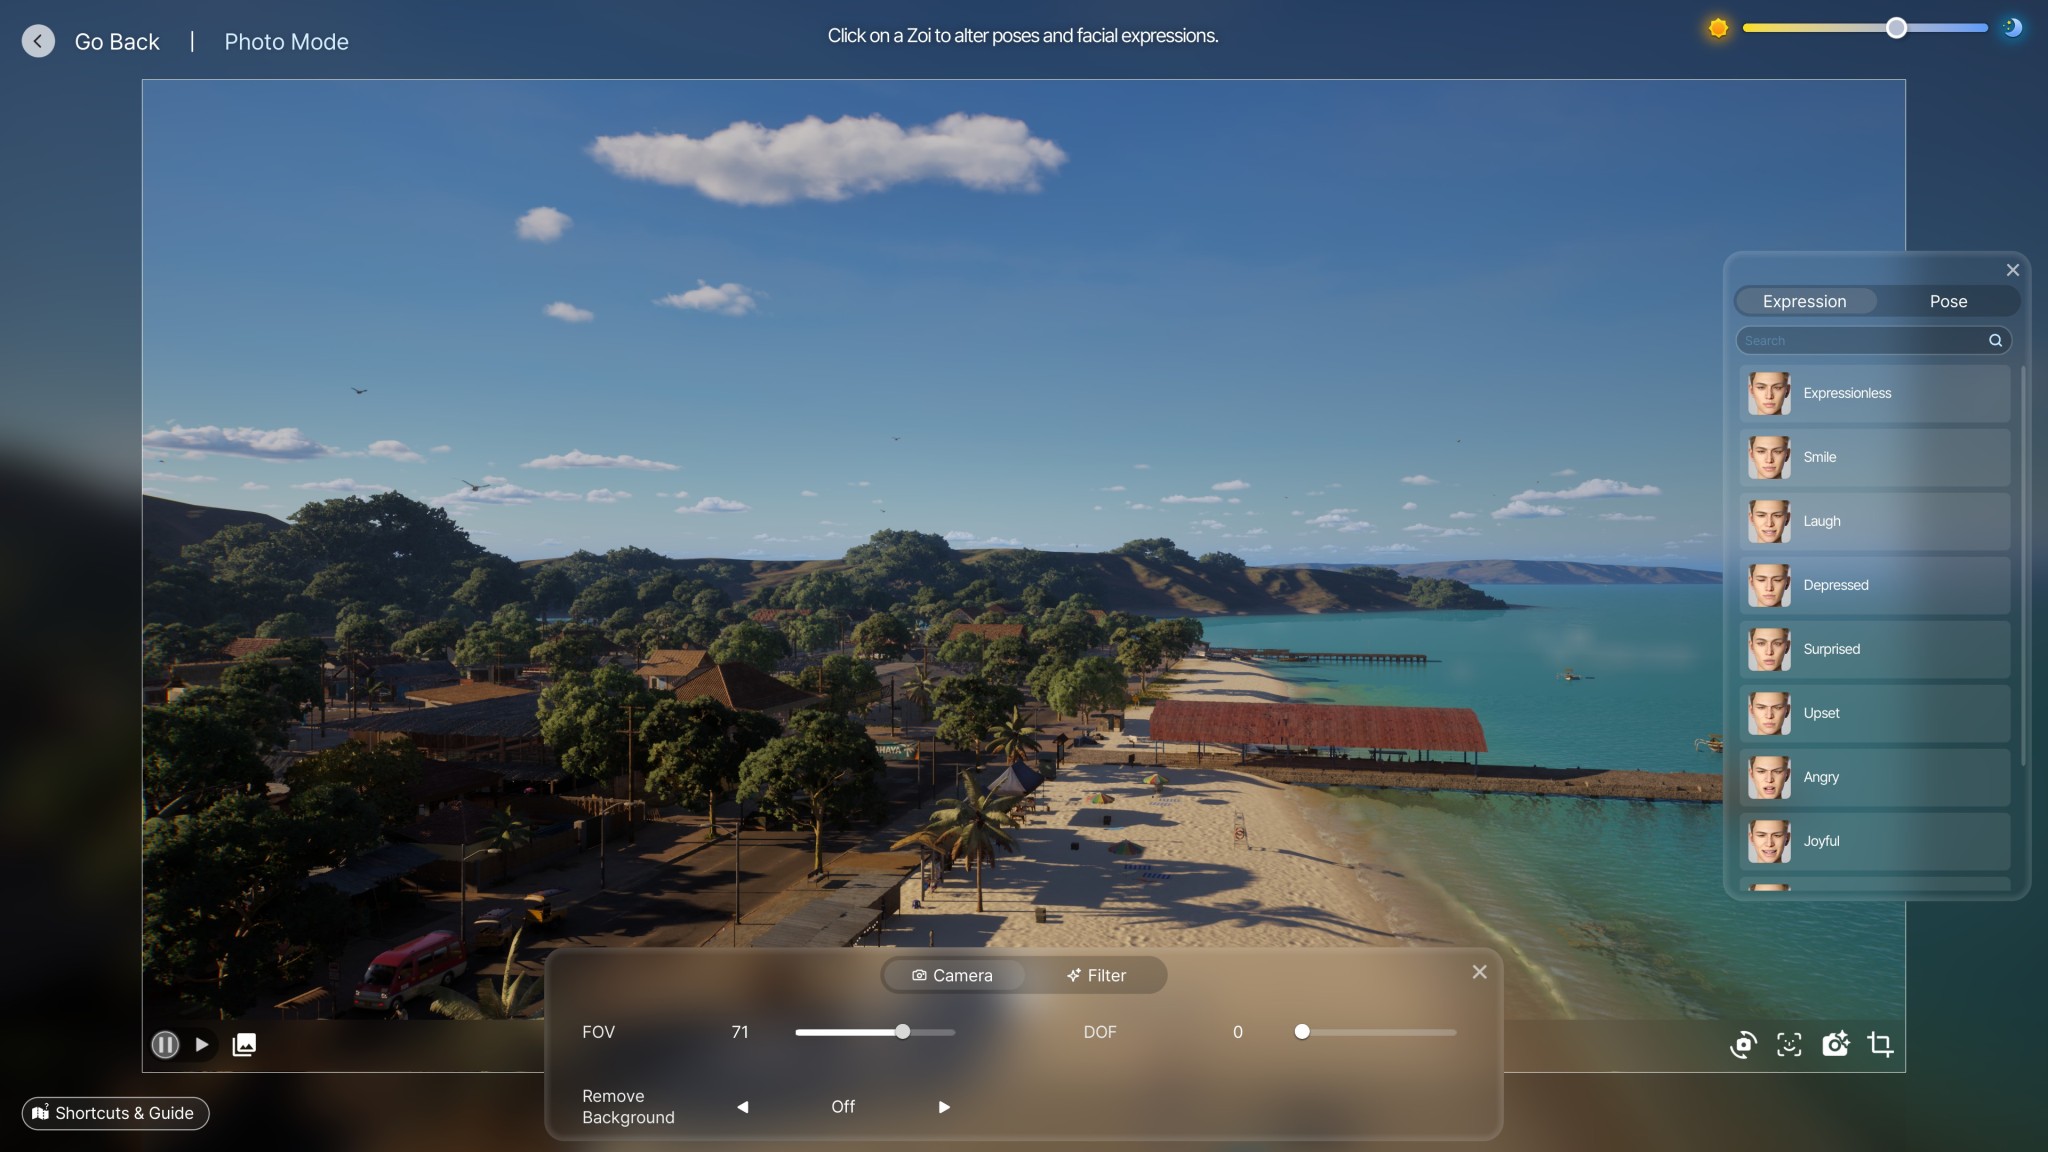
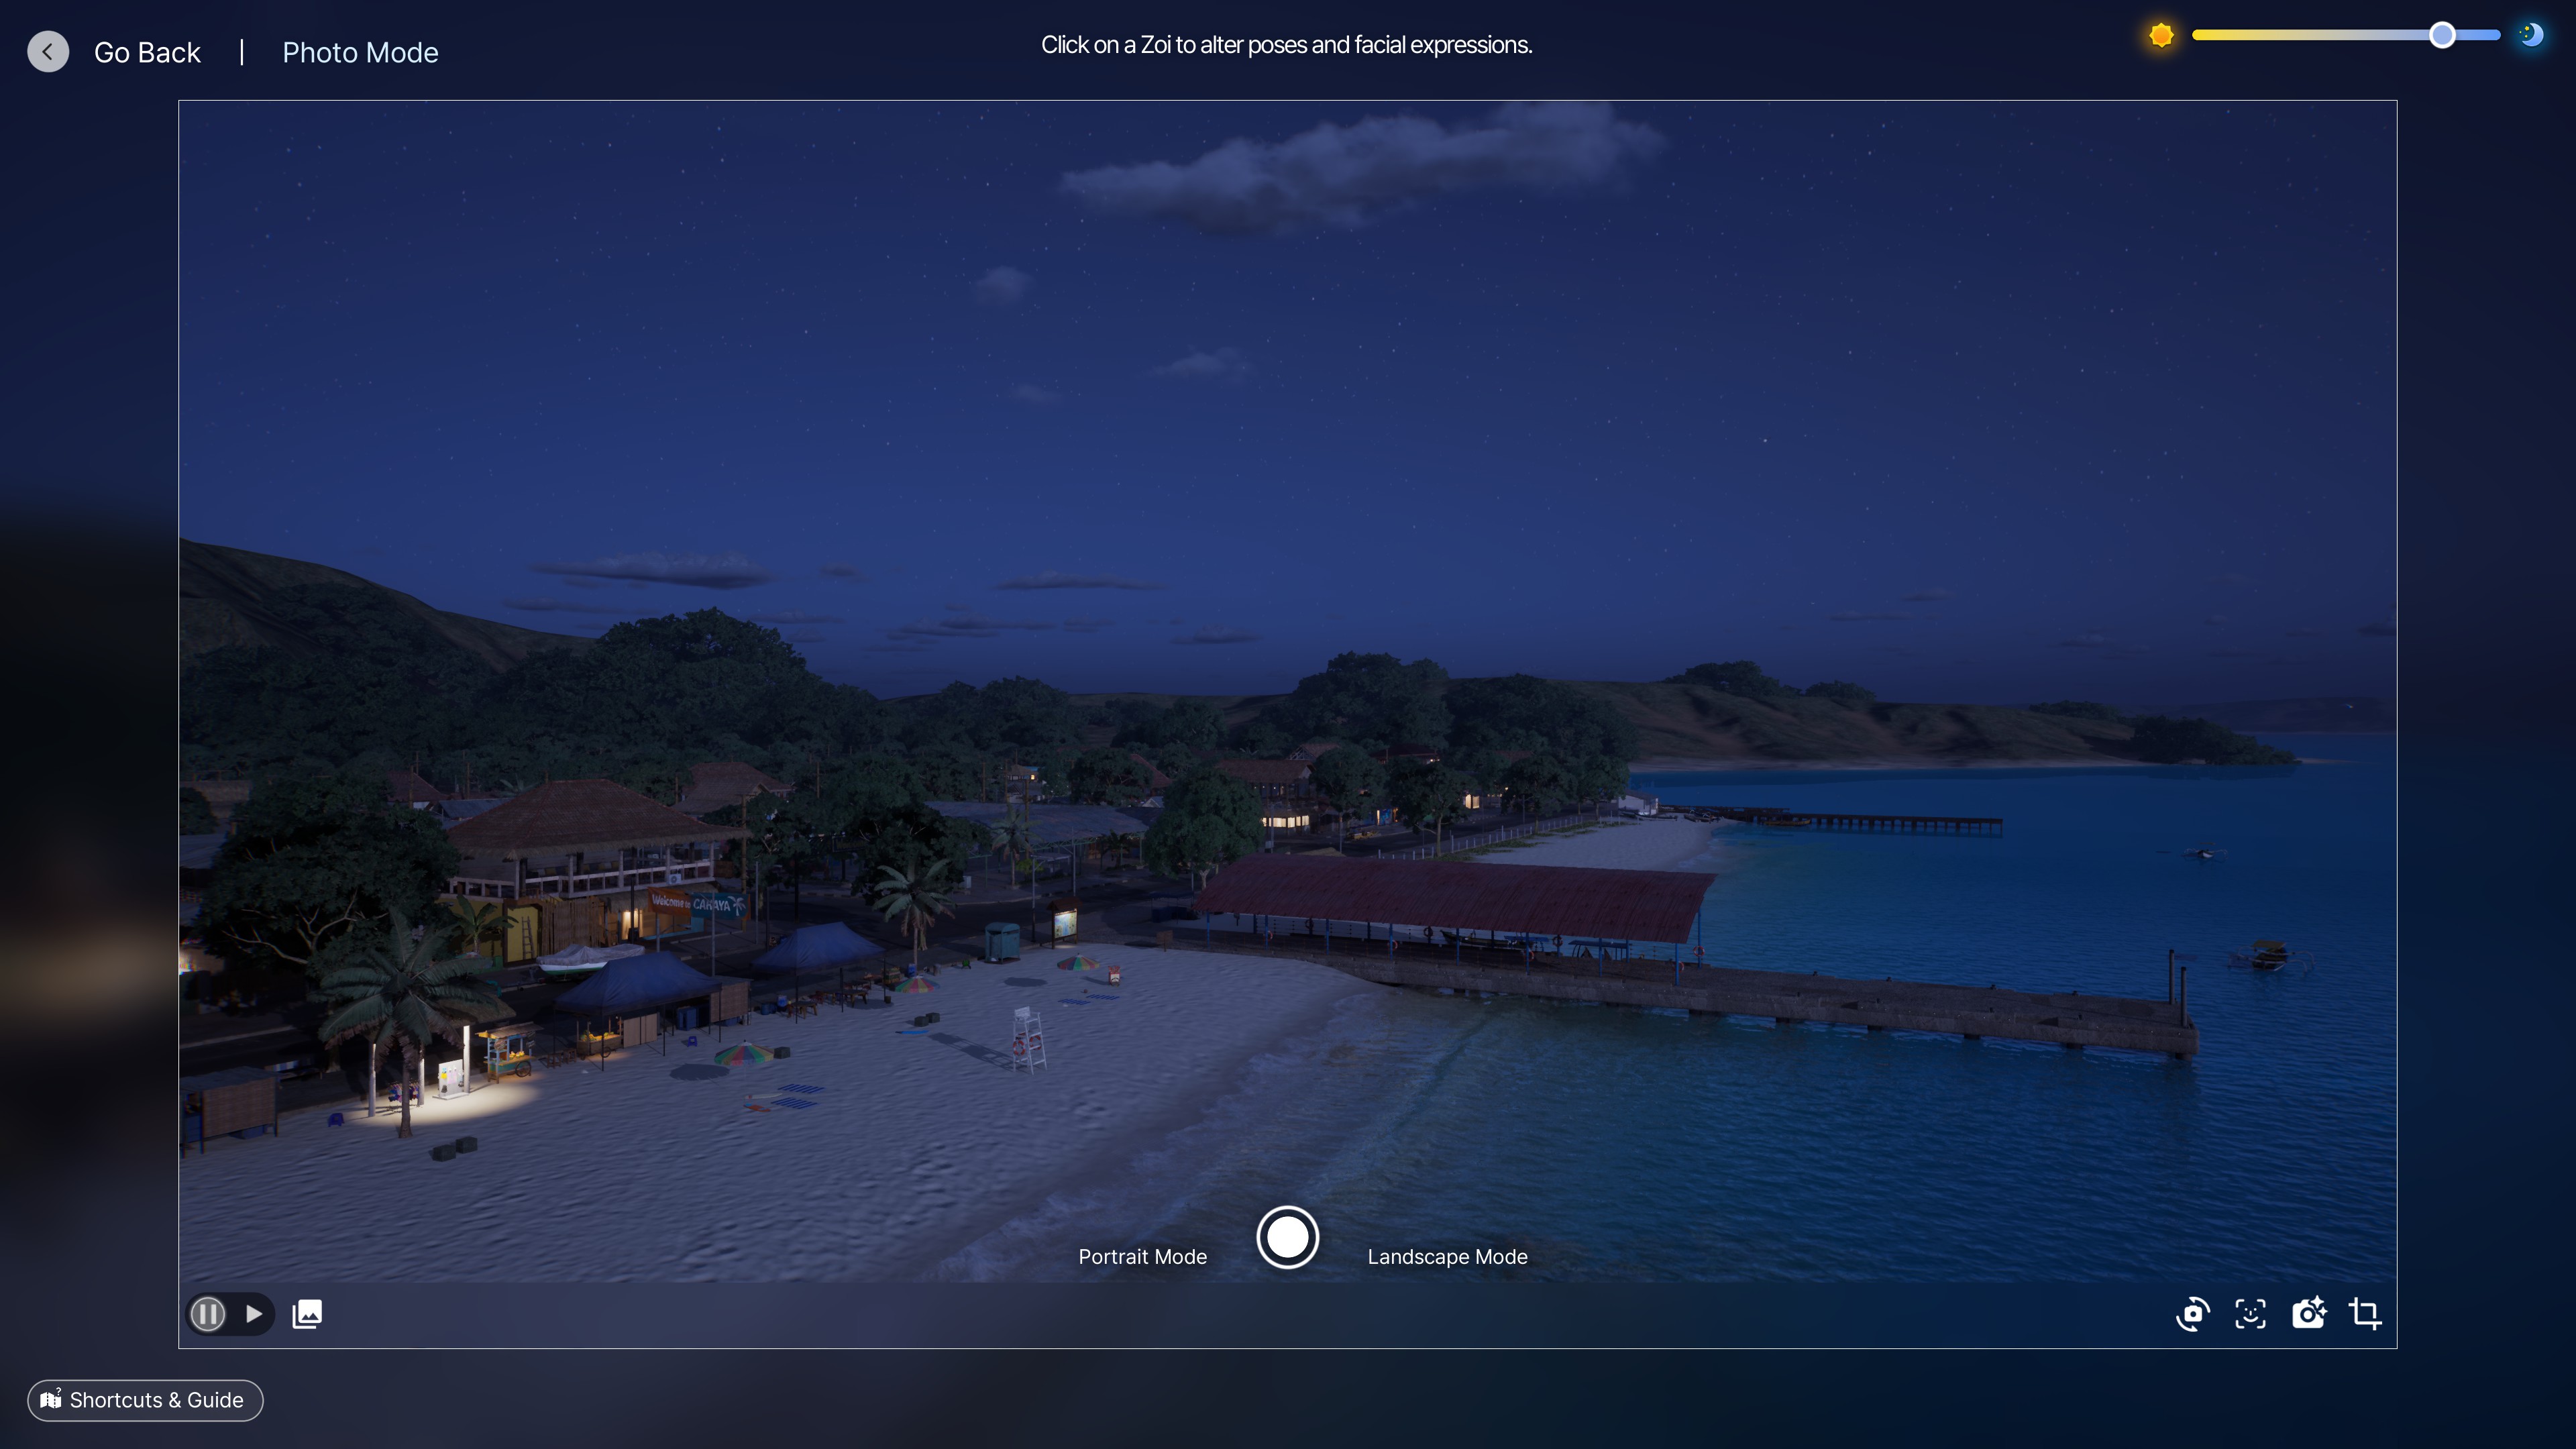
First, we want to be in Live mode, and click on "Photo mode" (camera icon).
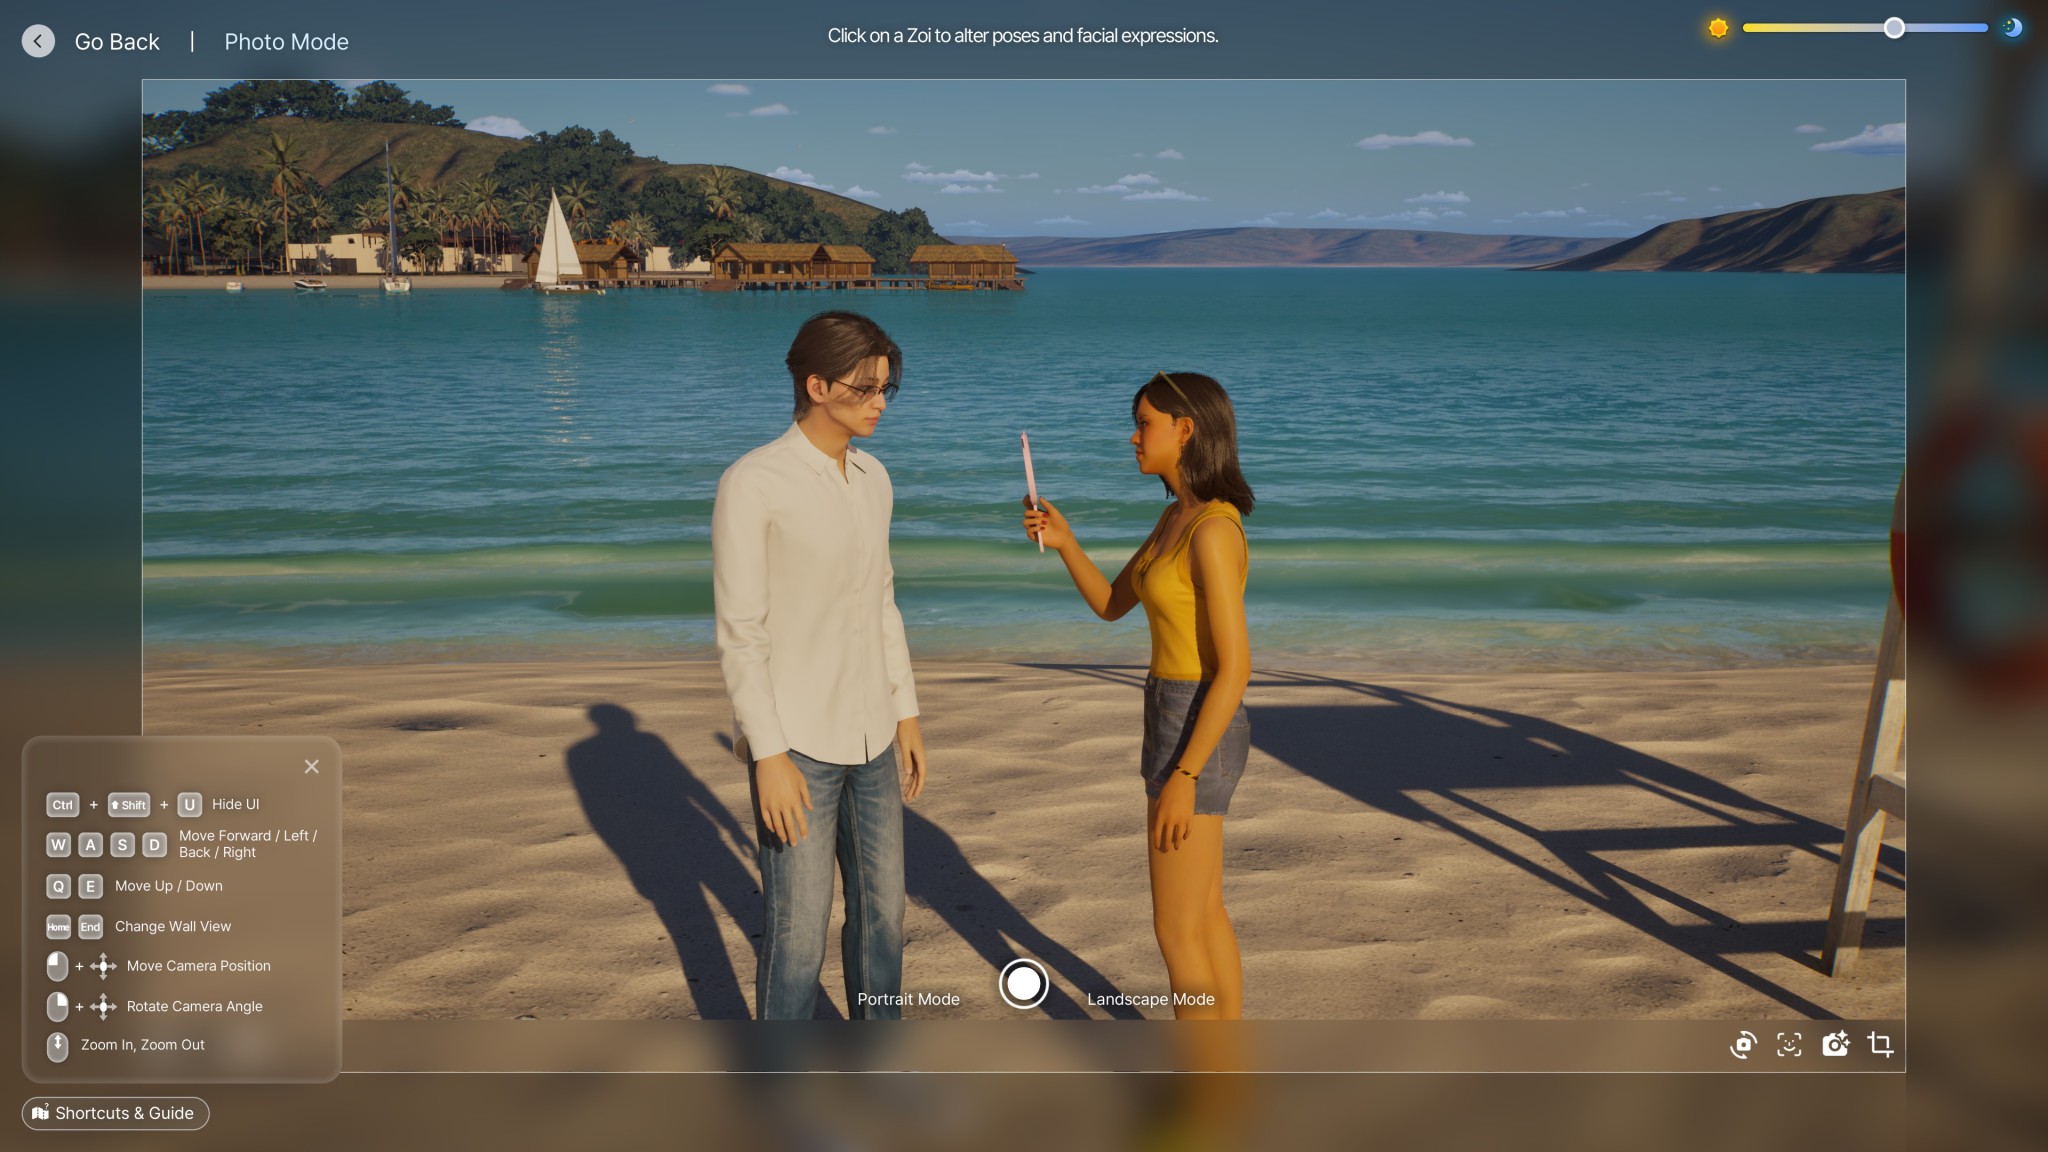
Now the screen should look something like this! :)
Here's a quick walkthrough of what each function does!
Let's get to picture taking!
The basics things I do first to get a nice picture going...
So before all the technical things, I first actually switch settings first! Here, I will briefly mention about the DOF and FOV.
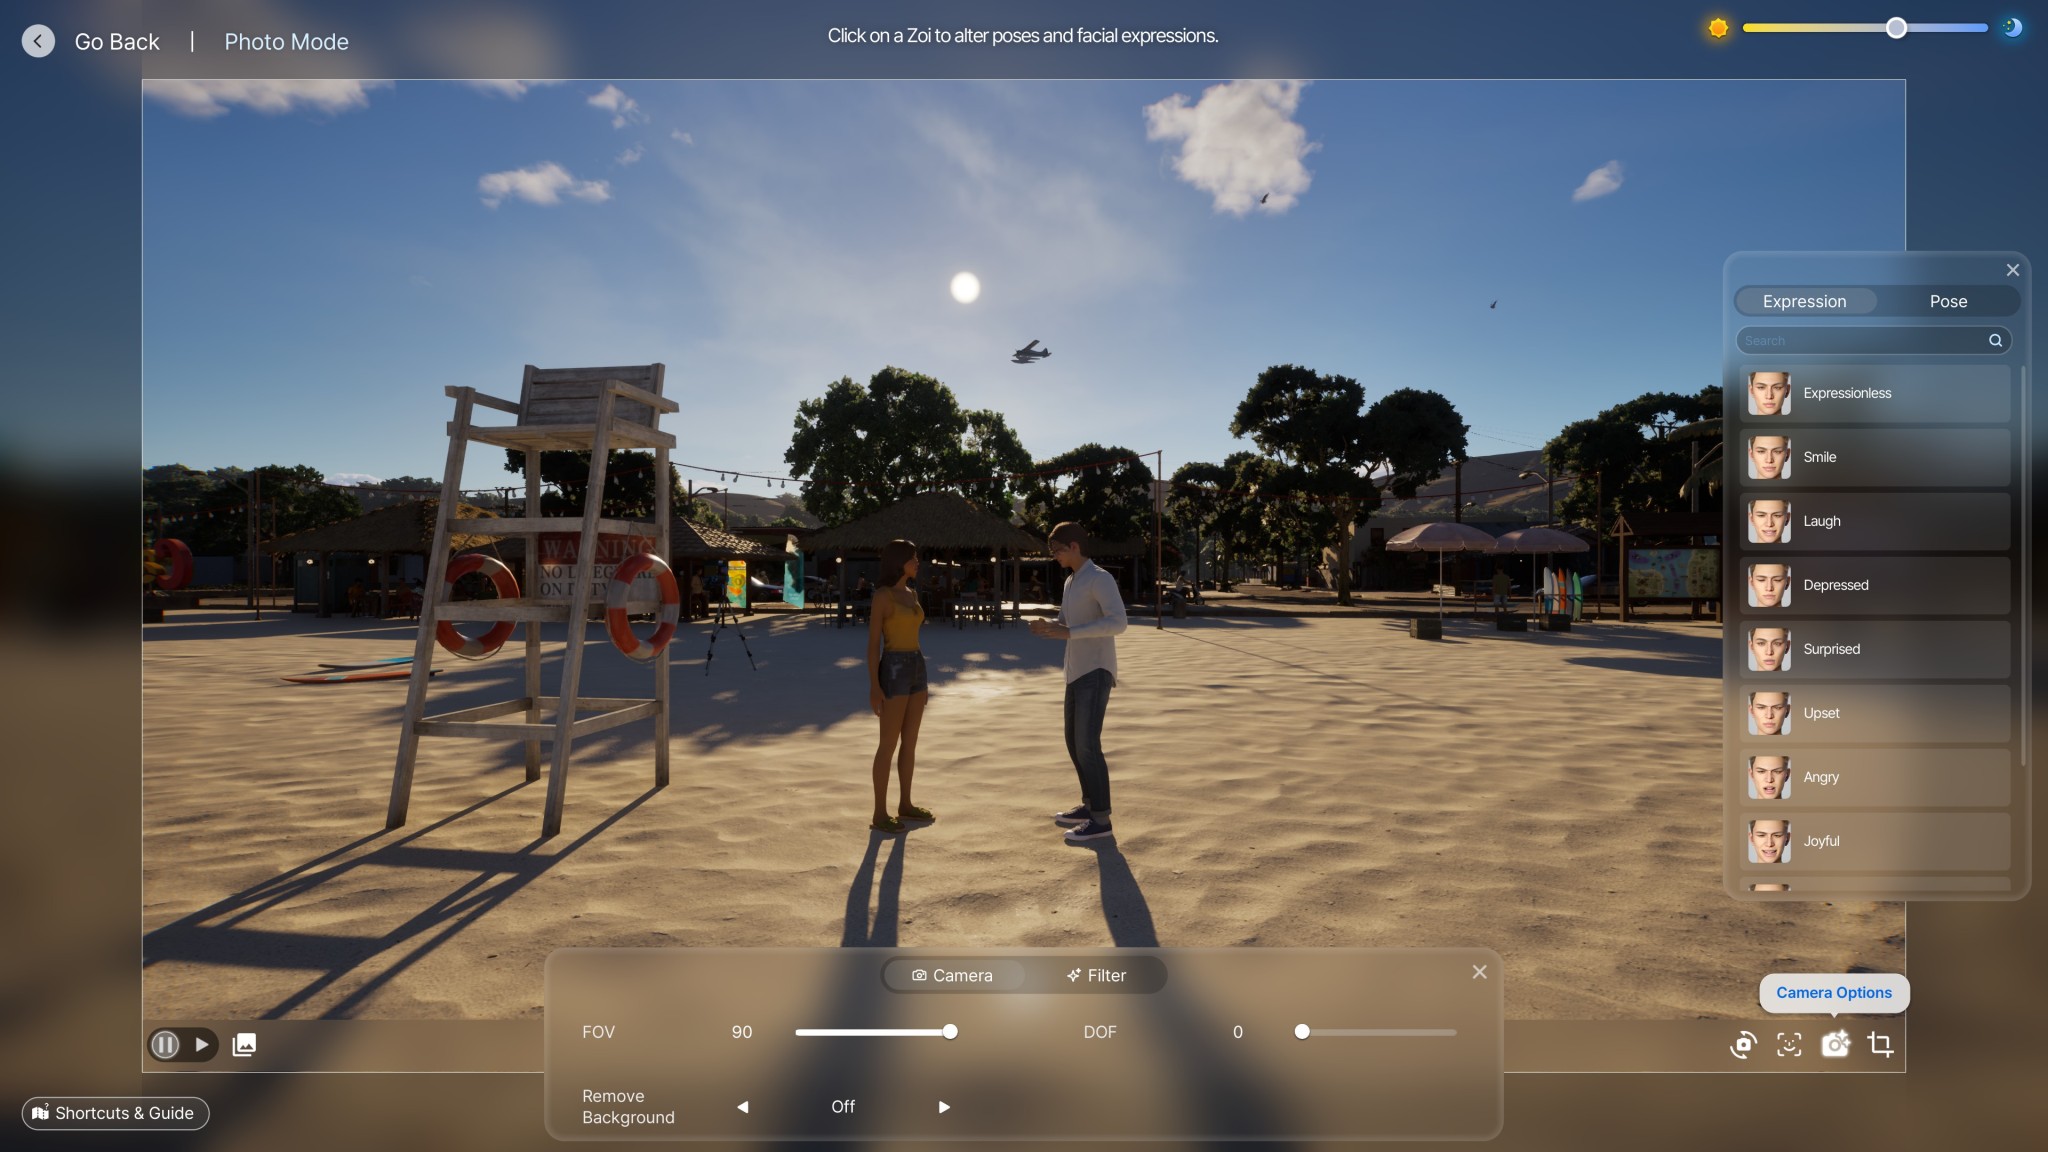
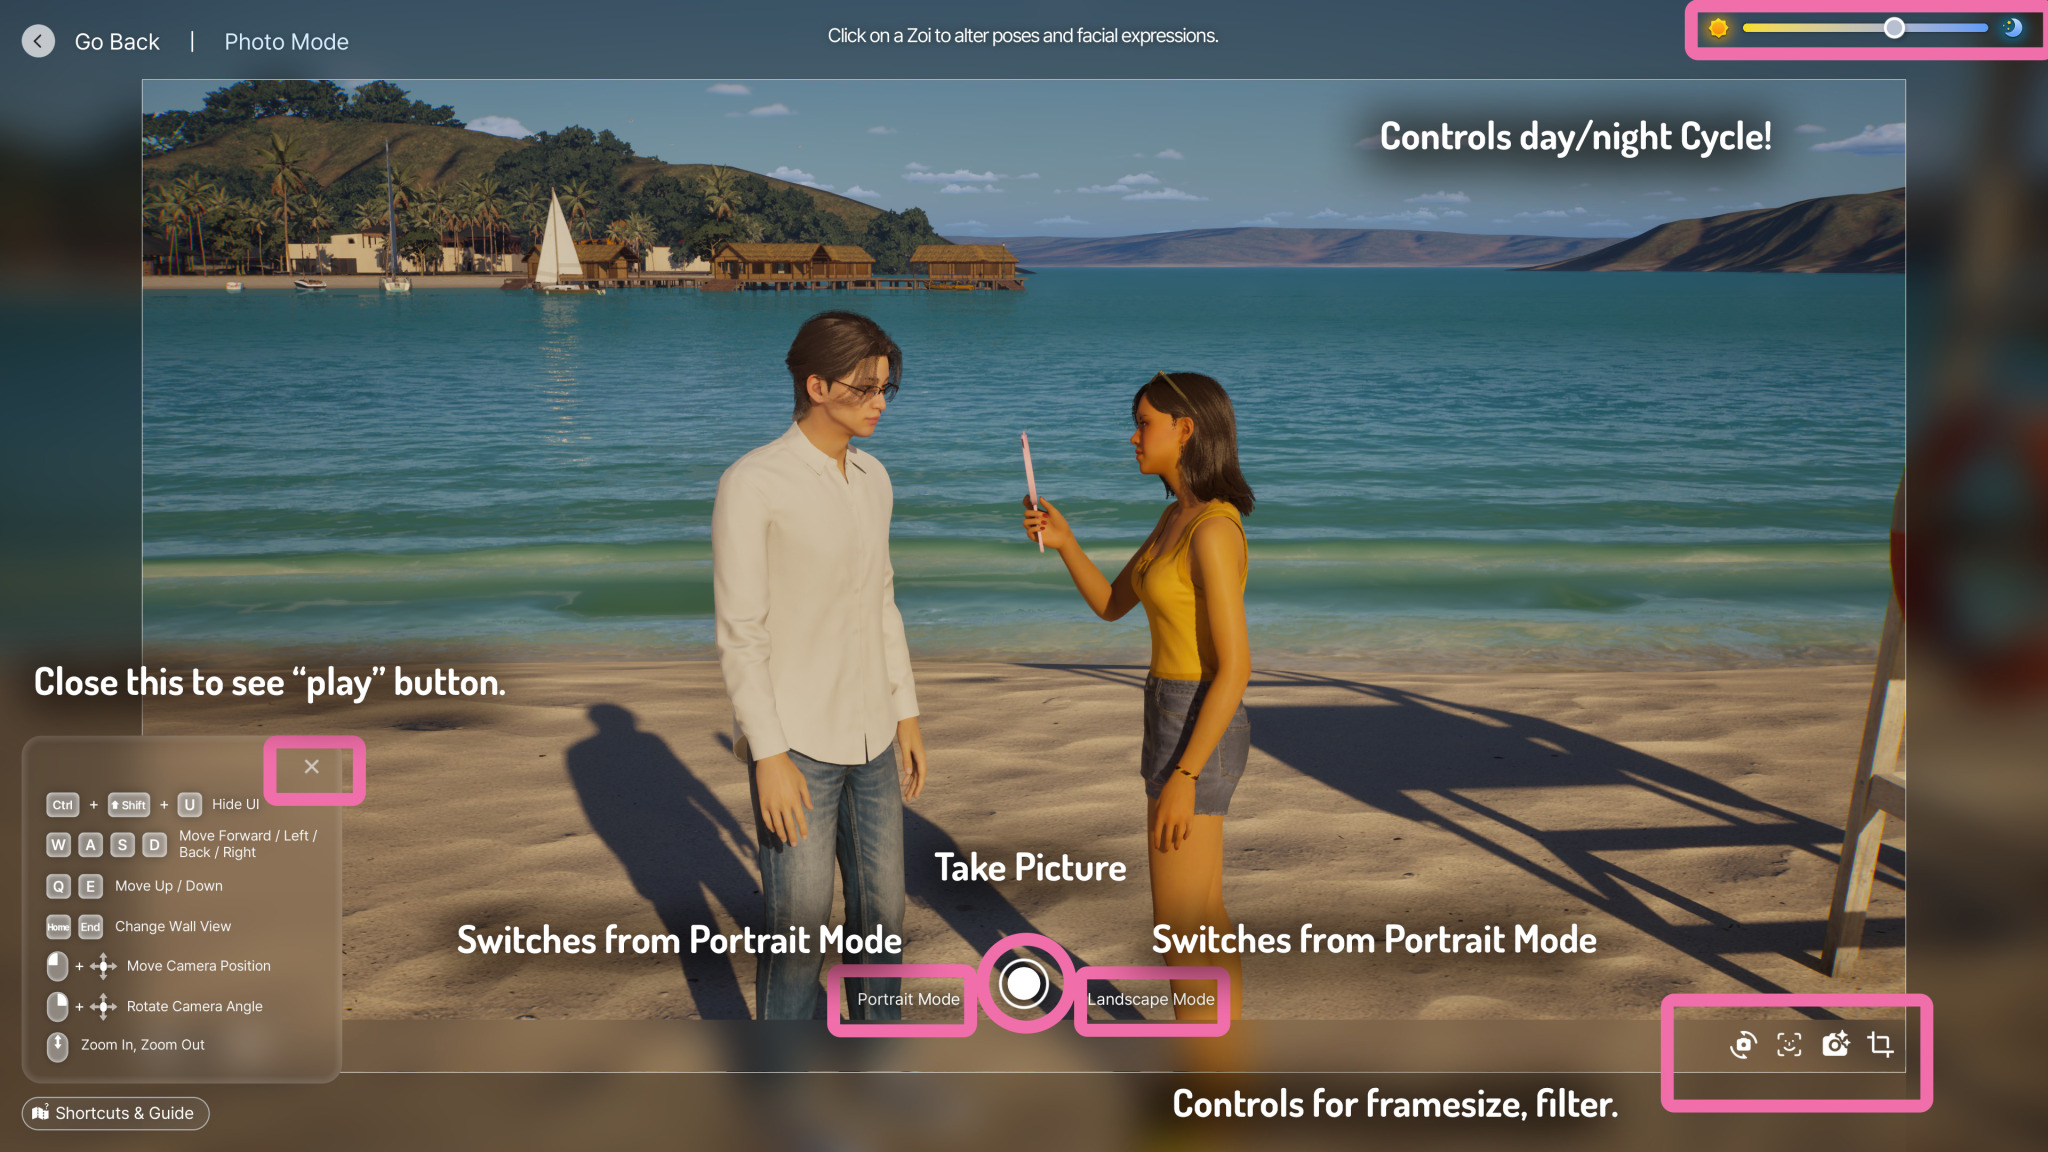
First, we want to go to the "Camera options" on the bottom right, (the icon with the camera and a spark).
This should show a couple of option. primarily "FOV" and "DOF.
The Importance of FOV:
FOV is a great tool to add a more "Flat" effect or more "Fisheye" effect to your pictures! Aside from simply moving the camera, this can add a lot more details (or less!) just with a simple drag!
How I use it:
I usually set my FOV somewhere between 30 and 45. A setting of 45 works well for long-distance shots, full-body captures, or landscapes.
That said, your FOV really depends on the mood you want to create—it’s closely tied to the angle you choose. Personally, I like to match it to the dialogue or moment I’m trying to highlight.
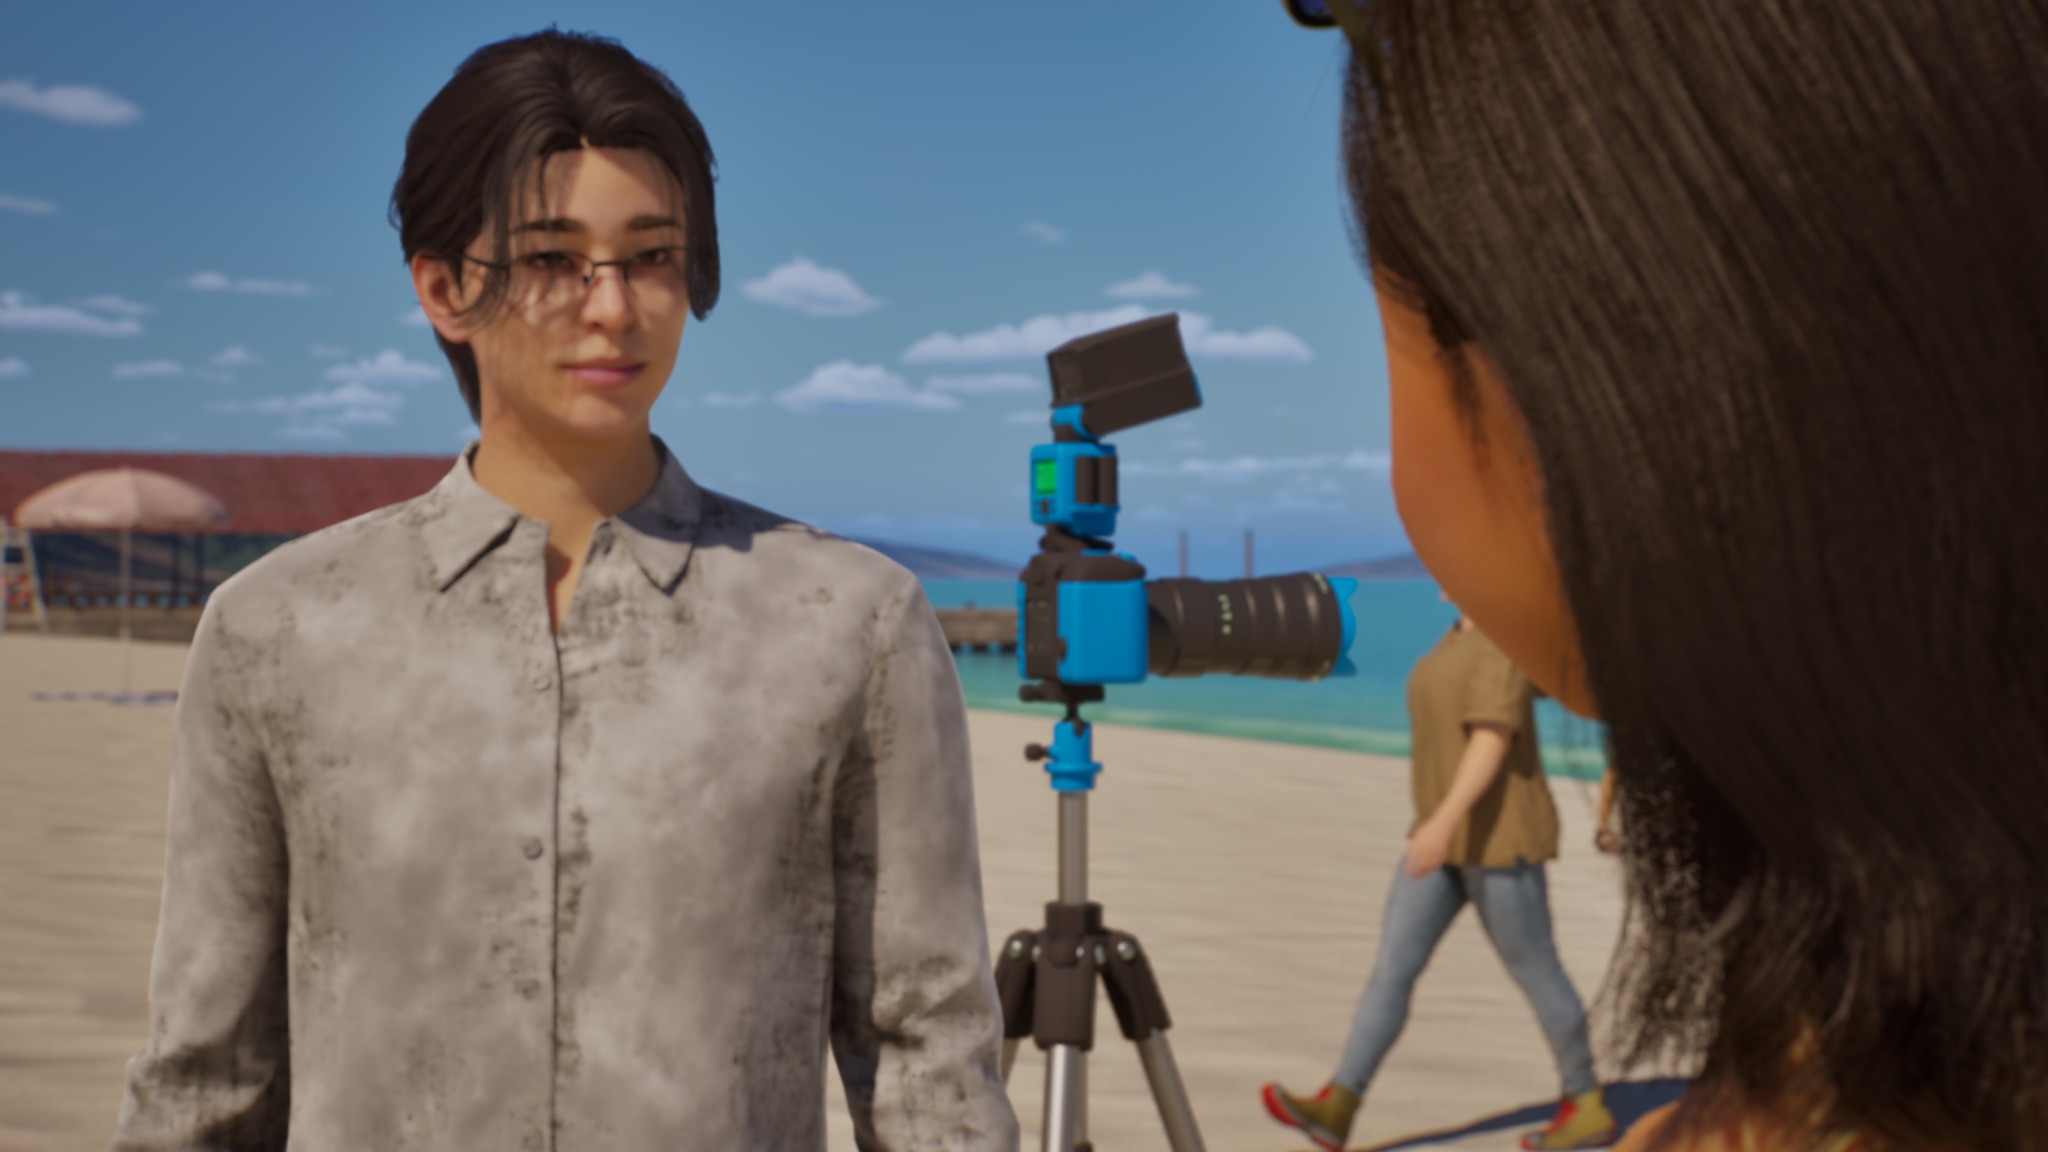
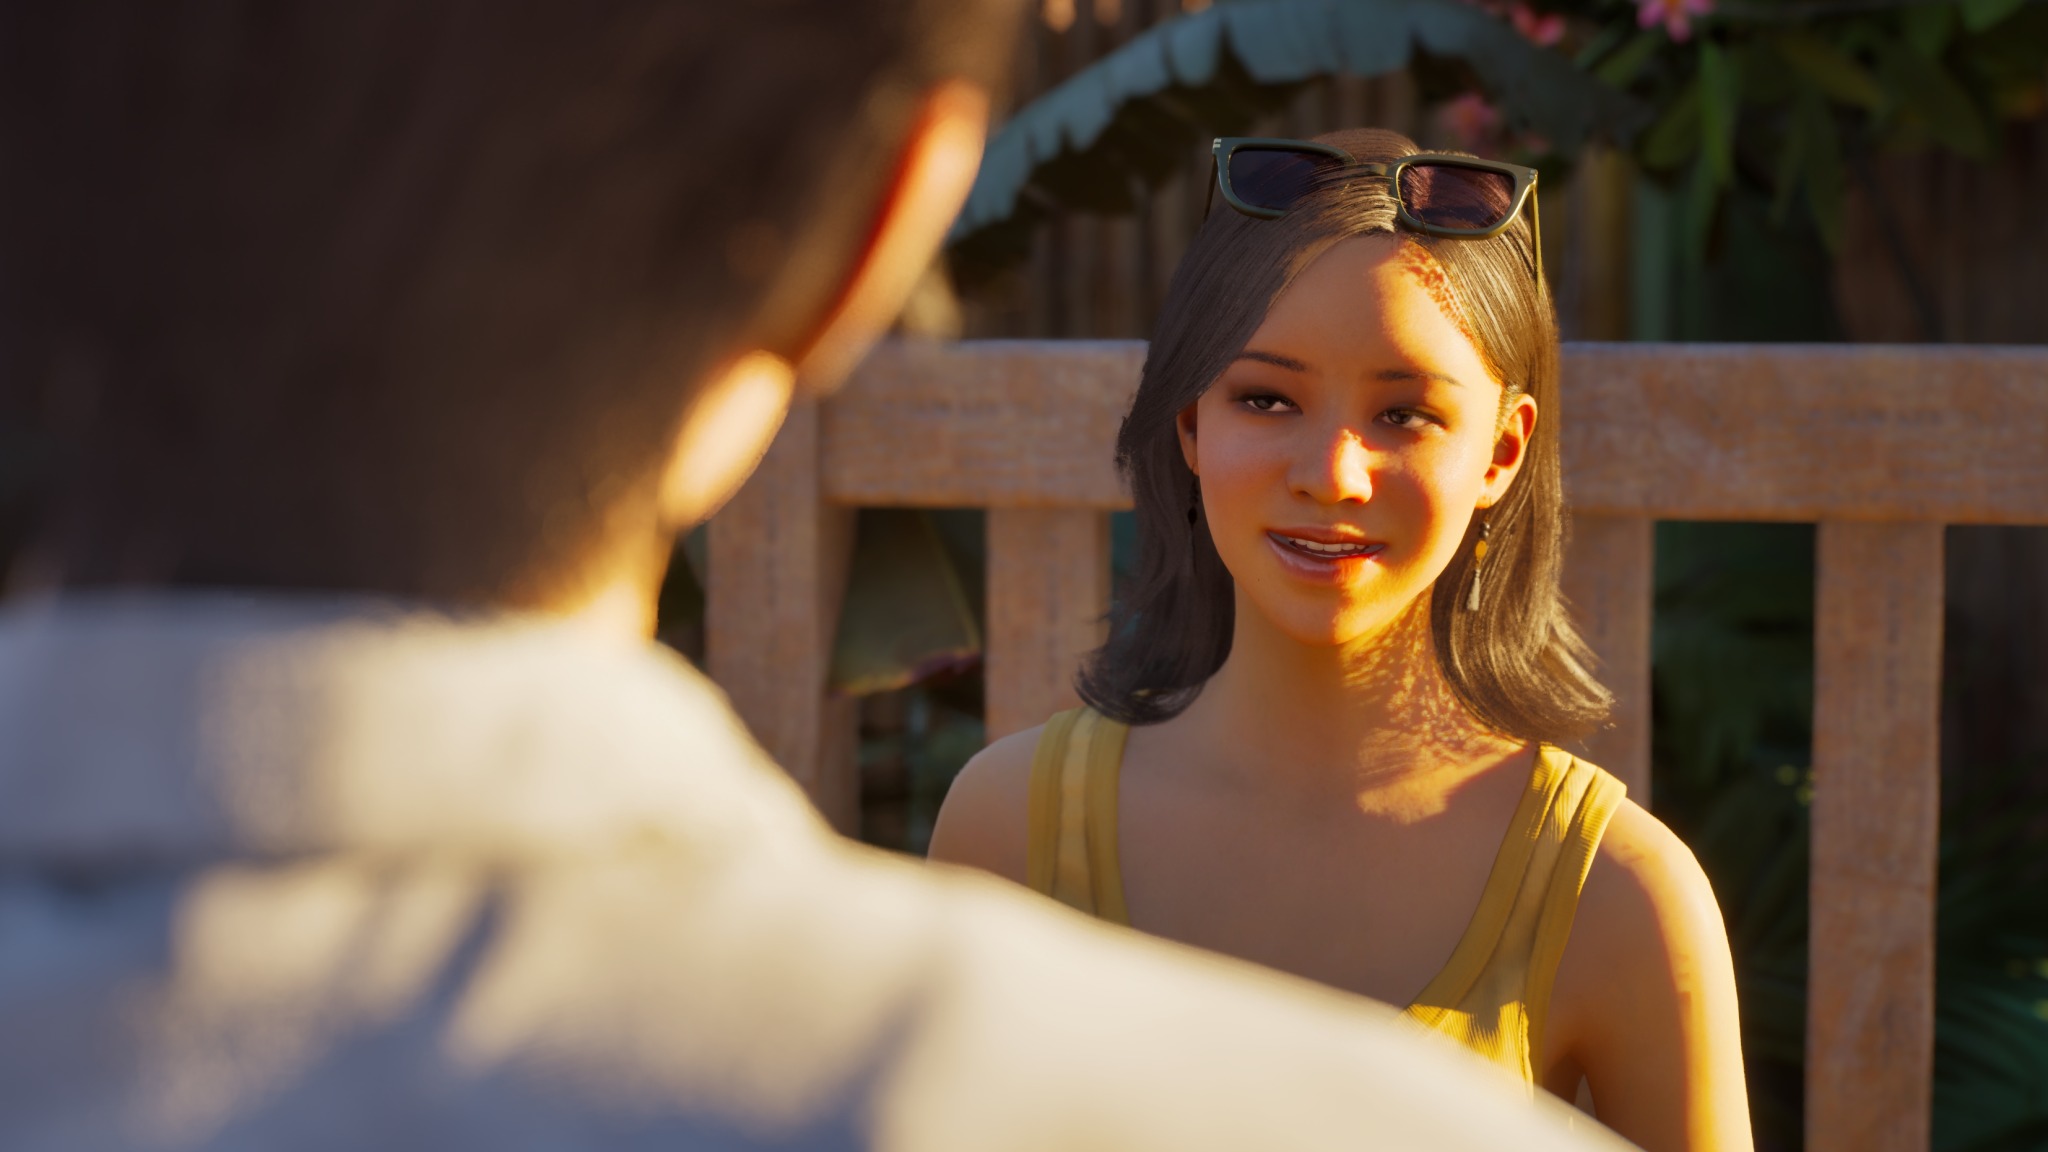
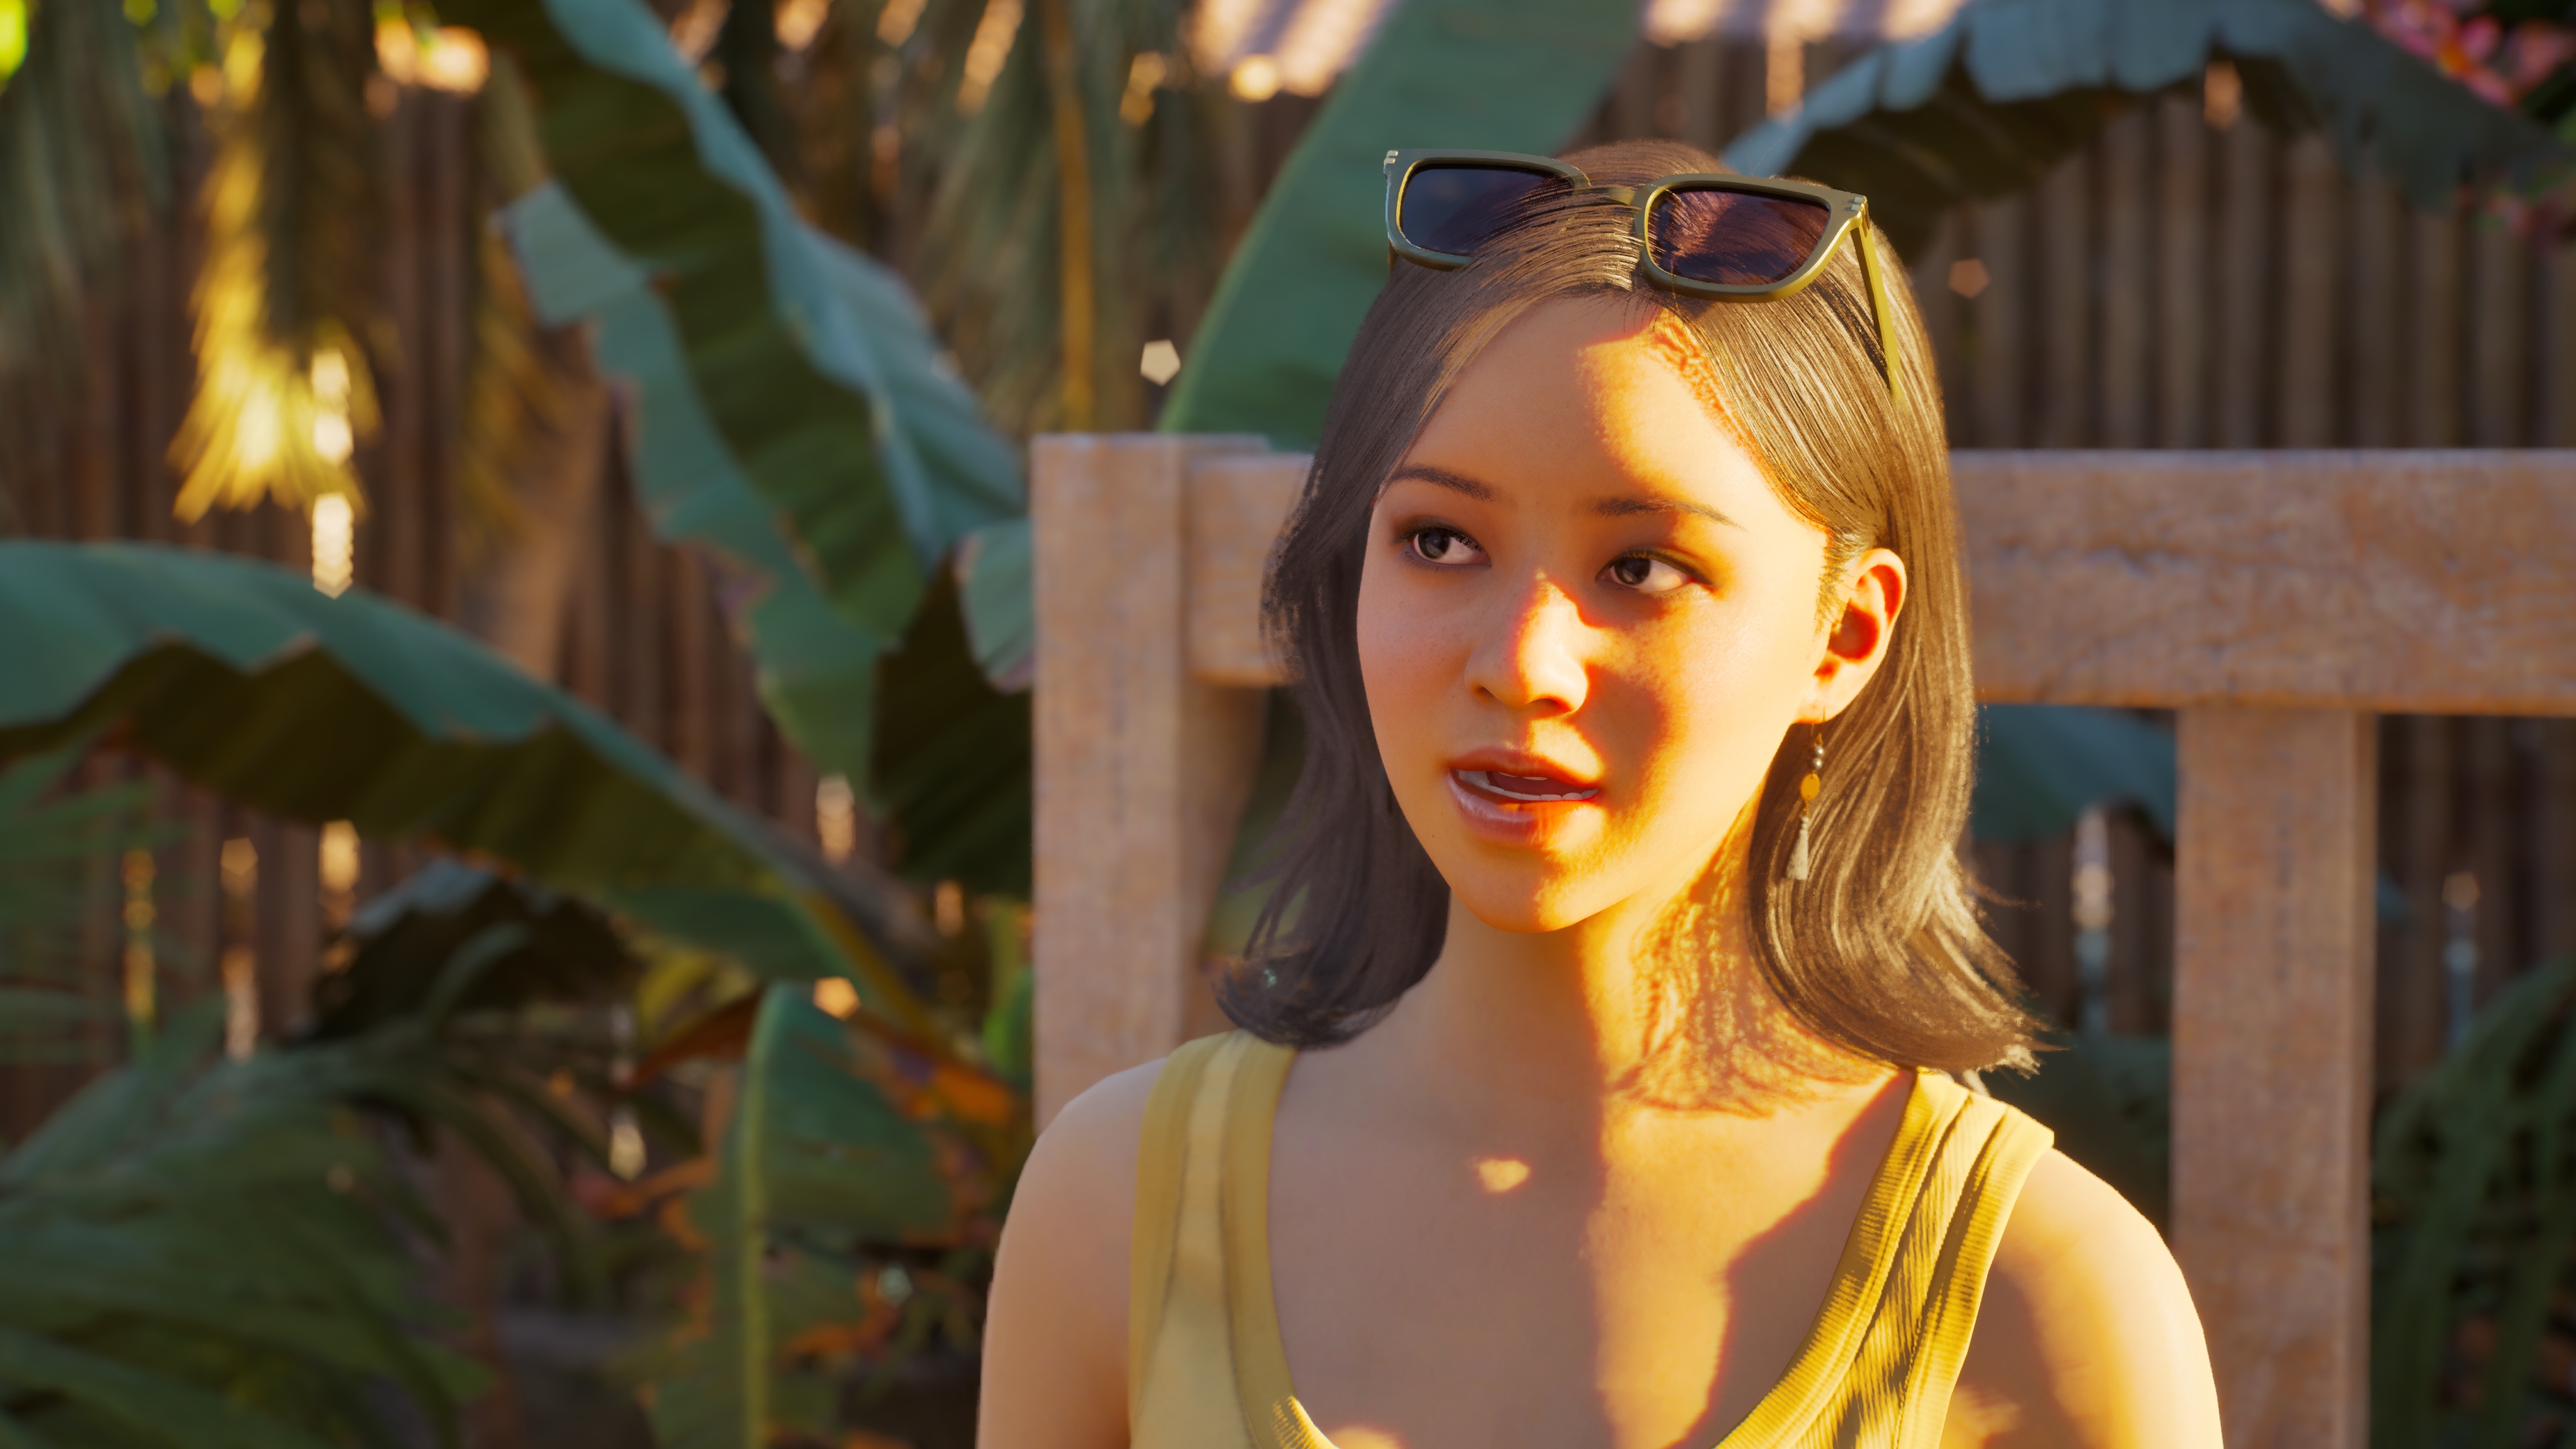
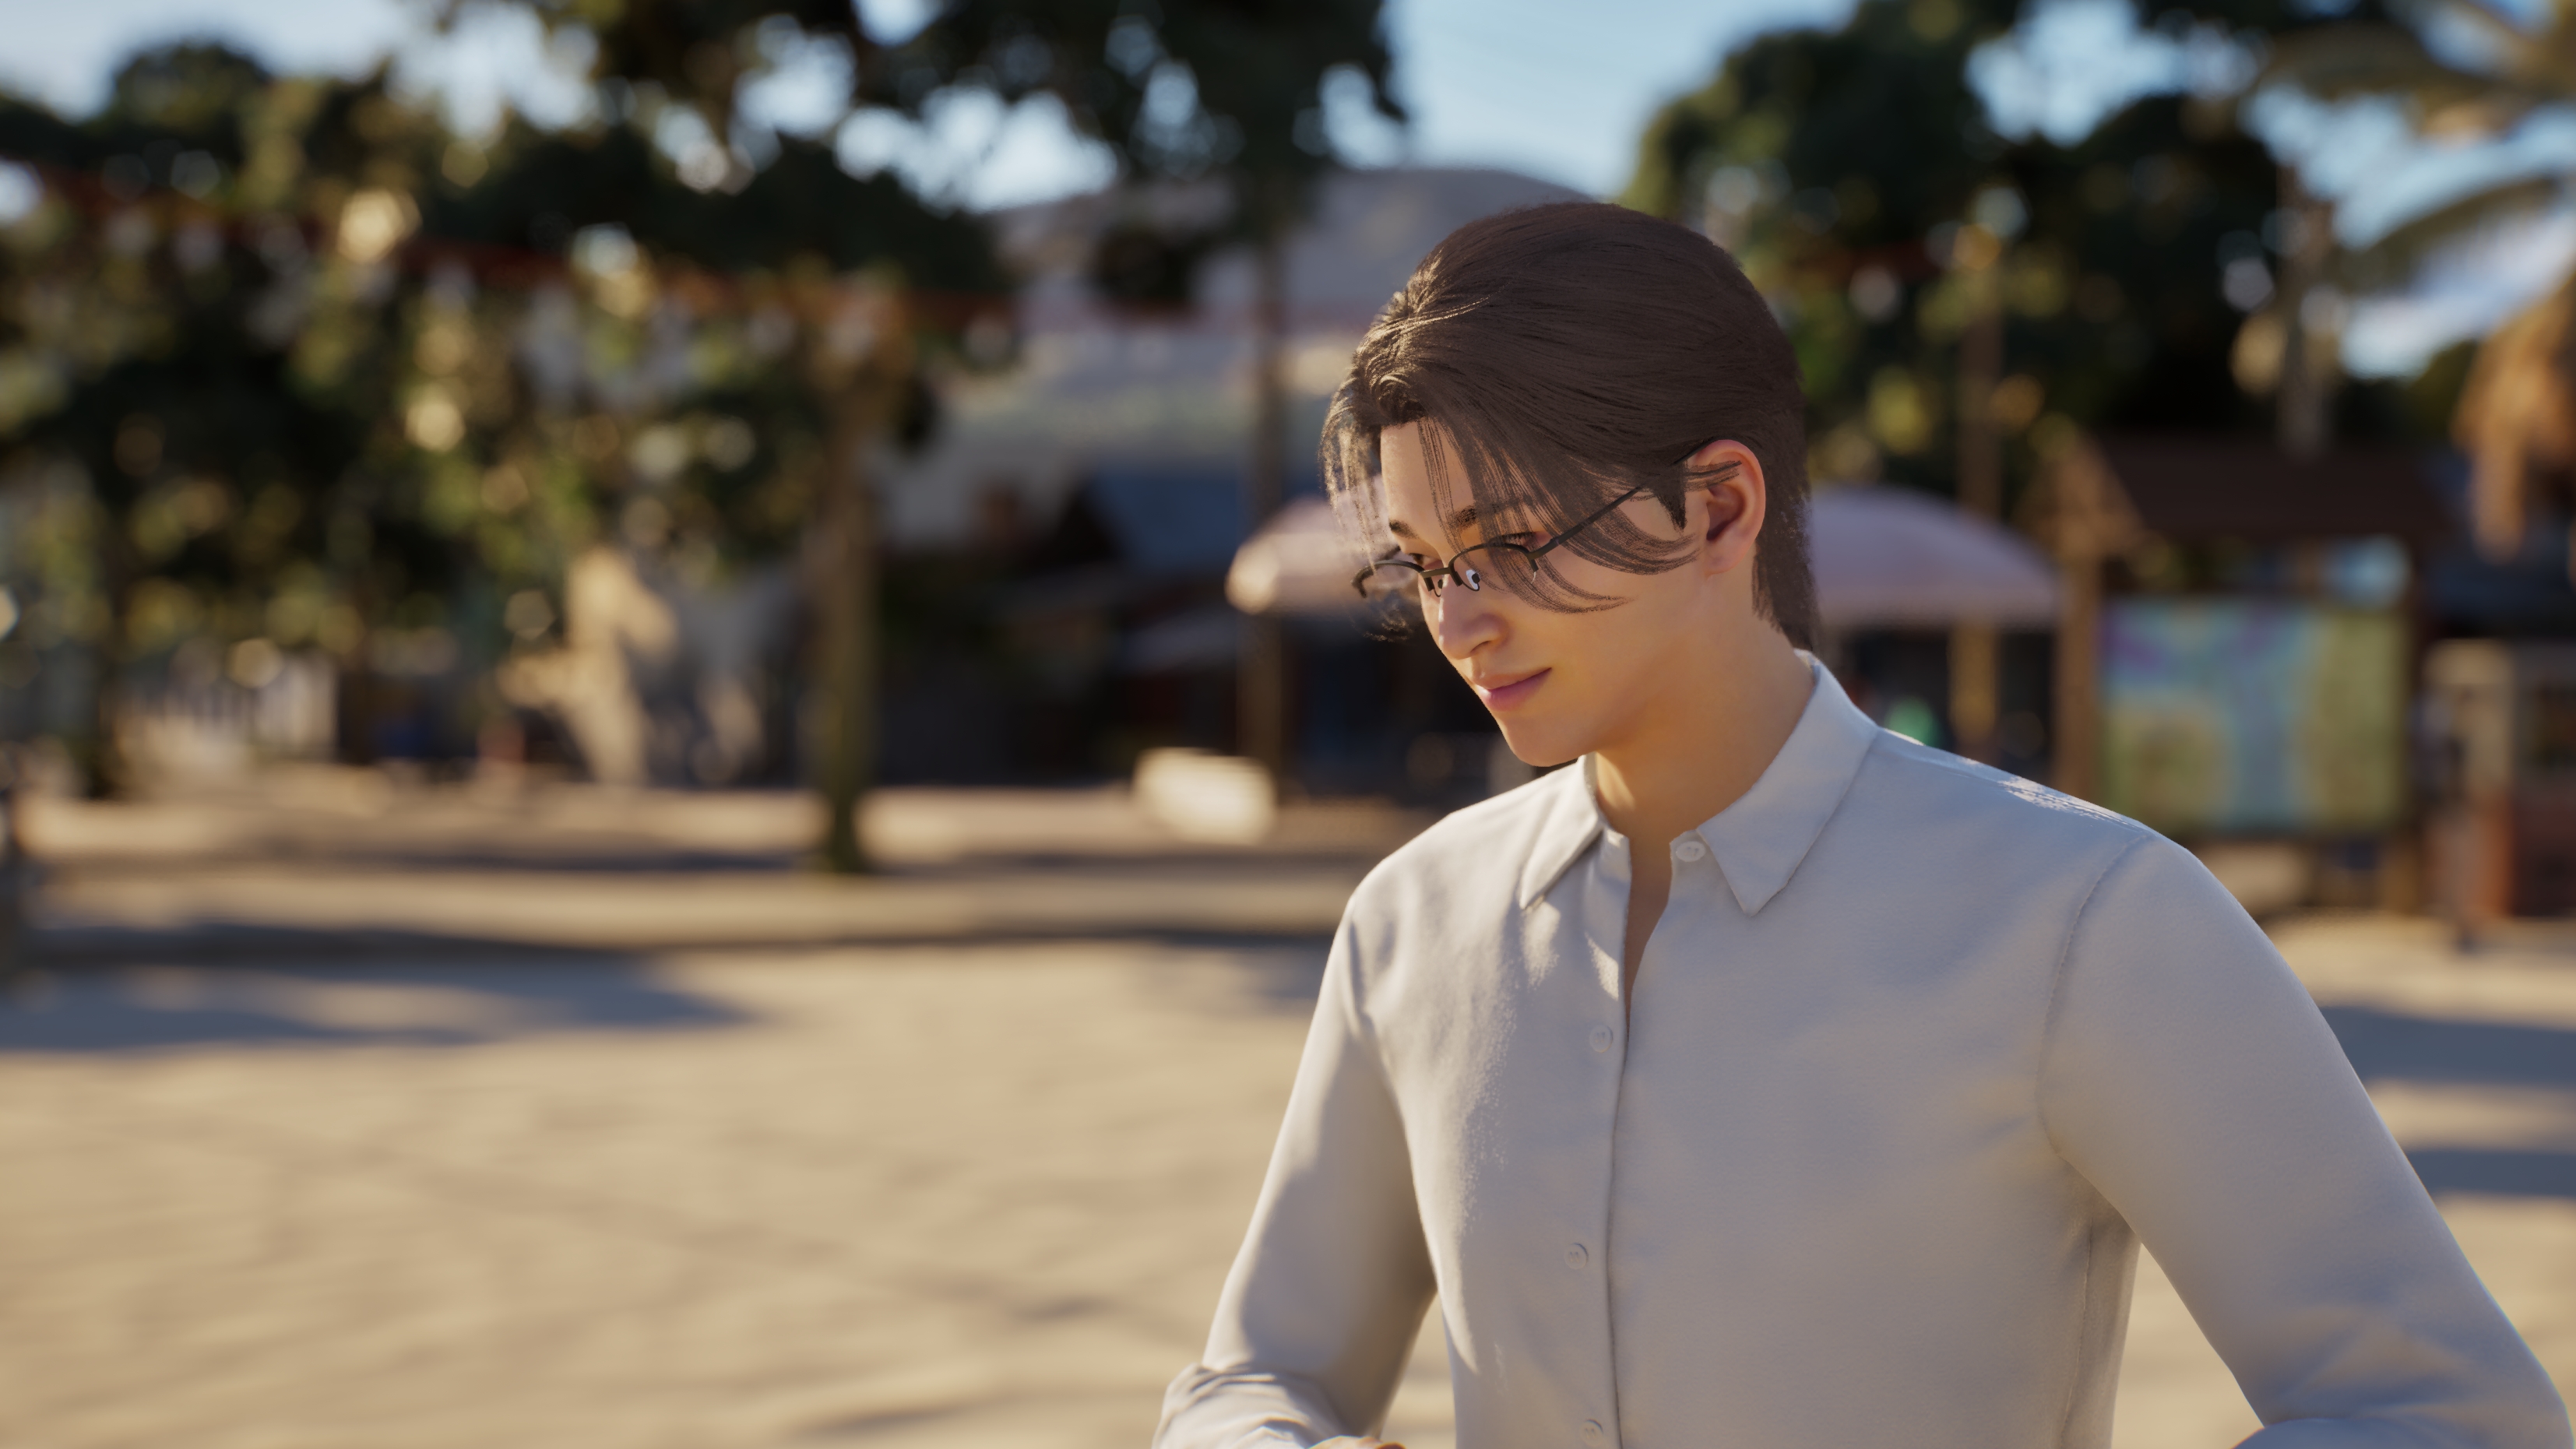
For example, let’s say I want Cahya to deliver a line the audience should really focus on, or maybe she notices something unexpected. In those cases, I’ll adjust the FOV to help emphasize her expression and draw attention to that specific moment.
30 FOV:

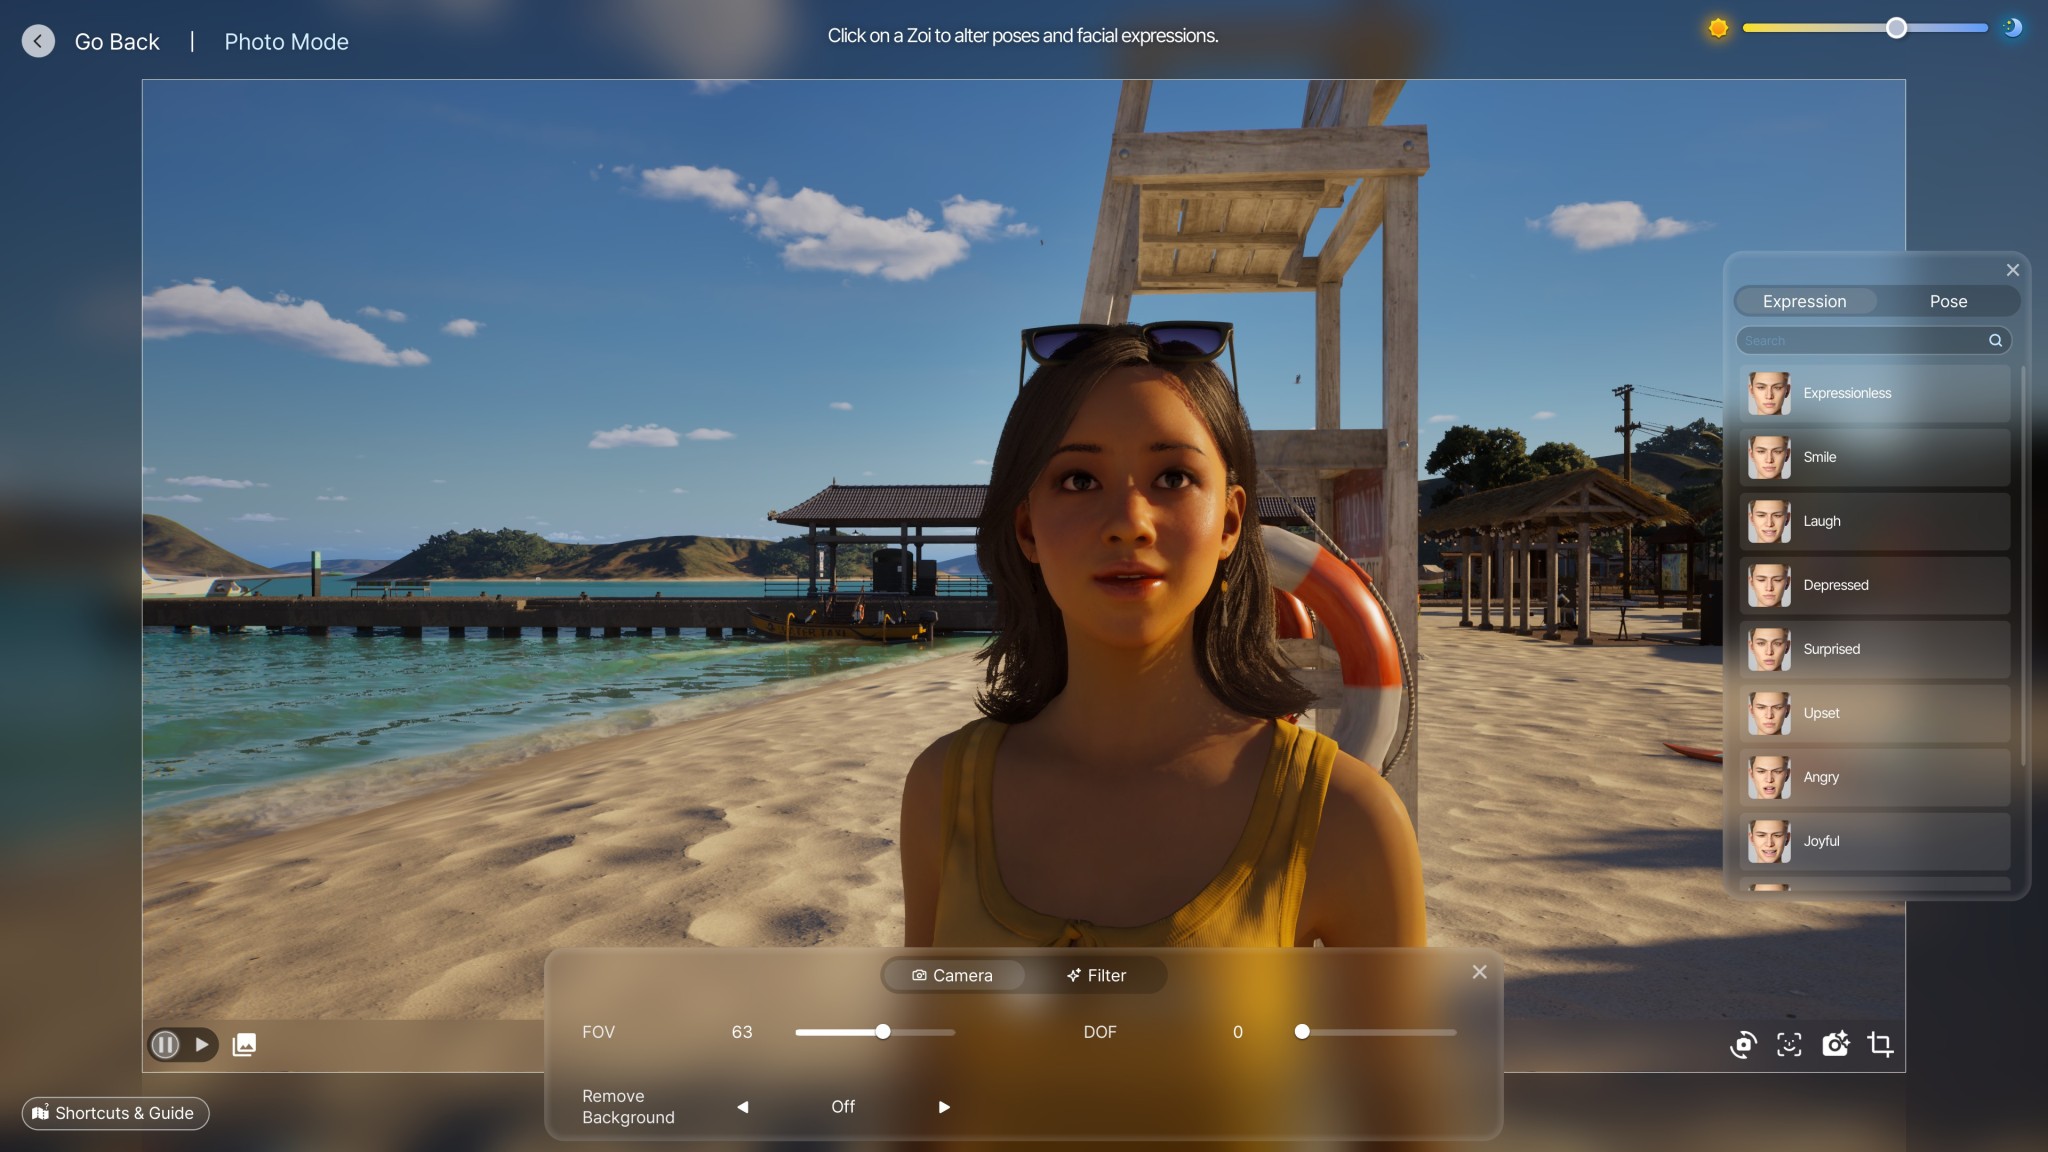
60 FOV :
90 FOV:
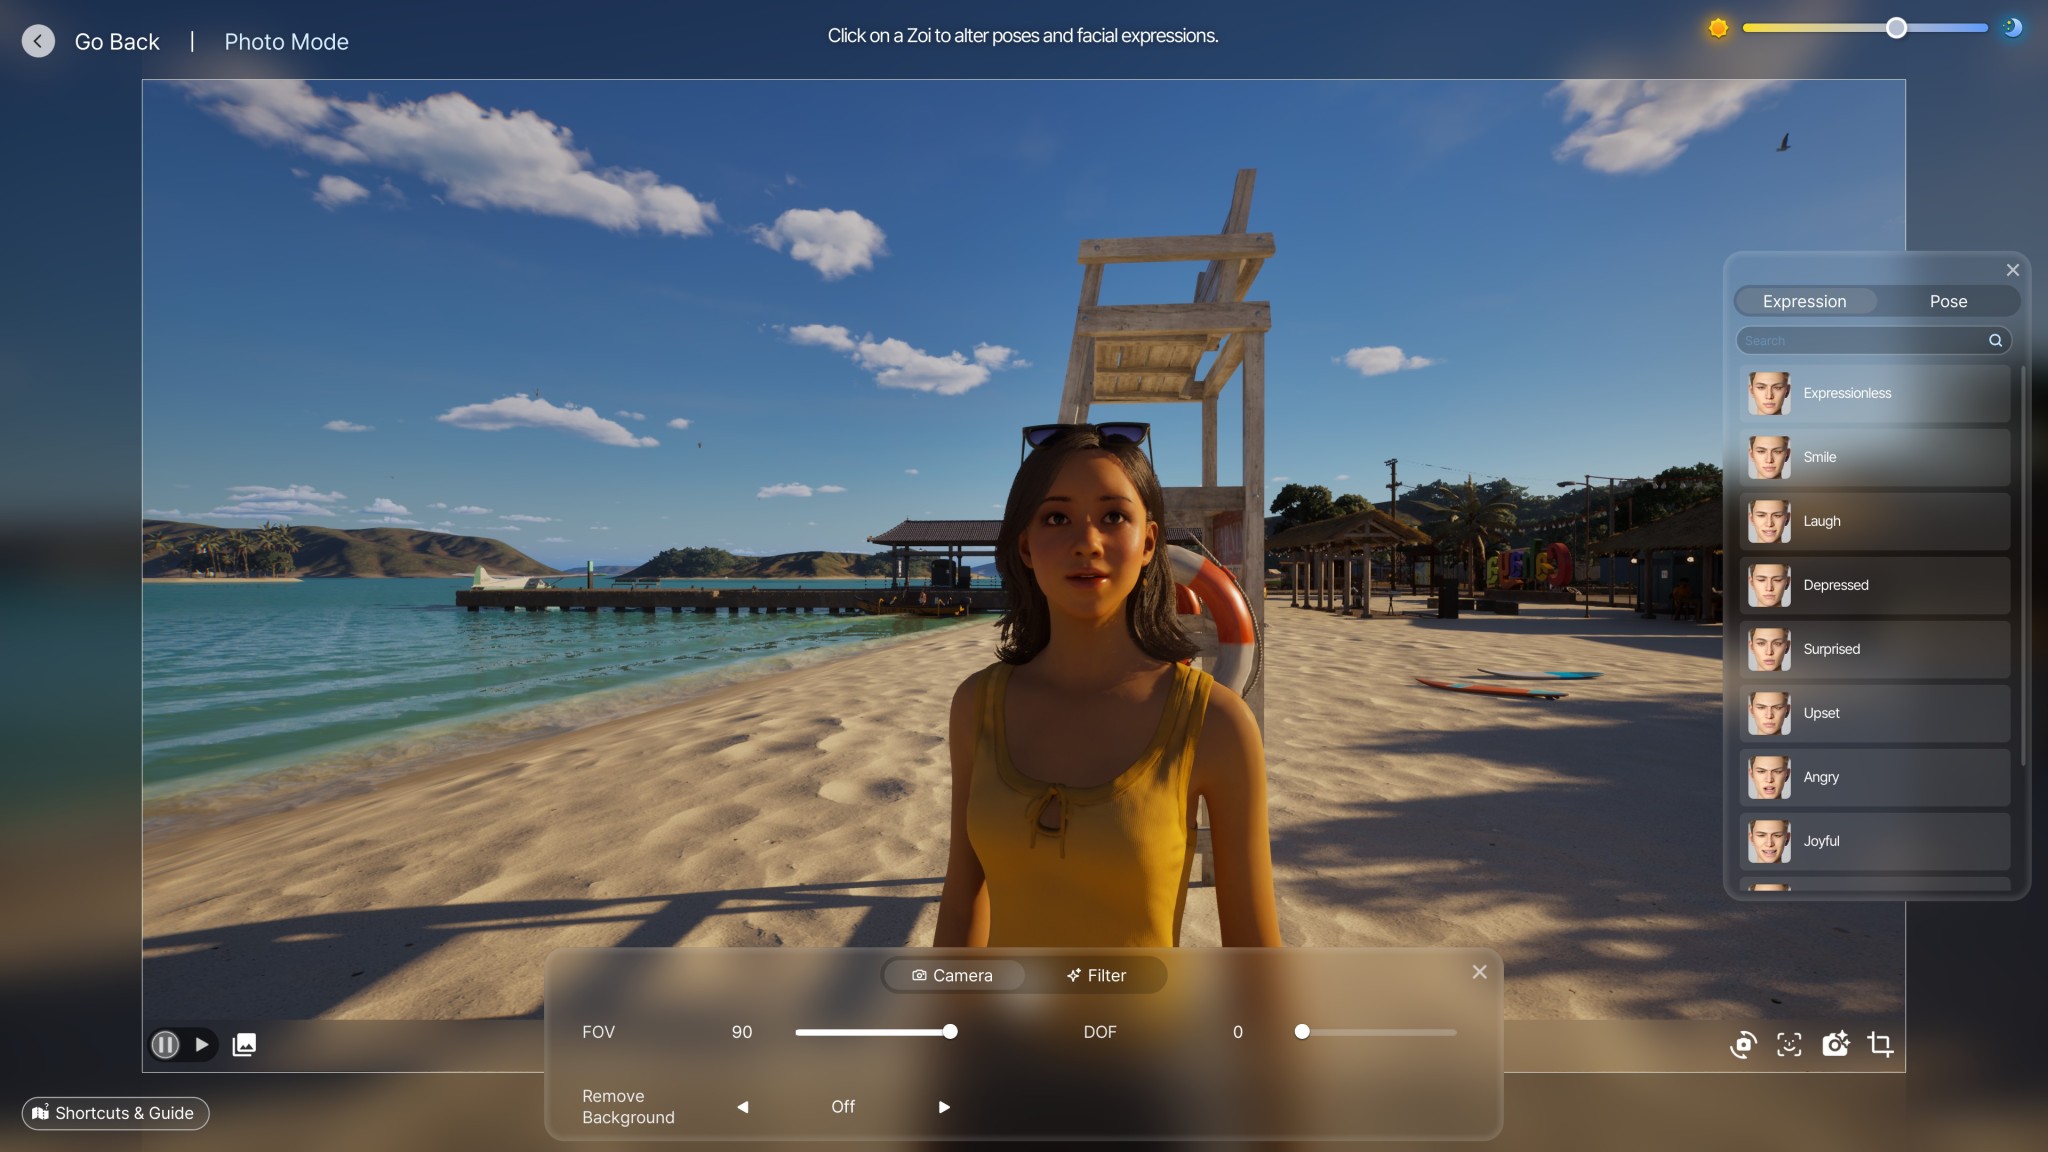
... You see how the further away/greater the FOV we are, the less "Captivated" we are about her facial expressions?
We humans love to make eye contact and reading emotions that way, and that counts for pixel people too! 😉
What FOV is good for what?
While I would still recommend checking out what you want out of your picture, here is a basic list of what I found:
30-45 FOV:
More focused on the character(s). Good for conversations, Good for pictures where the background and the ZOIs whereabouts is not really necessary.


50-60 FOV:
Better for longer shots, where you need to show a ZOI's complete body... Like in the example! :)
I've also used this FOV for more zoomed out pictures like Cahya walking home
70-90 FOV:
I barely use this, but when I do, it's mostly landscape pictures!
Just... don't crank it all to 90 like I've seen a lot of people do. I actually find that 99% of the time way too much and really ruins the picture. So if you're not sure, go for 70-ish! 😉
The Importance of DOF:
DOF (Depth of field) I use ALL the time! It's a great way to create more dramatic scenes, or just giving that picture that necessary boost!
How I use it:
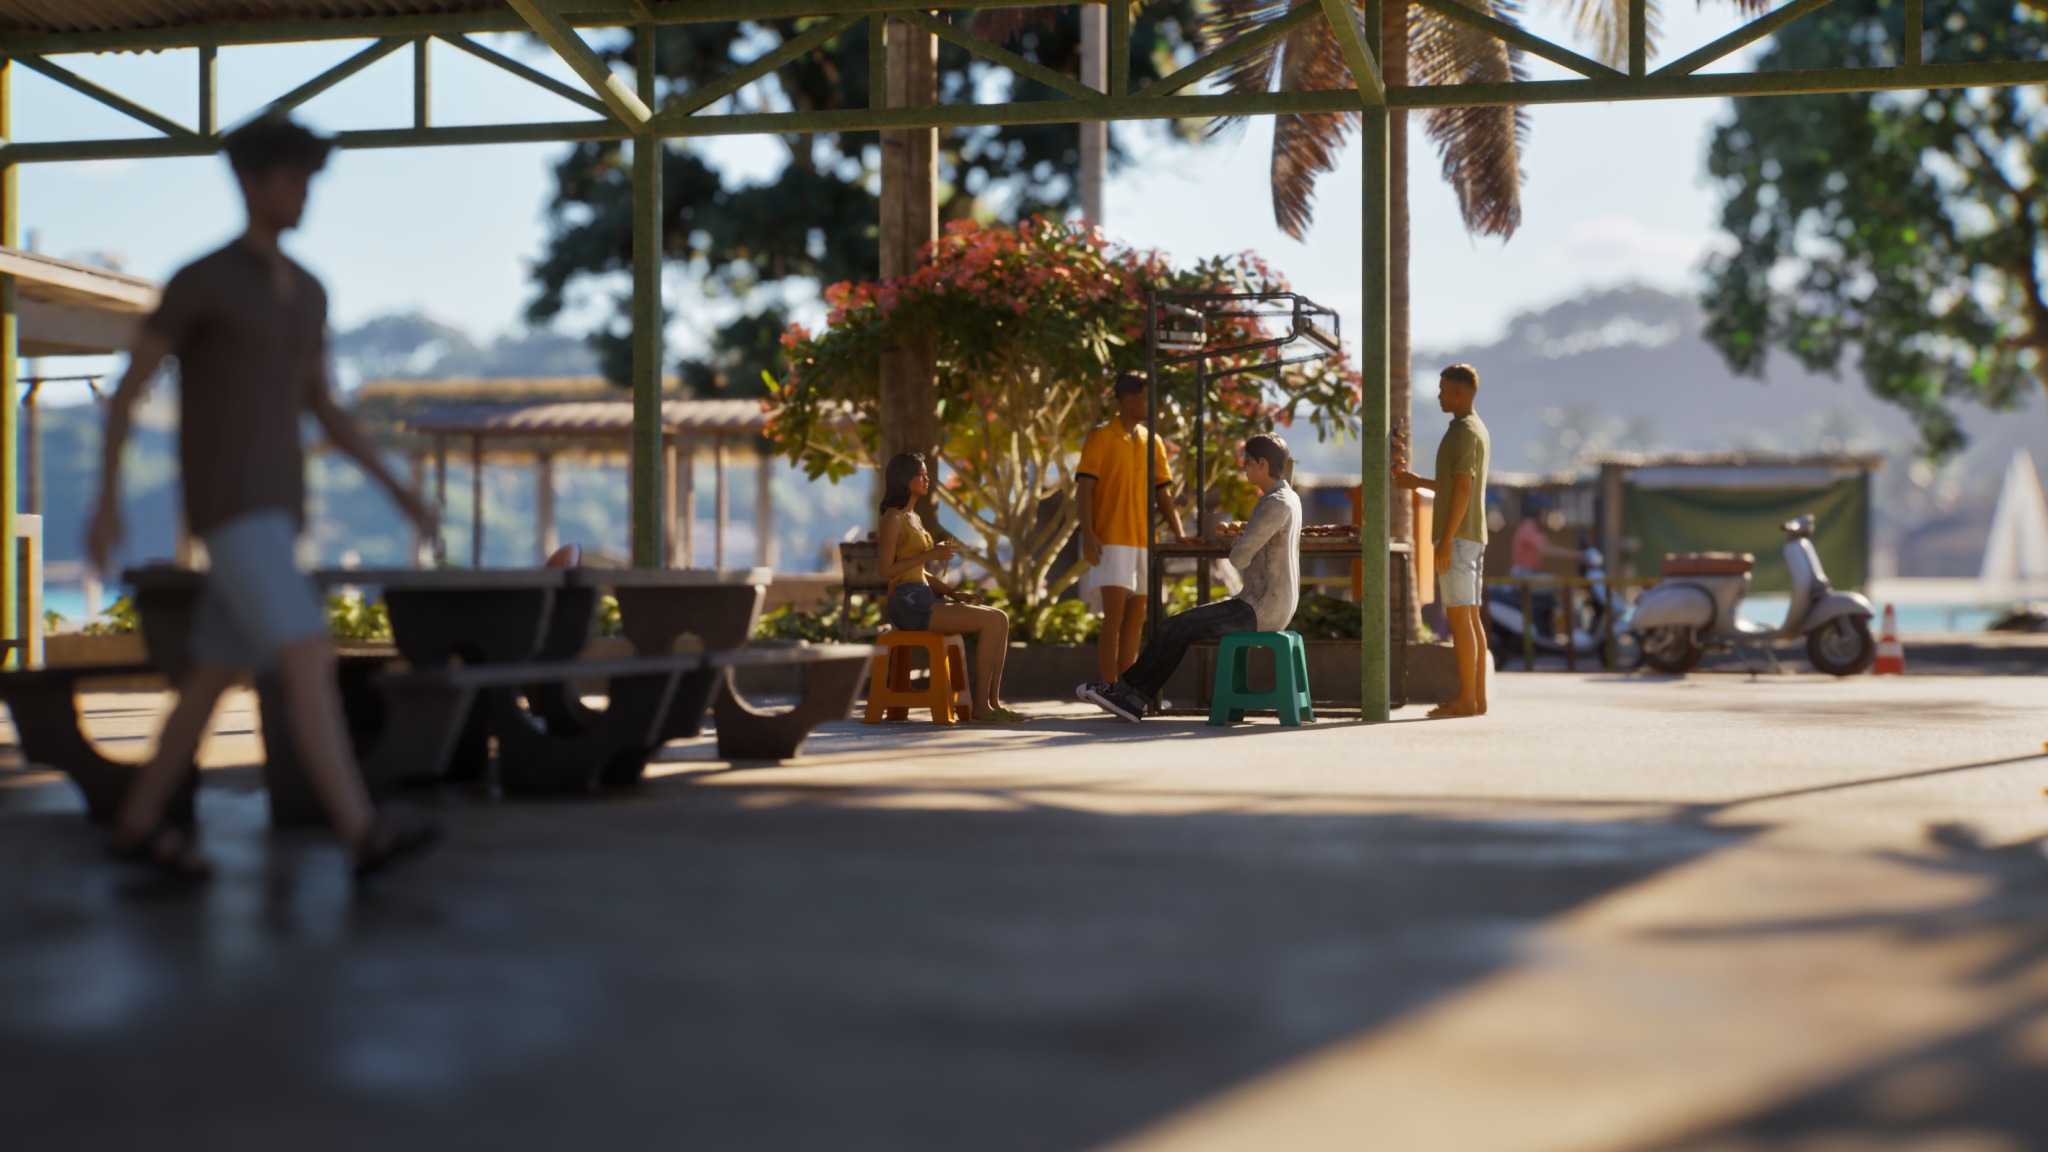
For DOF, it really depends on the background. Sometimes the background (like here) Is so busy, I tend to go higher (60 or so). But otherwise around 30.
Here's a list I compiled to help you out!
10-30 DOF:
I will usually apply a little bit of DOF in pictures for things I want to show at it's fullest. Think: Lots, parks, landscapes (Usually).
It's a great when almost all the things you want to share, you want to... well, share!
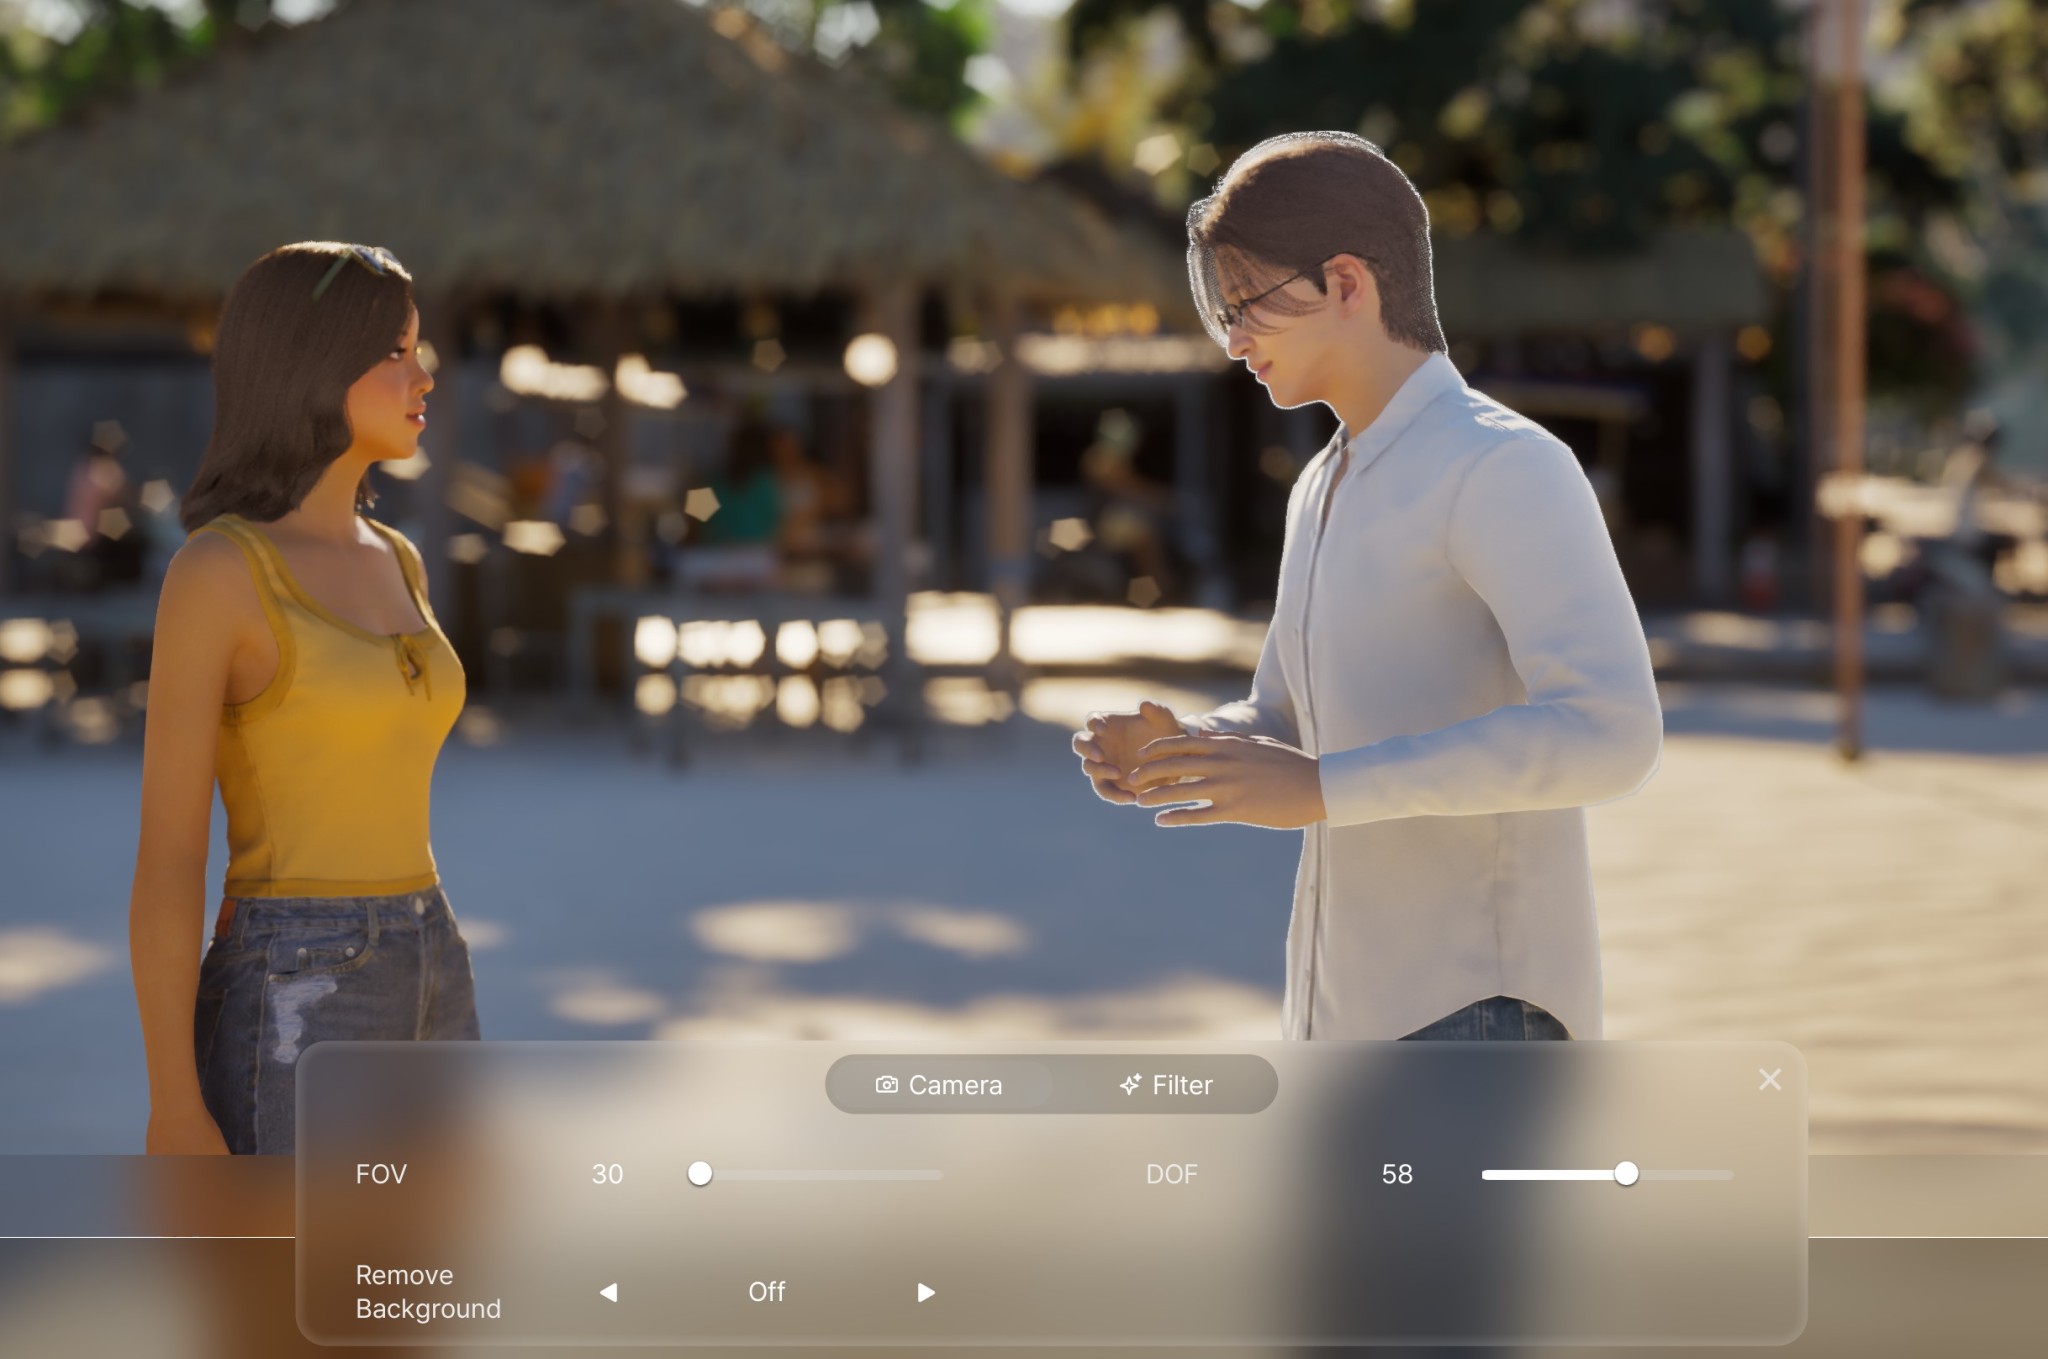
40-60 DOF:
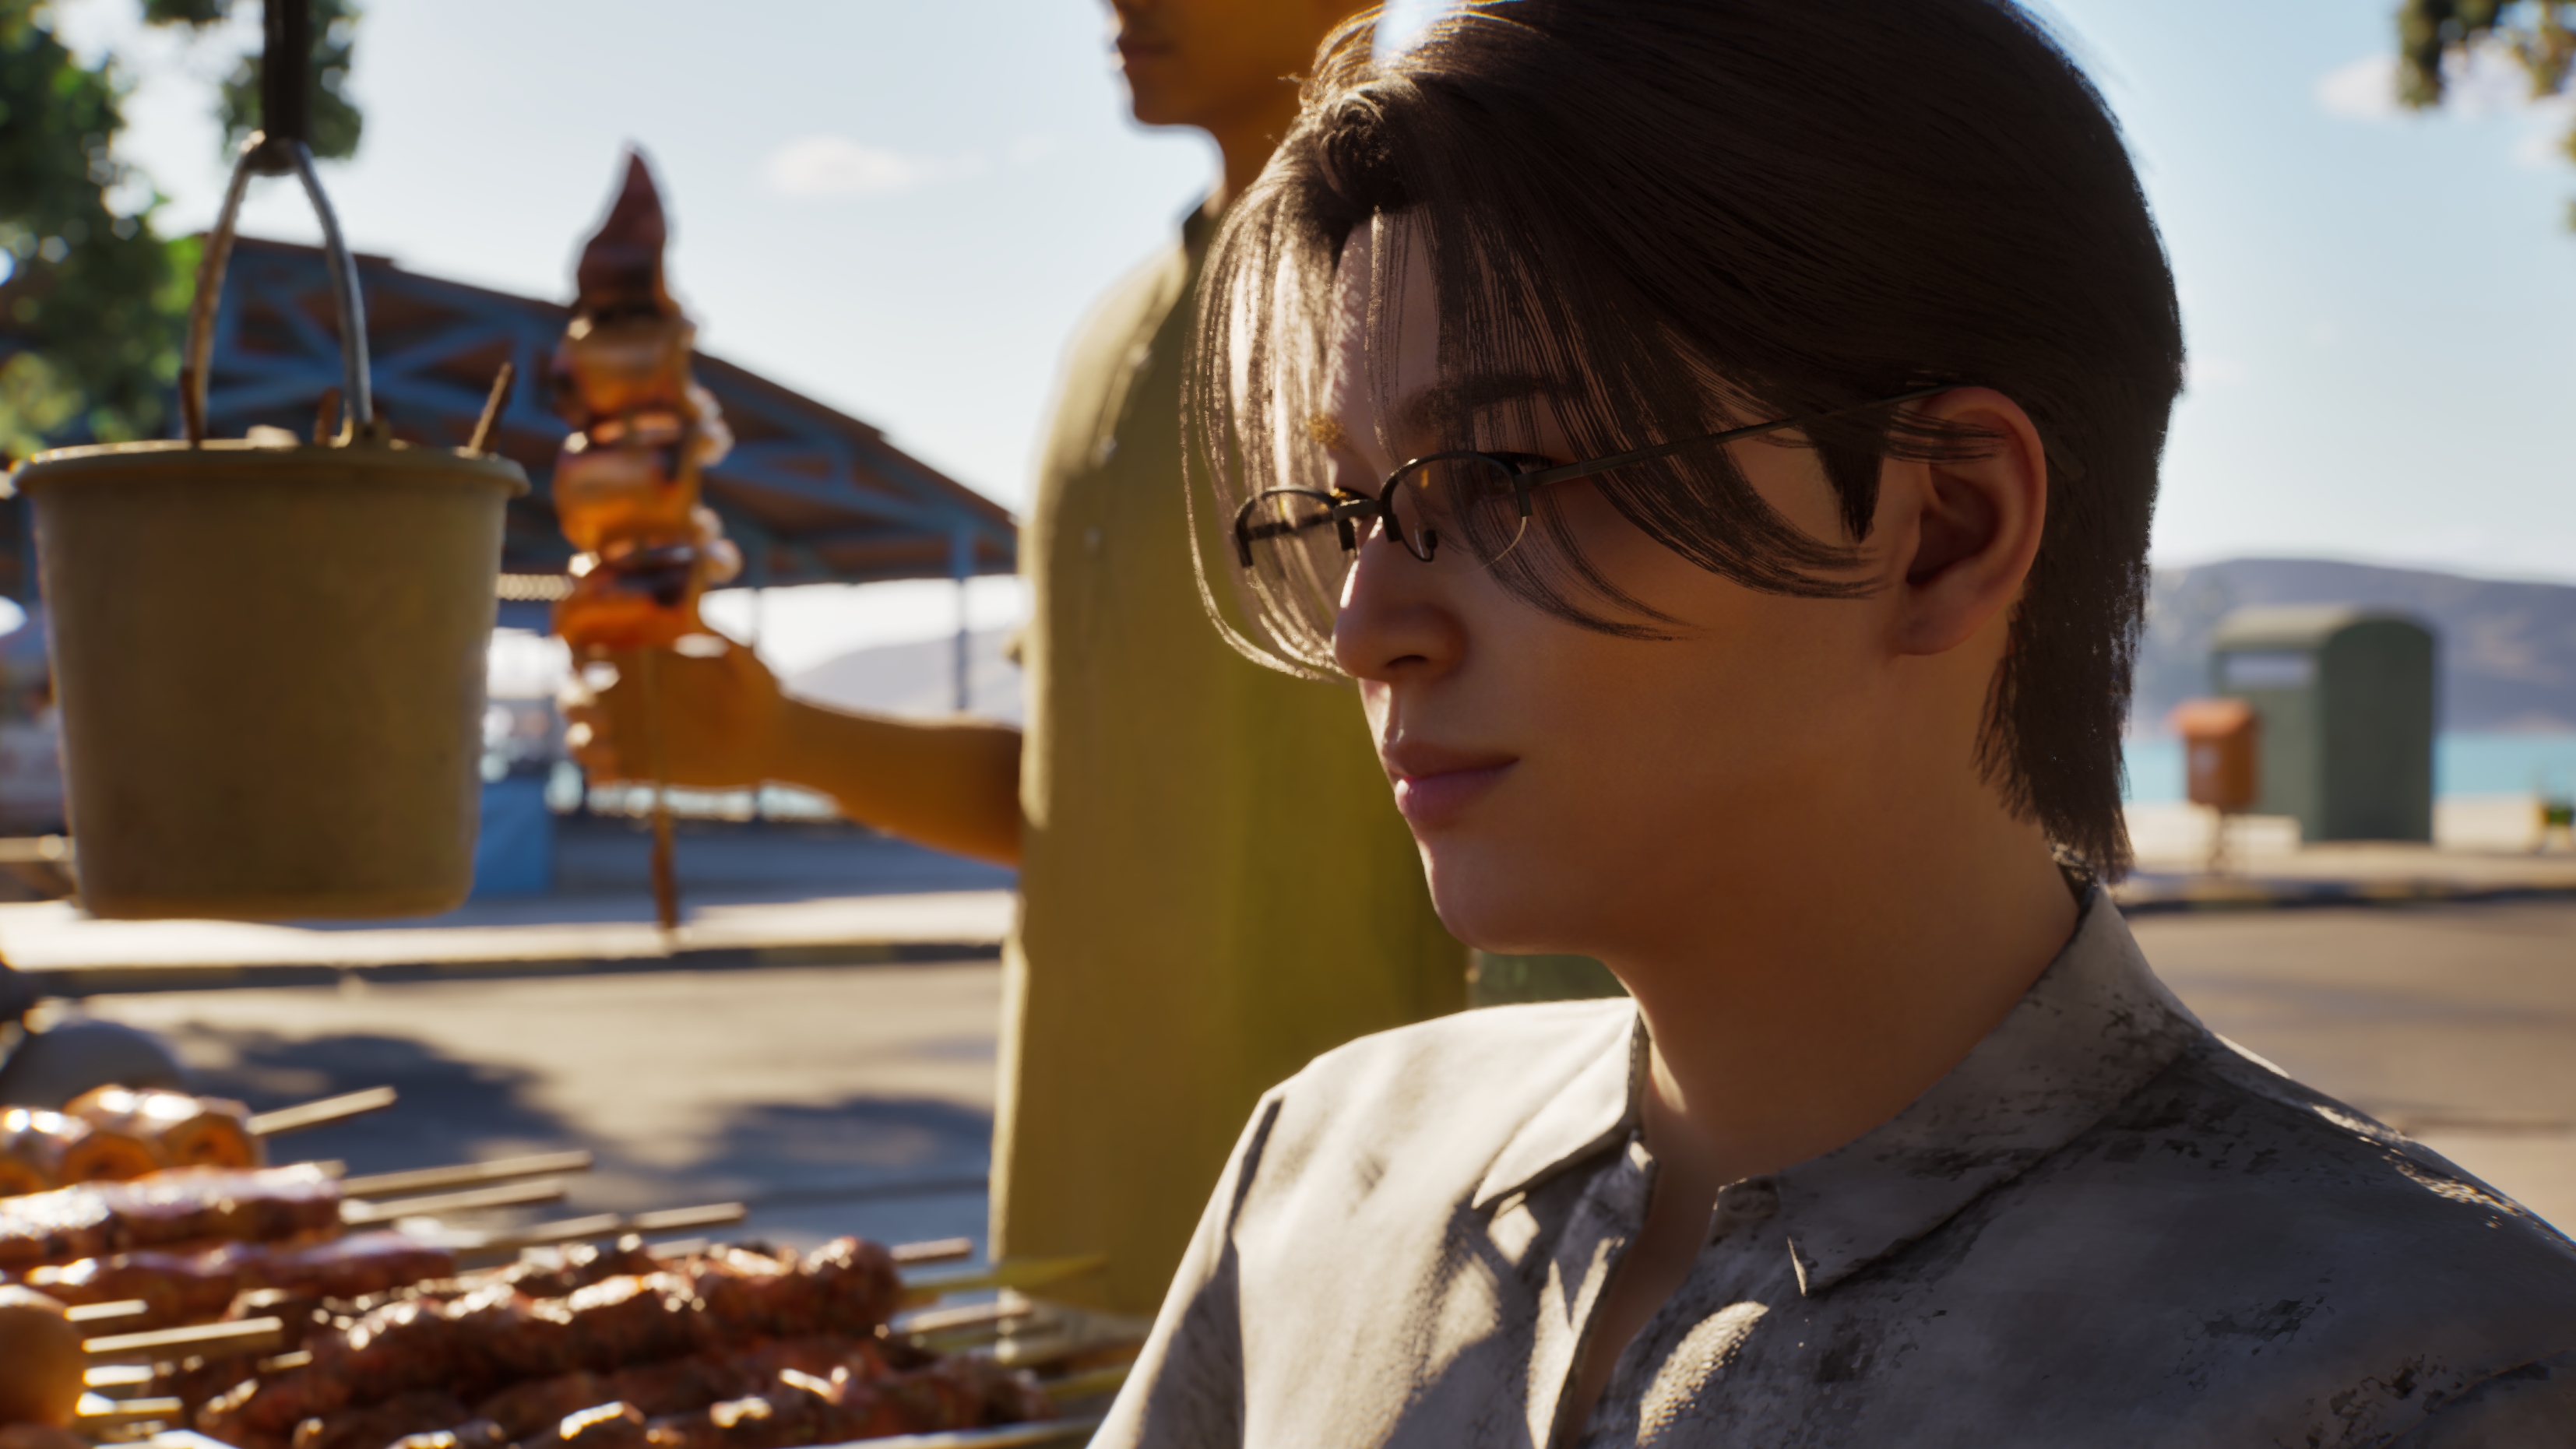
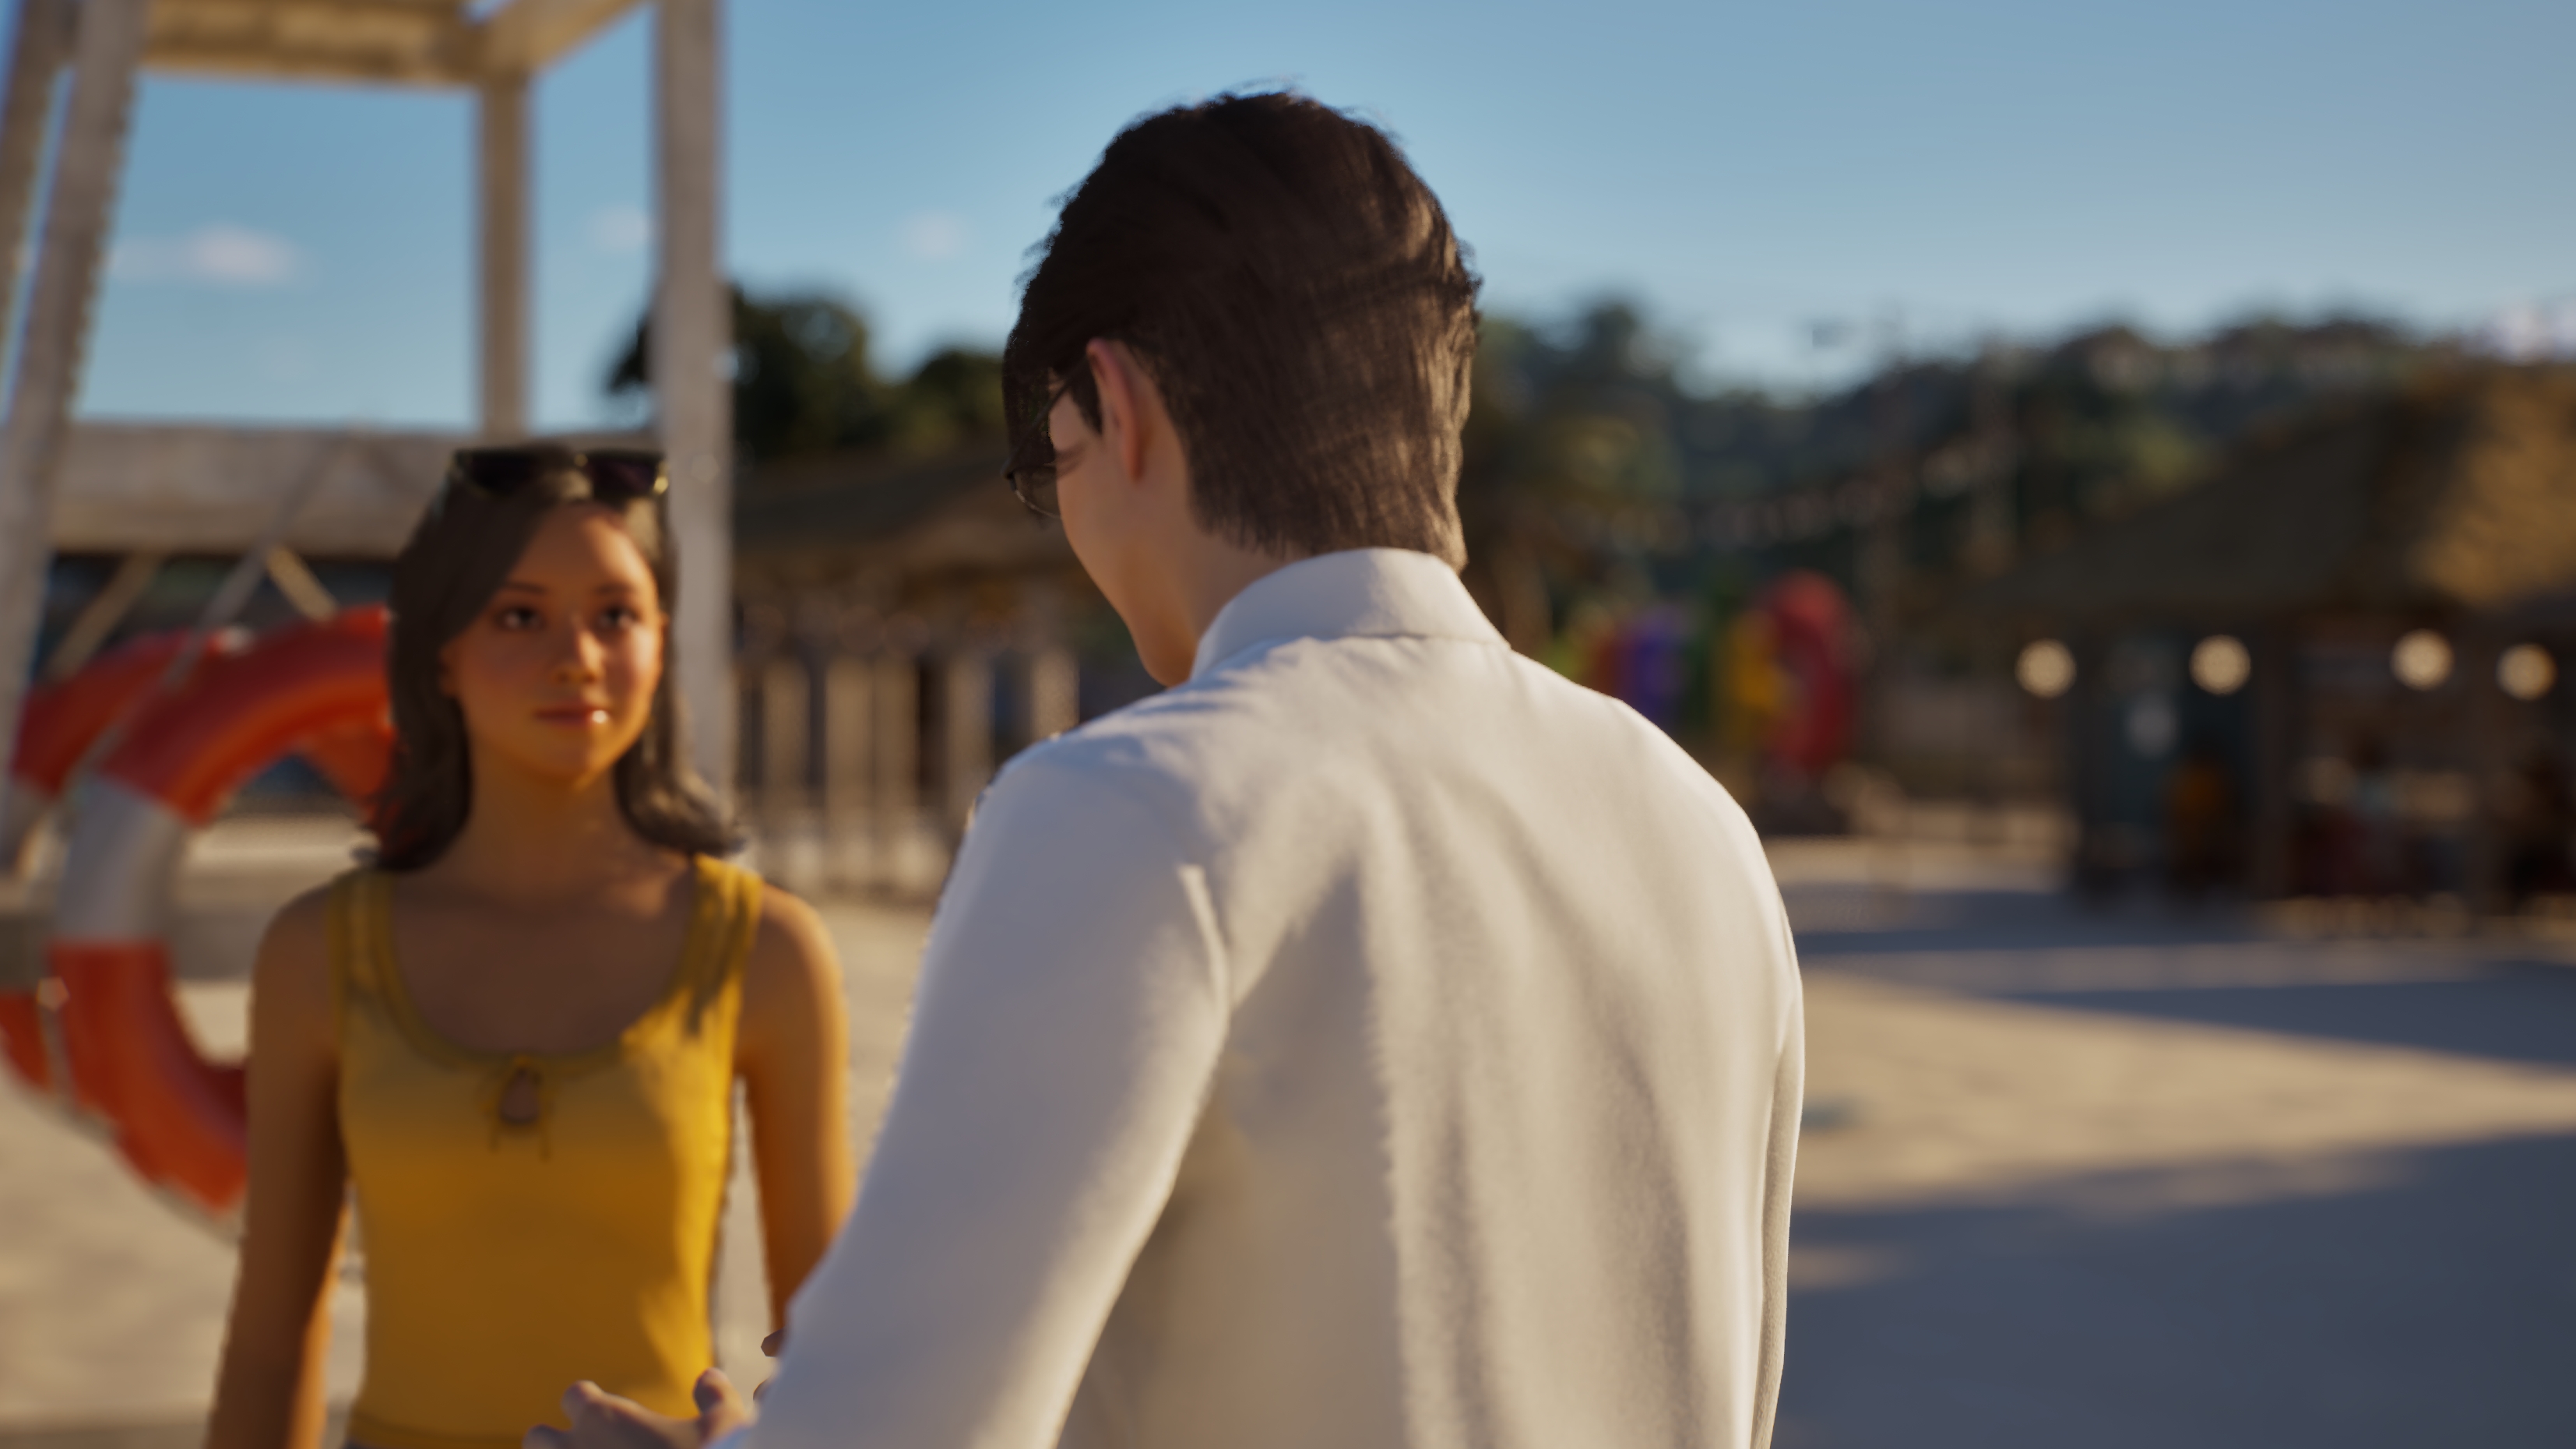
This range is amazing for dialogue and close-up shots! In the first one, it also DOF's out Hiroto, directing the eyes of the audience to Cahya and her.
The second one is an example I figured I'd share, to show that it can also be good to not blur things completely, and letting the Audience know what your characters are looking at.
Generally this one is also good for modeling pictures!

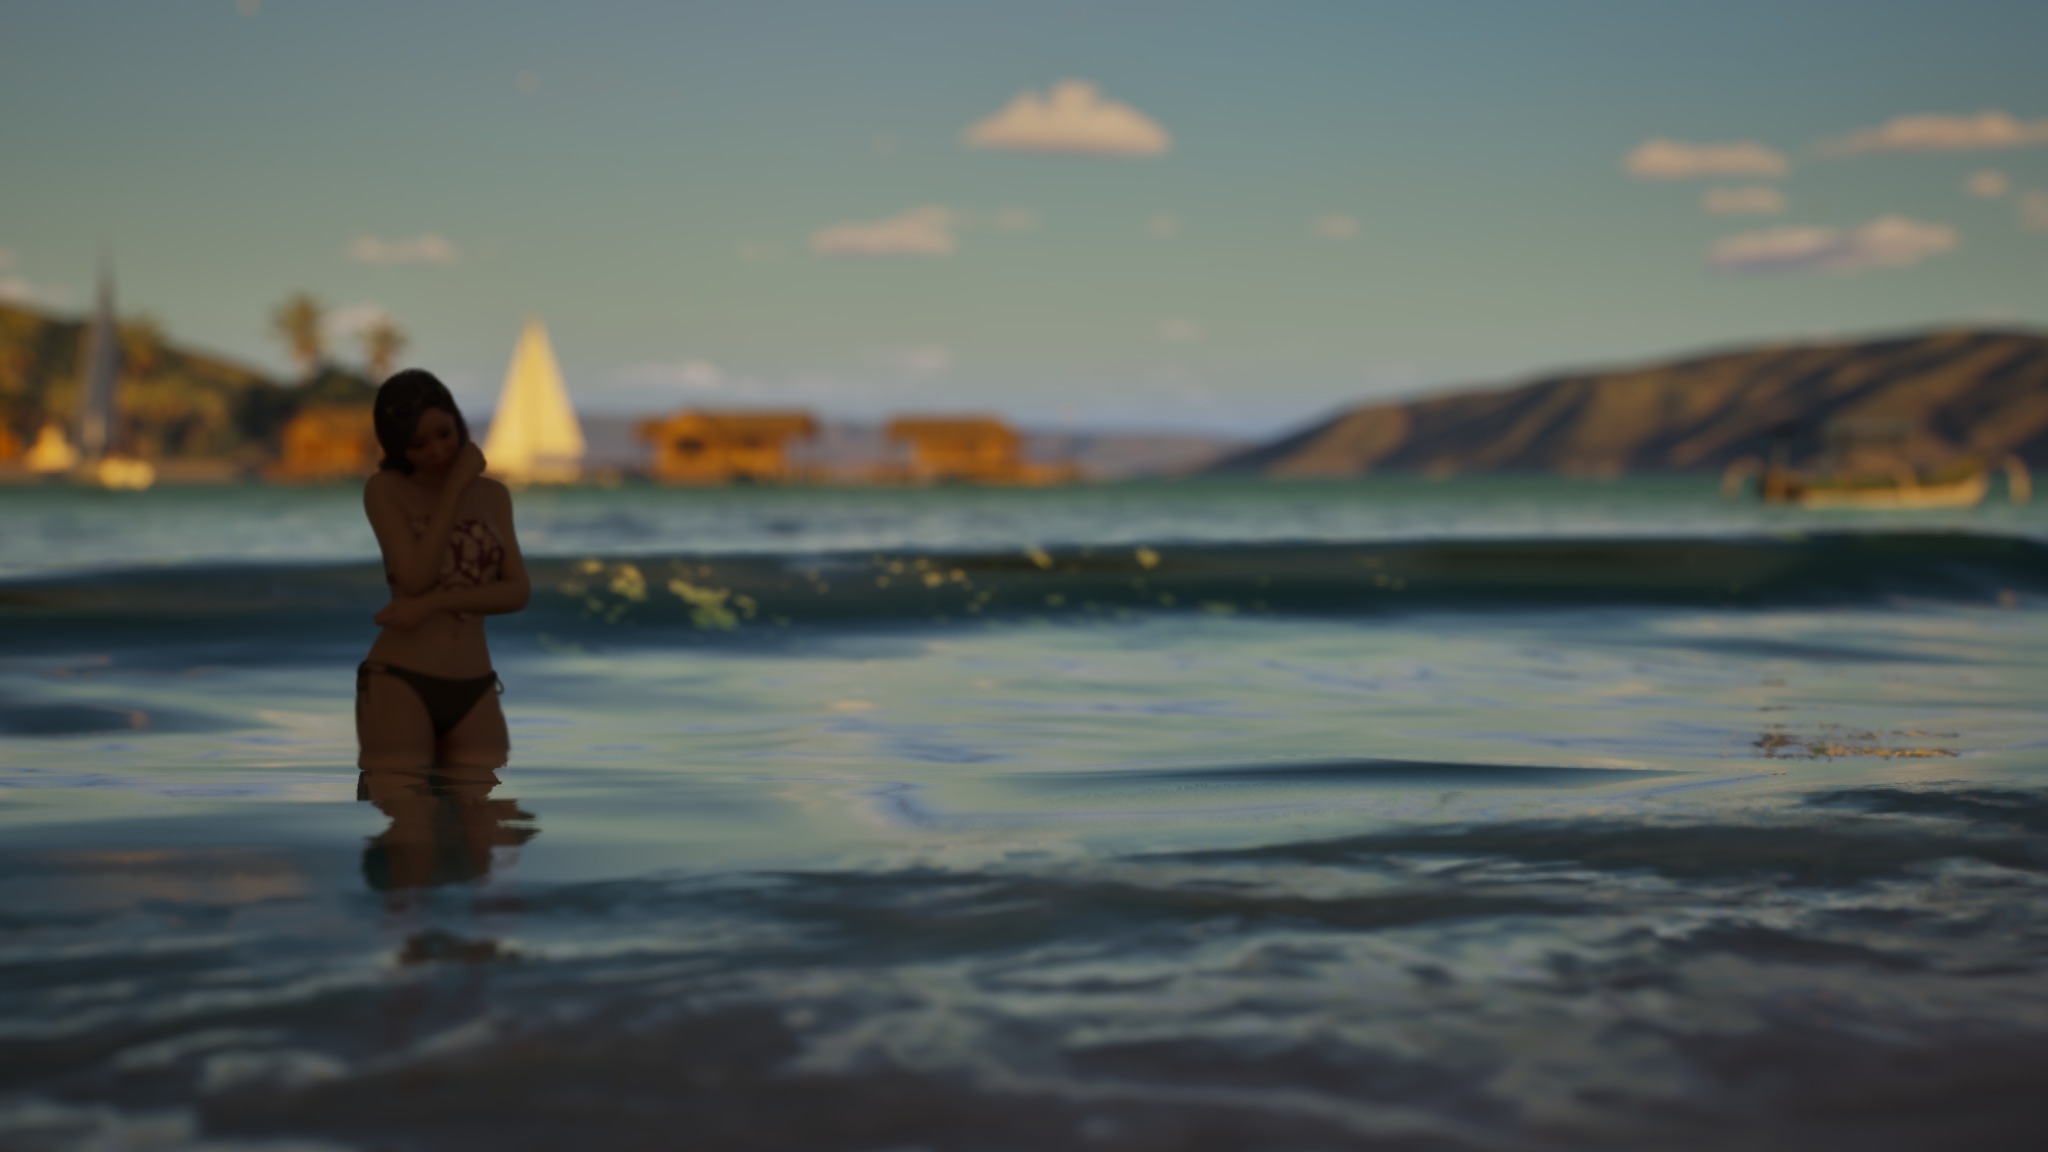

70-100 DOF:
My beloved...
But jokes aside, I LOVE this range lol. You can do SO much with it! Want to spark some romance? Have a angry fight scene? Have a lot of NPCs in the background? Crank up that DOF!
There's just SO much possible with it as you see in my examples. Rotating the camera around especially here will help a lot to find those super precious pictures.
🎲How to find the right angles
So, right of the bat, I want to say: This is... not easy. It takes practice and looking at a lot of refences. If not, simply searching for the right angle in game!
However, I do have a couple of to-go hints! Especially from a storytelling perspective. 😉 Learning about types angles for Storytelling:
So, while I never did any film or photography study, I do watch a LOT of movies/shows! Eventually you start picking up on the angles they use to make something more dramatic, intense, etc.
Here's a great video on it: https://youtu.be/TWLYBOIpLoE
(Oh and check that FOV/DOF as a reference on these as well to learn more about it 😉)
You will notice I do the same thing...
Eye Level shots:
Our characters always have something cool and important to share! So make sure that in those scenes you show that to the audience.
Maybe something intense? Them telling the truth finally? Whatever comes to mind.
High Level shots:

While I don't tend to use them much for emotional reasons, I tend to use them to show more of a perspective of either:
- ... Taking a break from making us feel the character is big in the world, but simply making them feel smaller than that/part of it.
- ... Showing more of the scene and what they're doing, while keeping creativity in the scene.
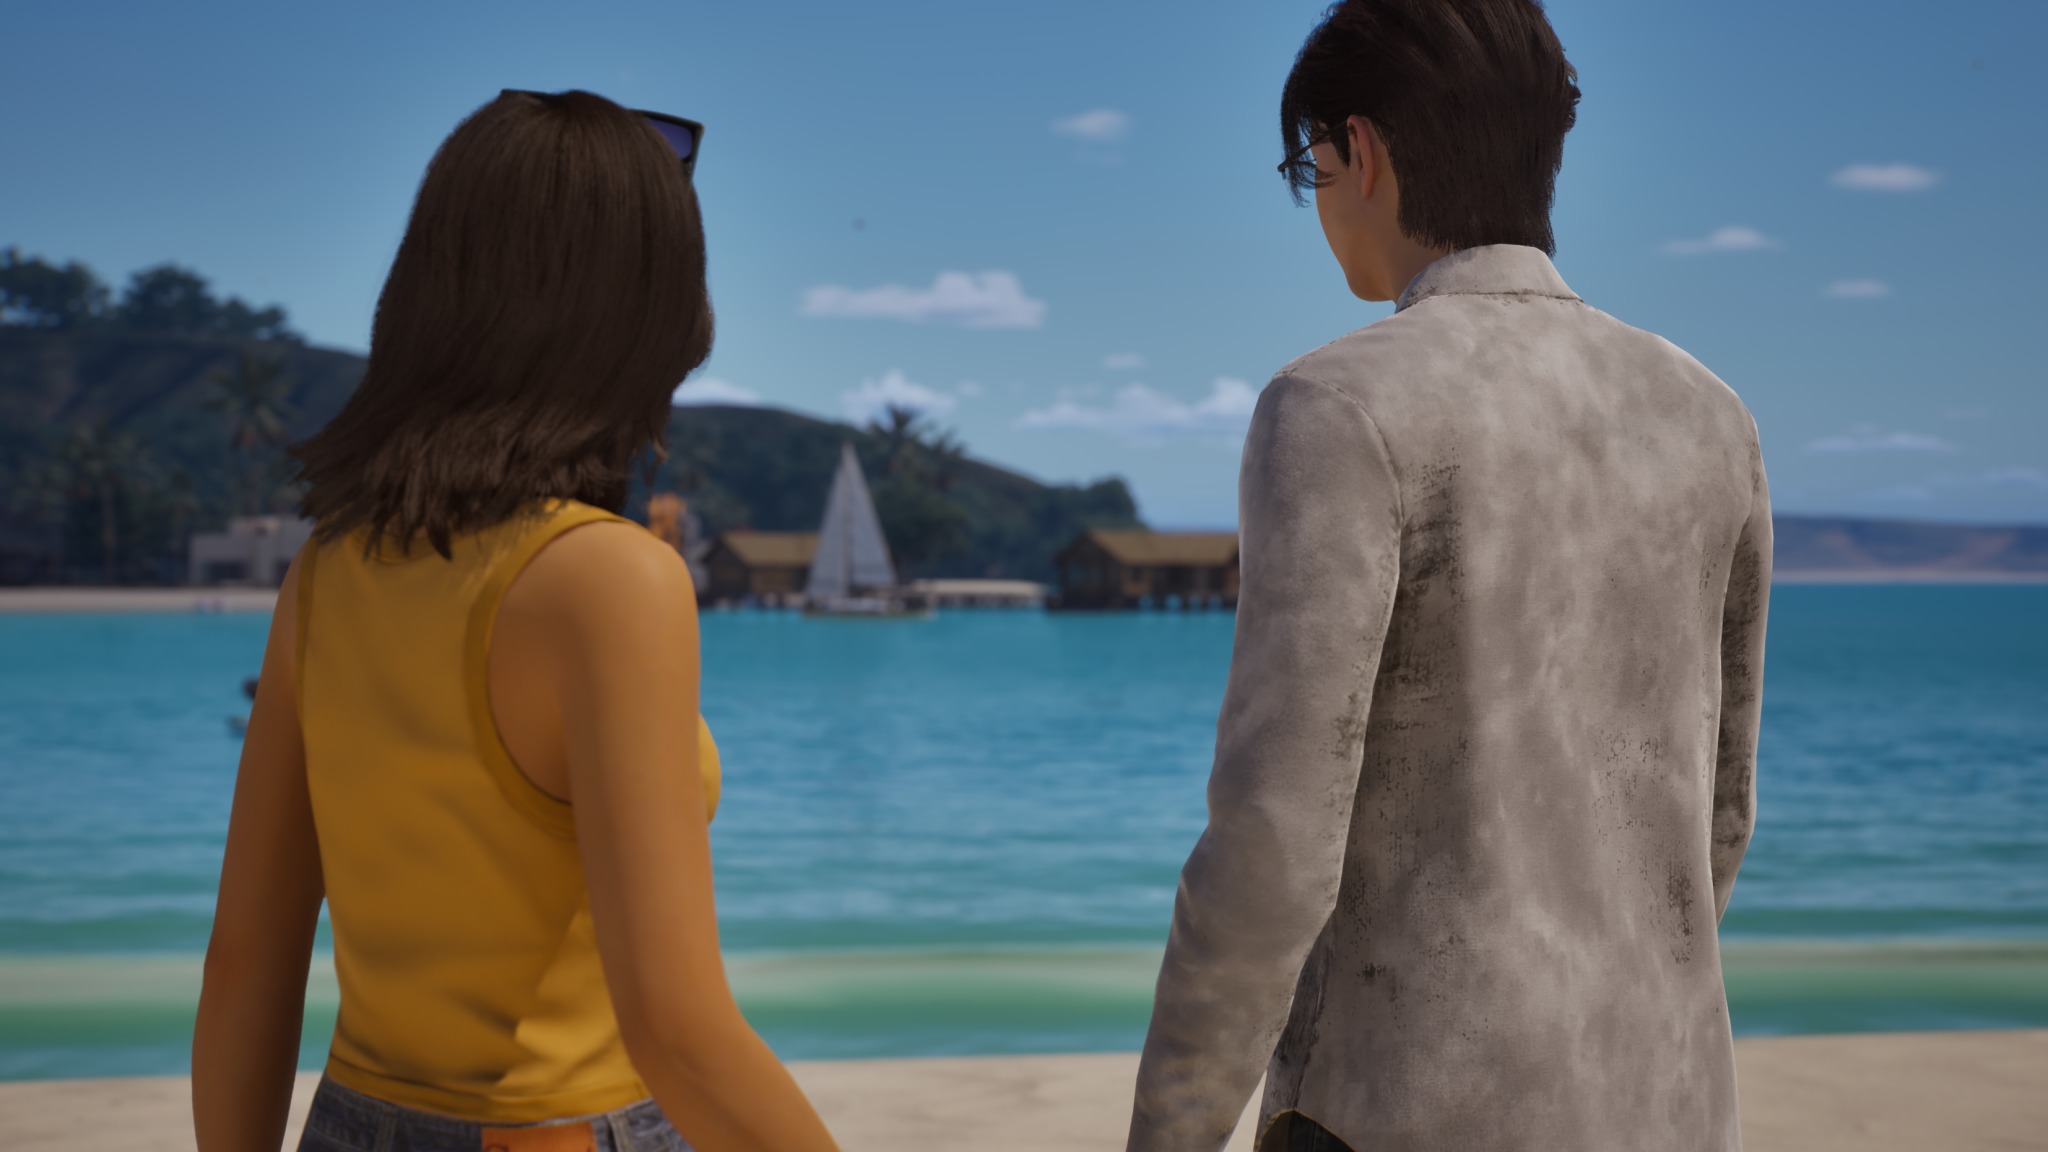
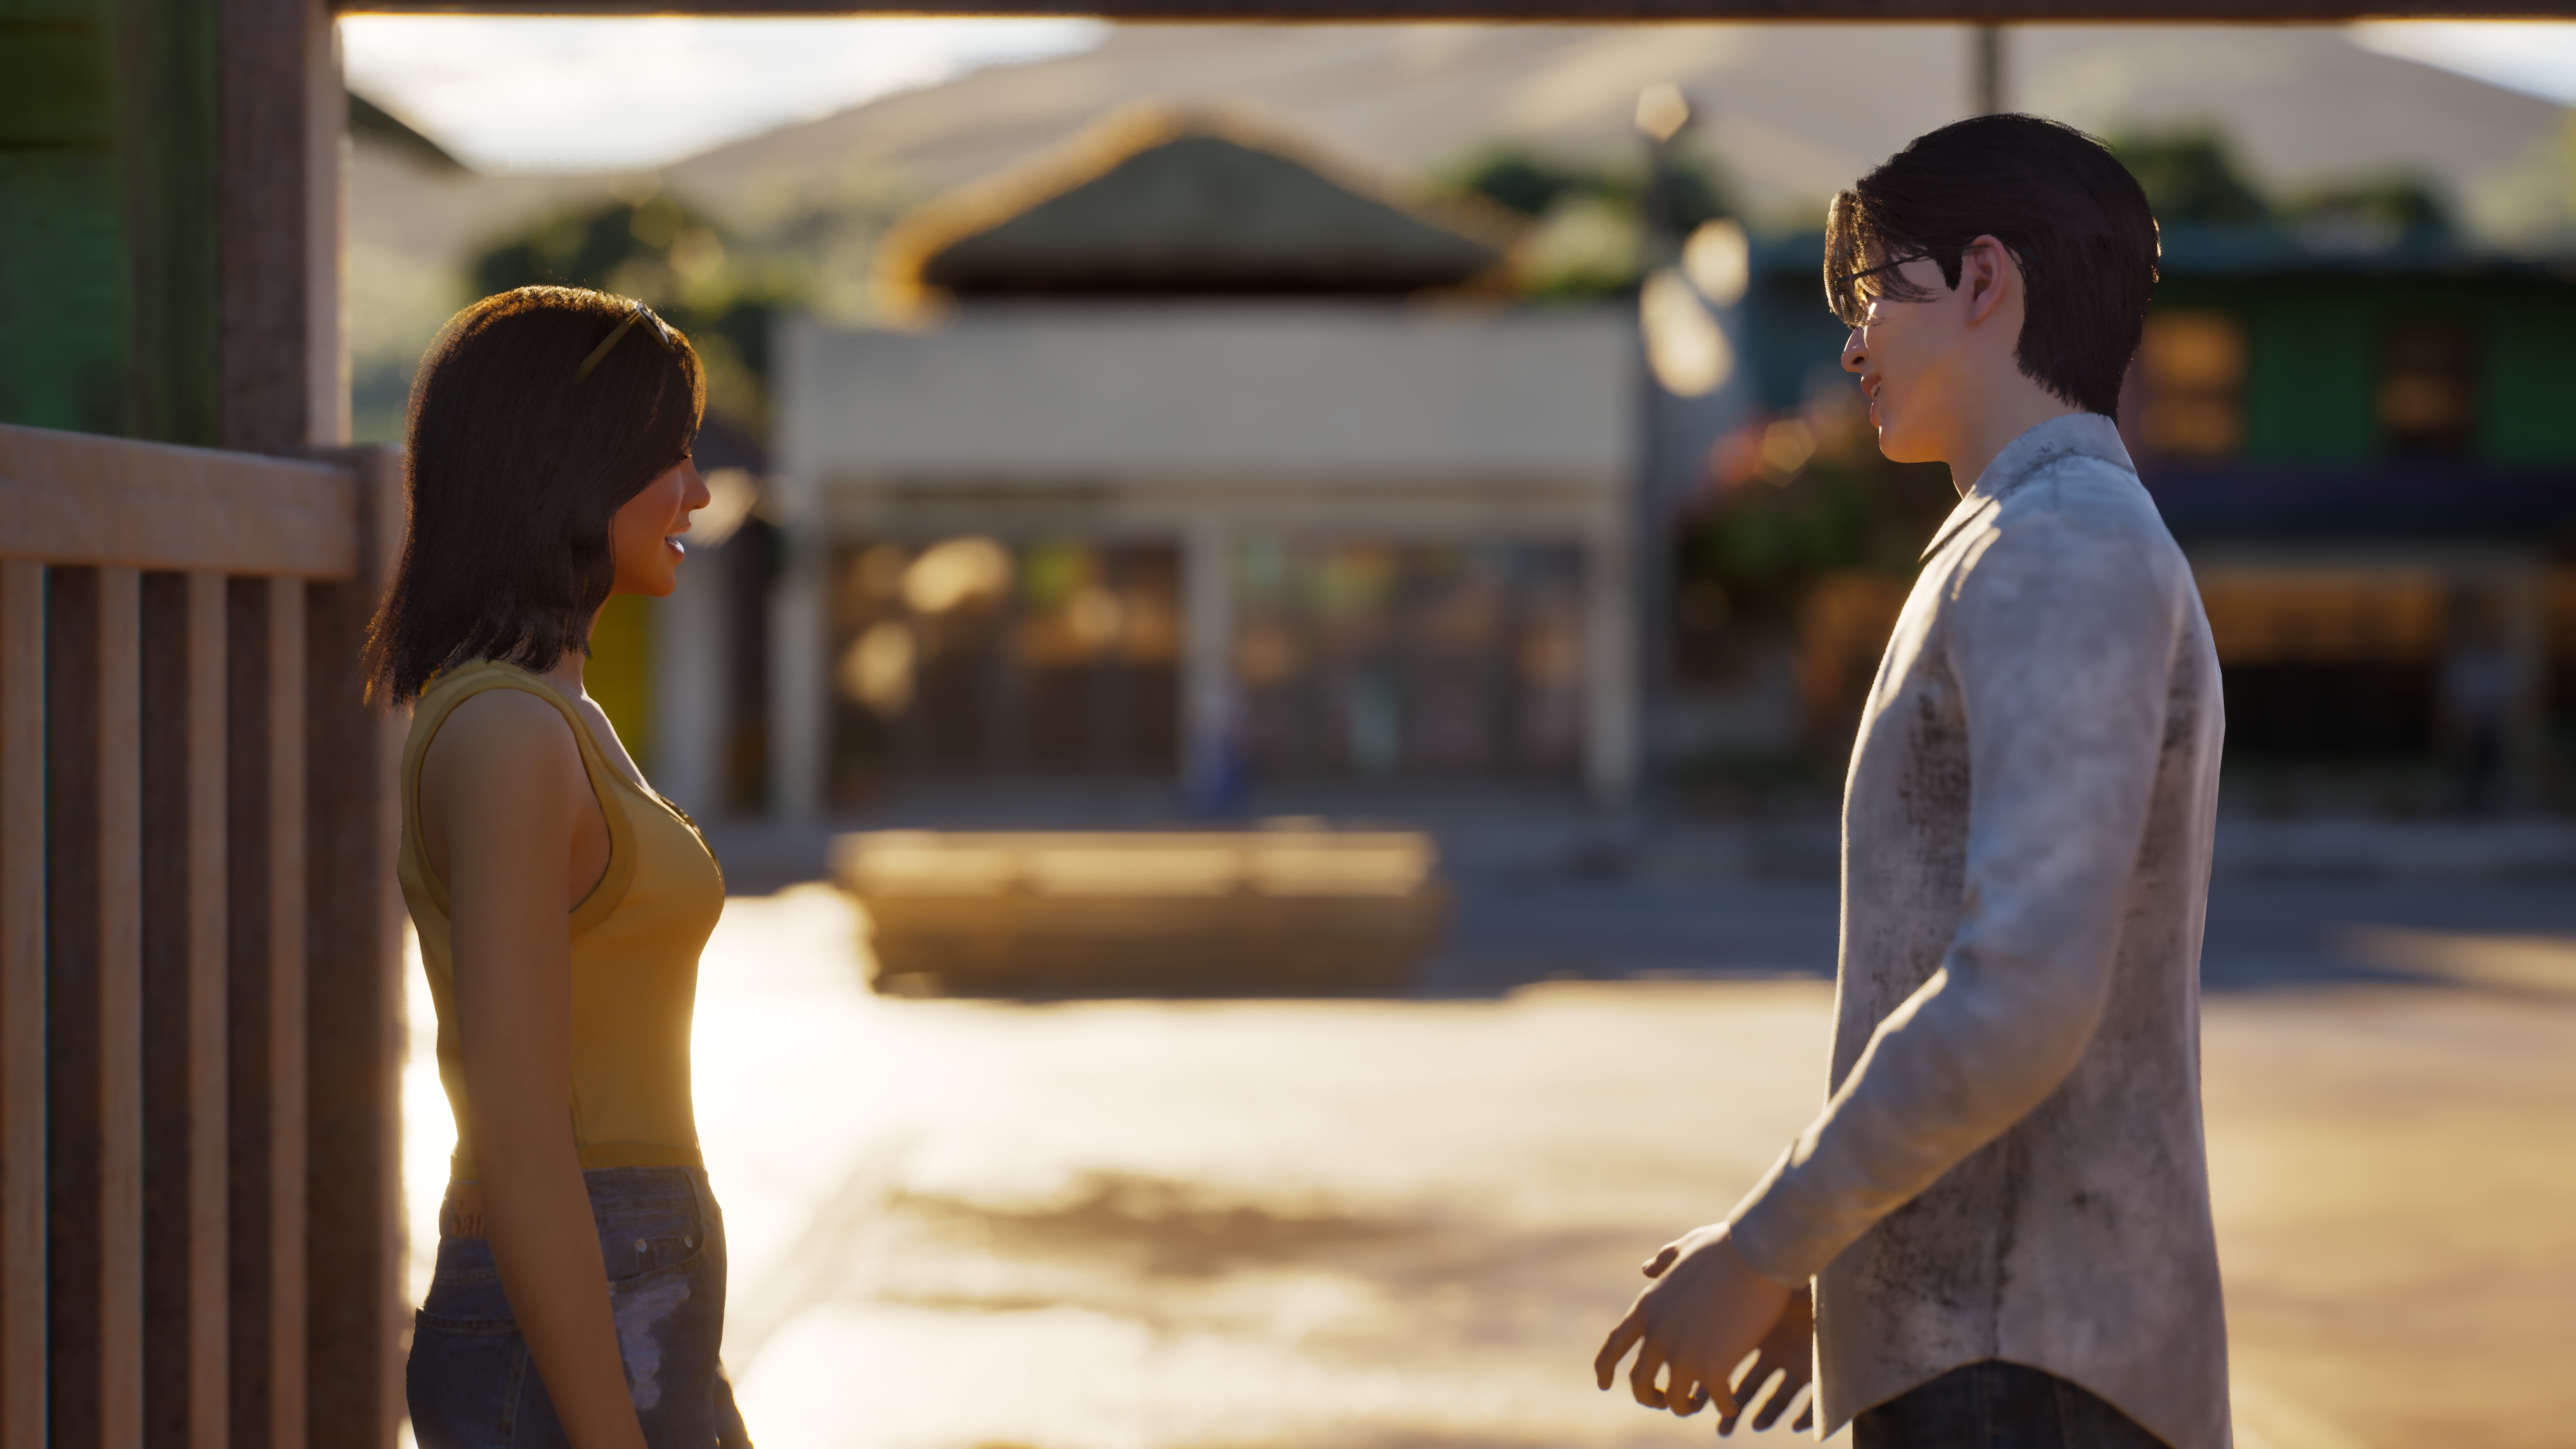
Shoulder Angle Shot:
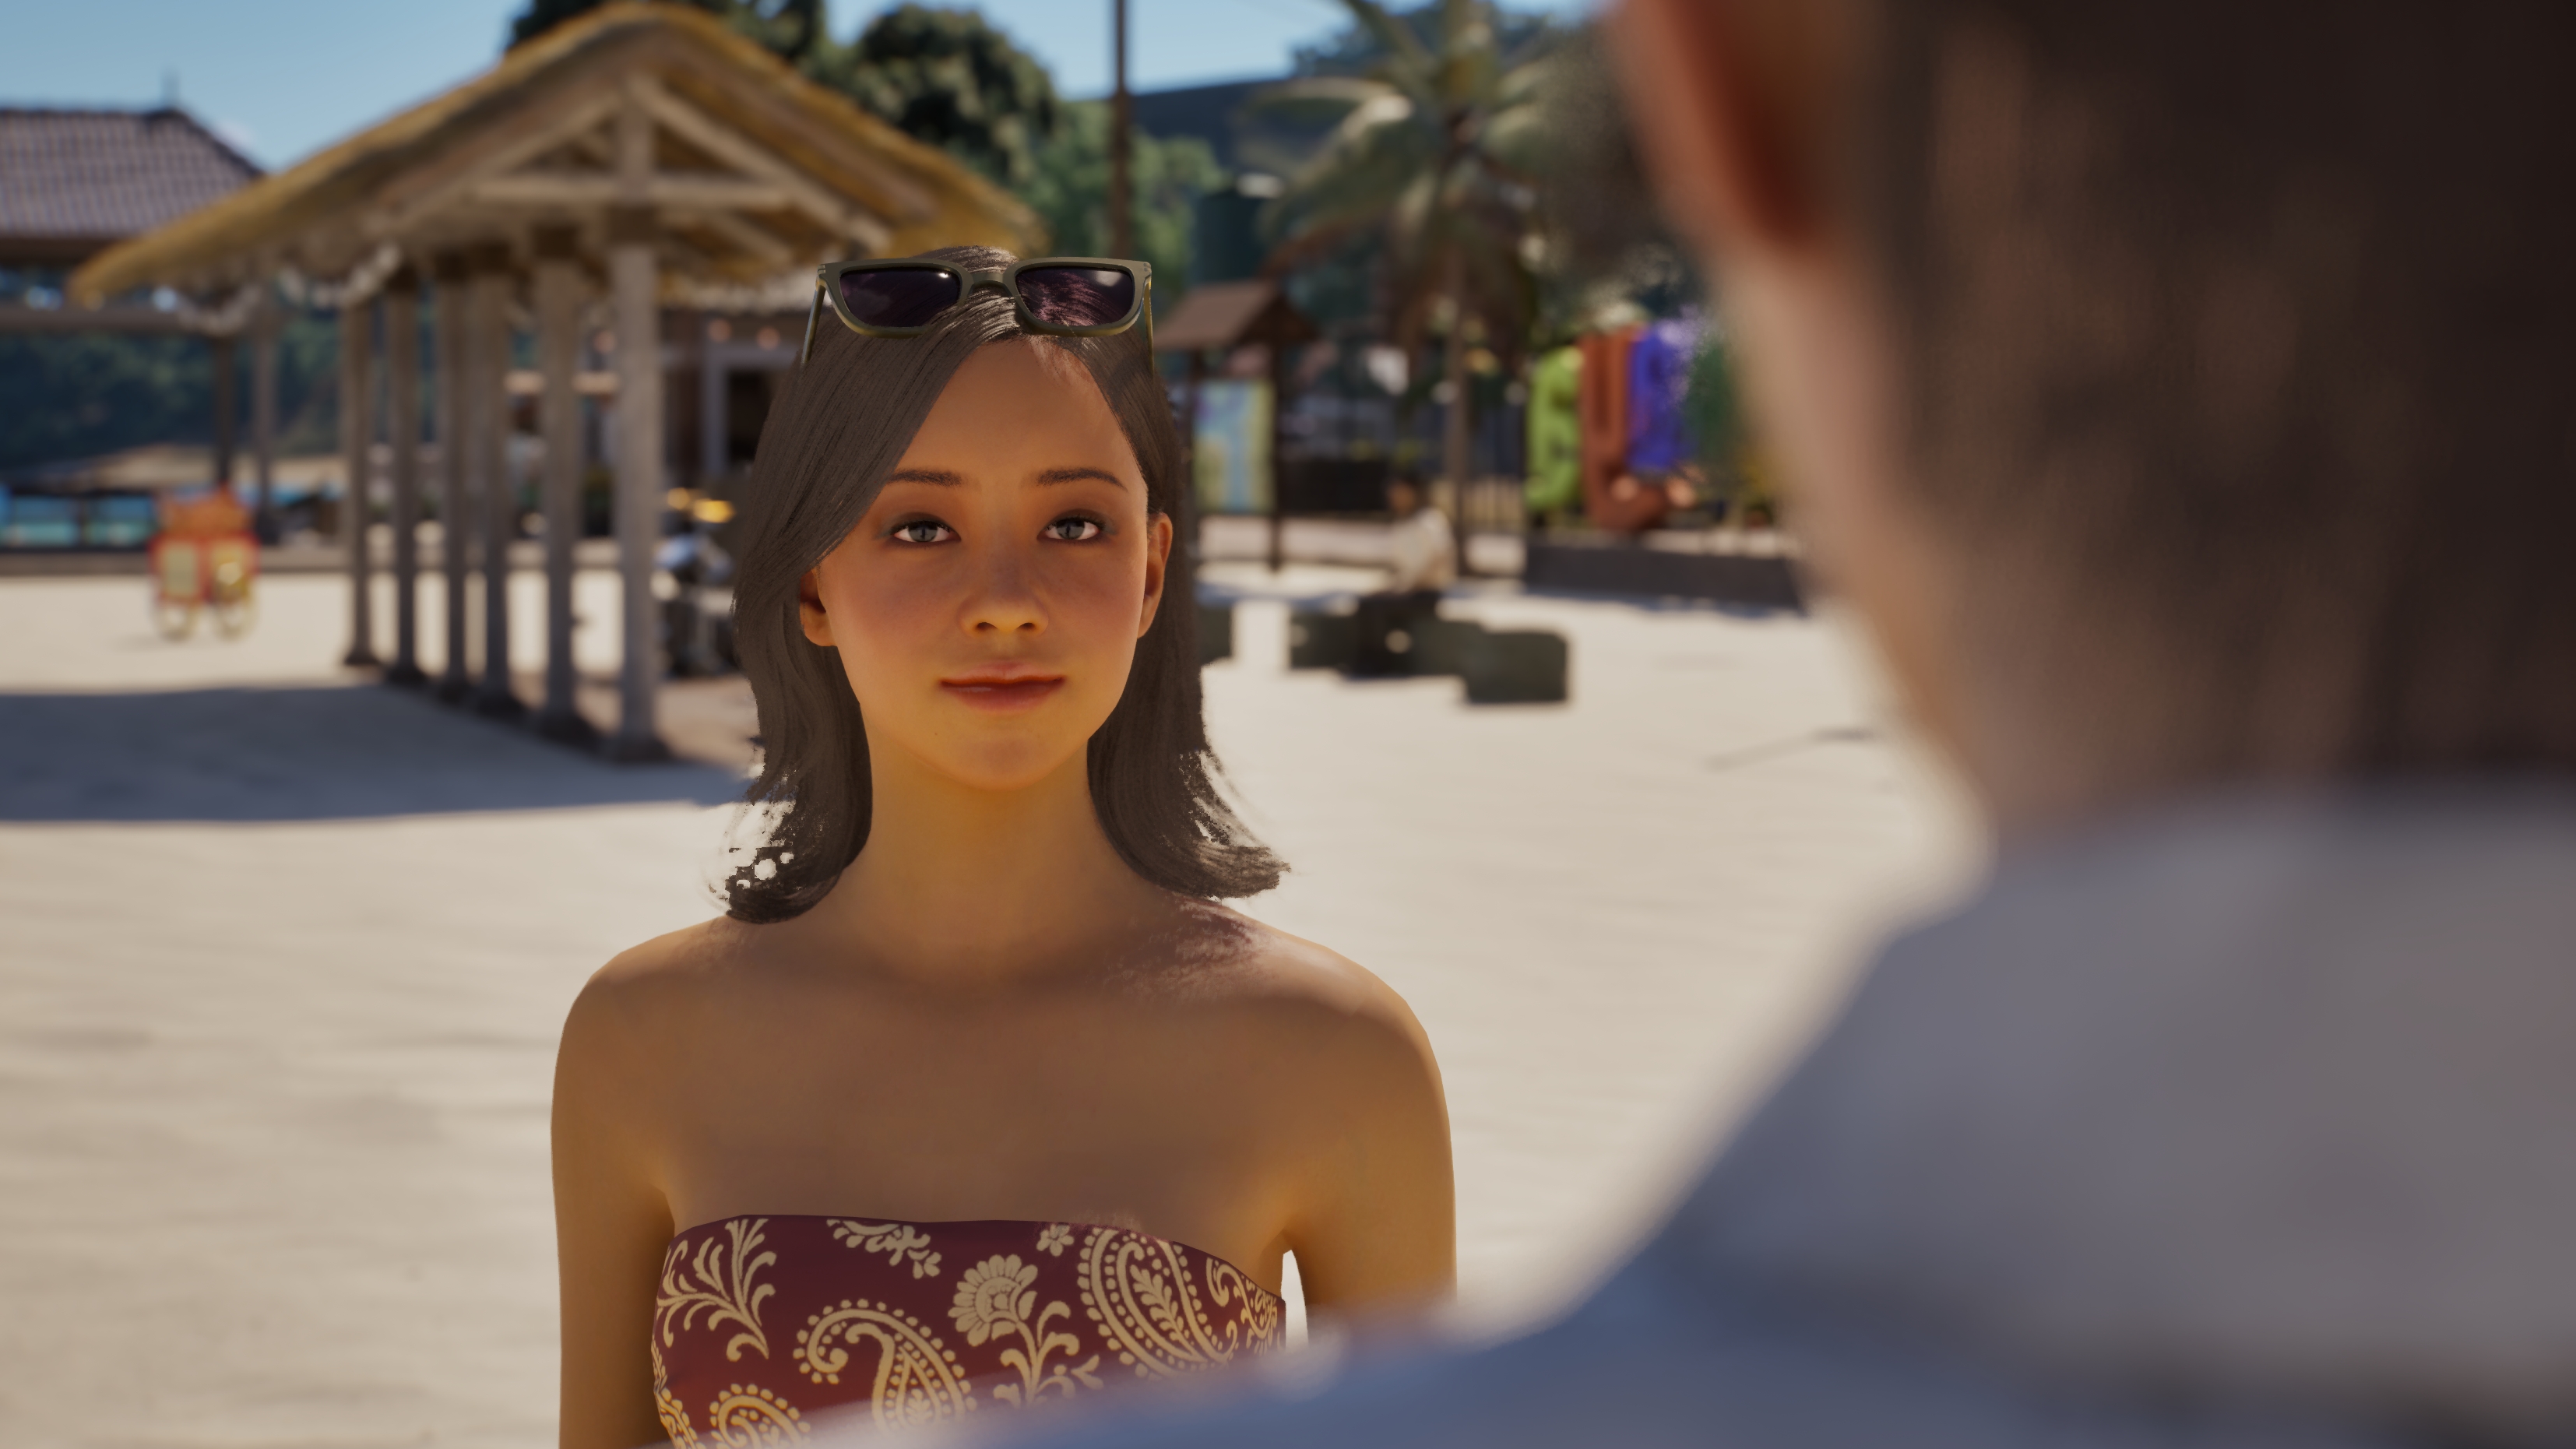
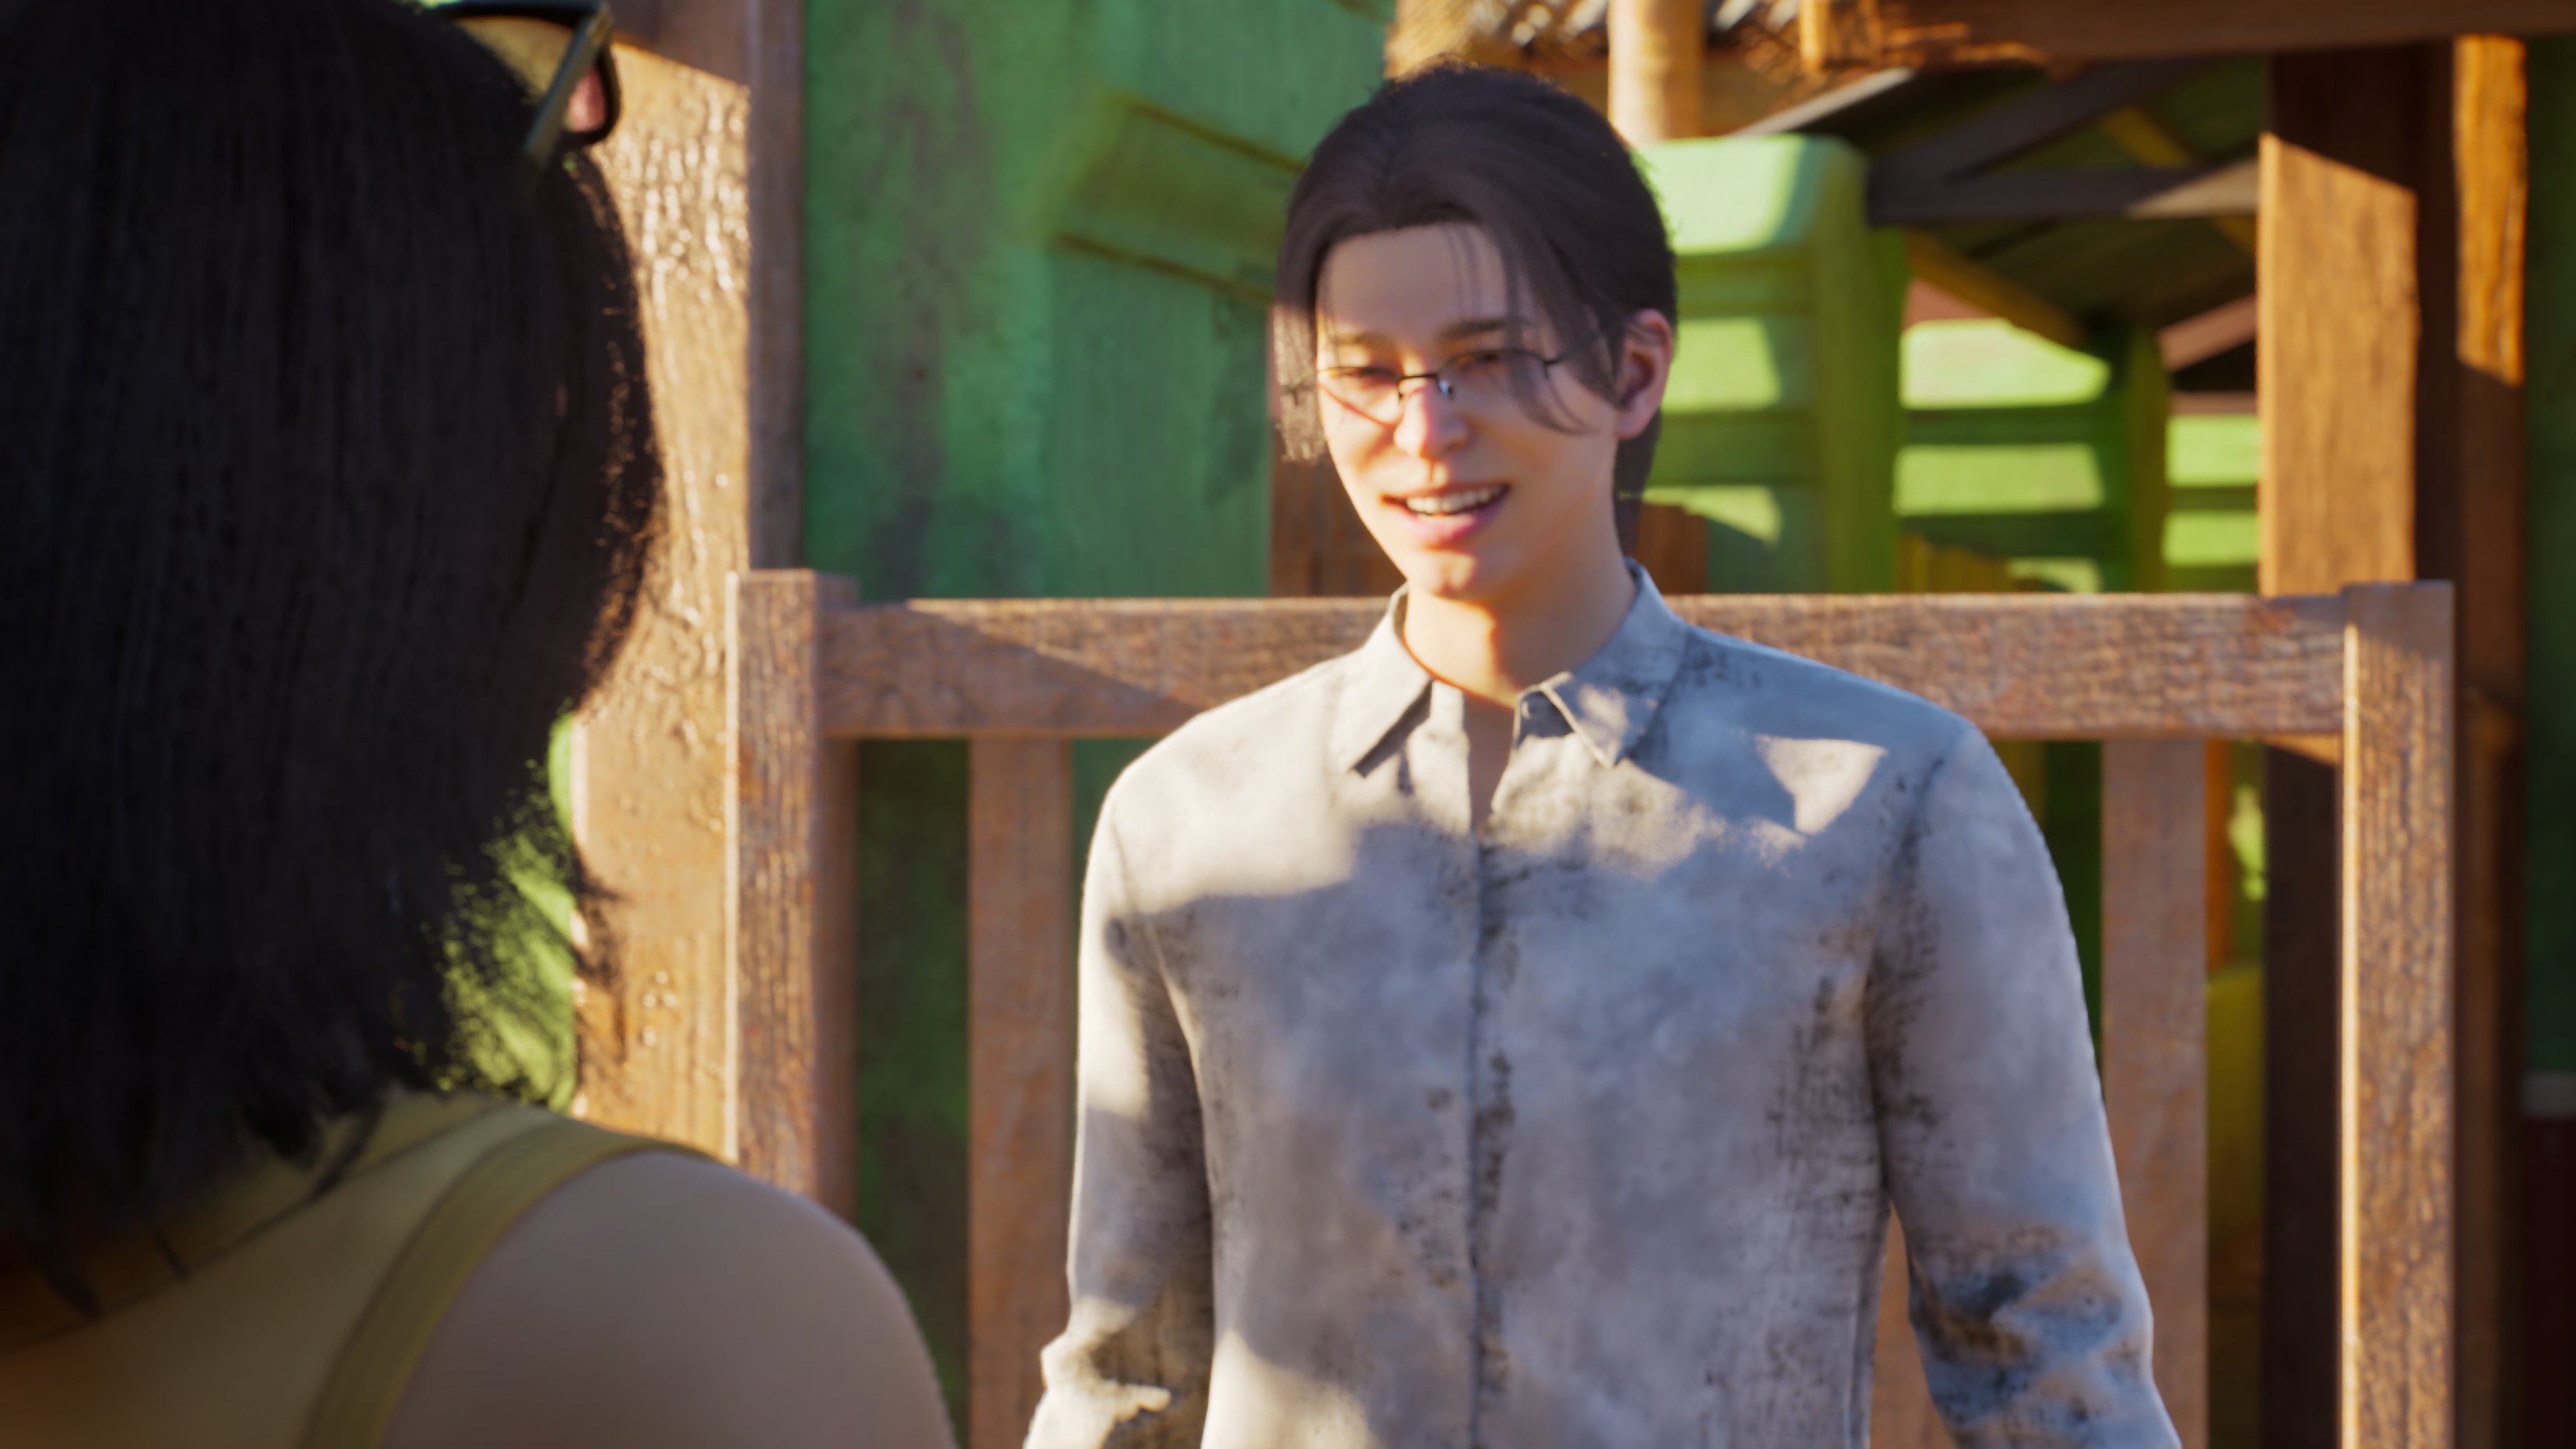
Just like I mentioned before, characters have things to say! And that's something the audience wants to focus on. Shoulder angle shots are great for that light-hearted banter.
Just like in real-life, when we have a conversation: Eye contact is what you want to focus on, not the background or whatever they're wearing. 😉
Including the character that the other character is talking to, makes it also much easier to feel like they're listening to your character. Getting a feel of that they're there.
In the end they're not just telling their thoughts to the audience, but also, well, the other character! 😉
Ground Level shot:
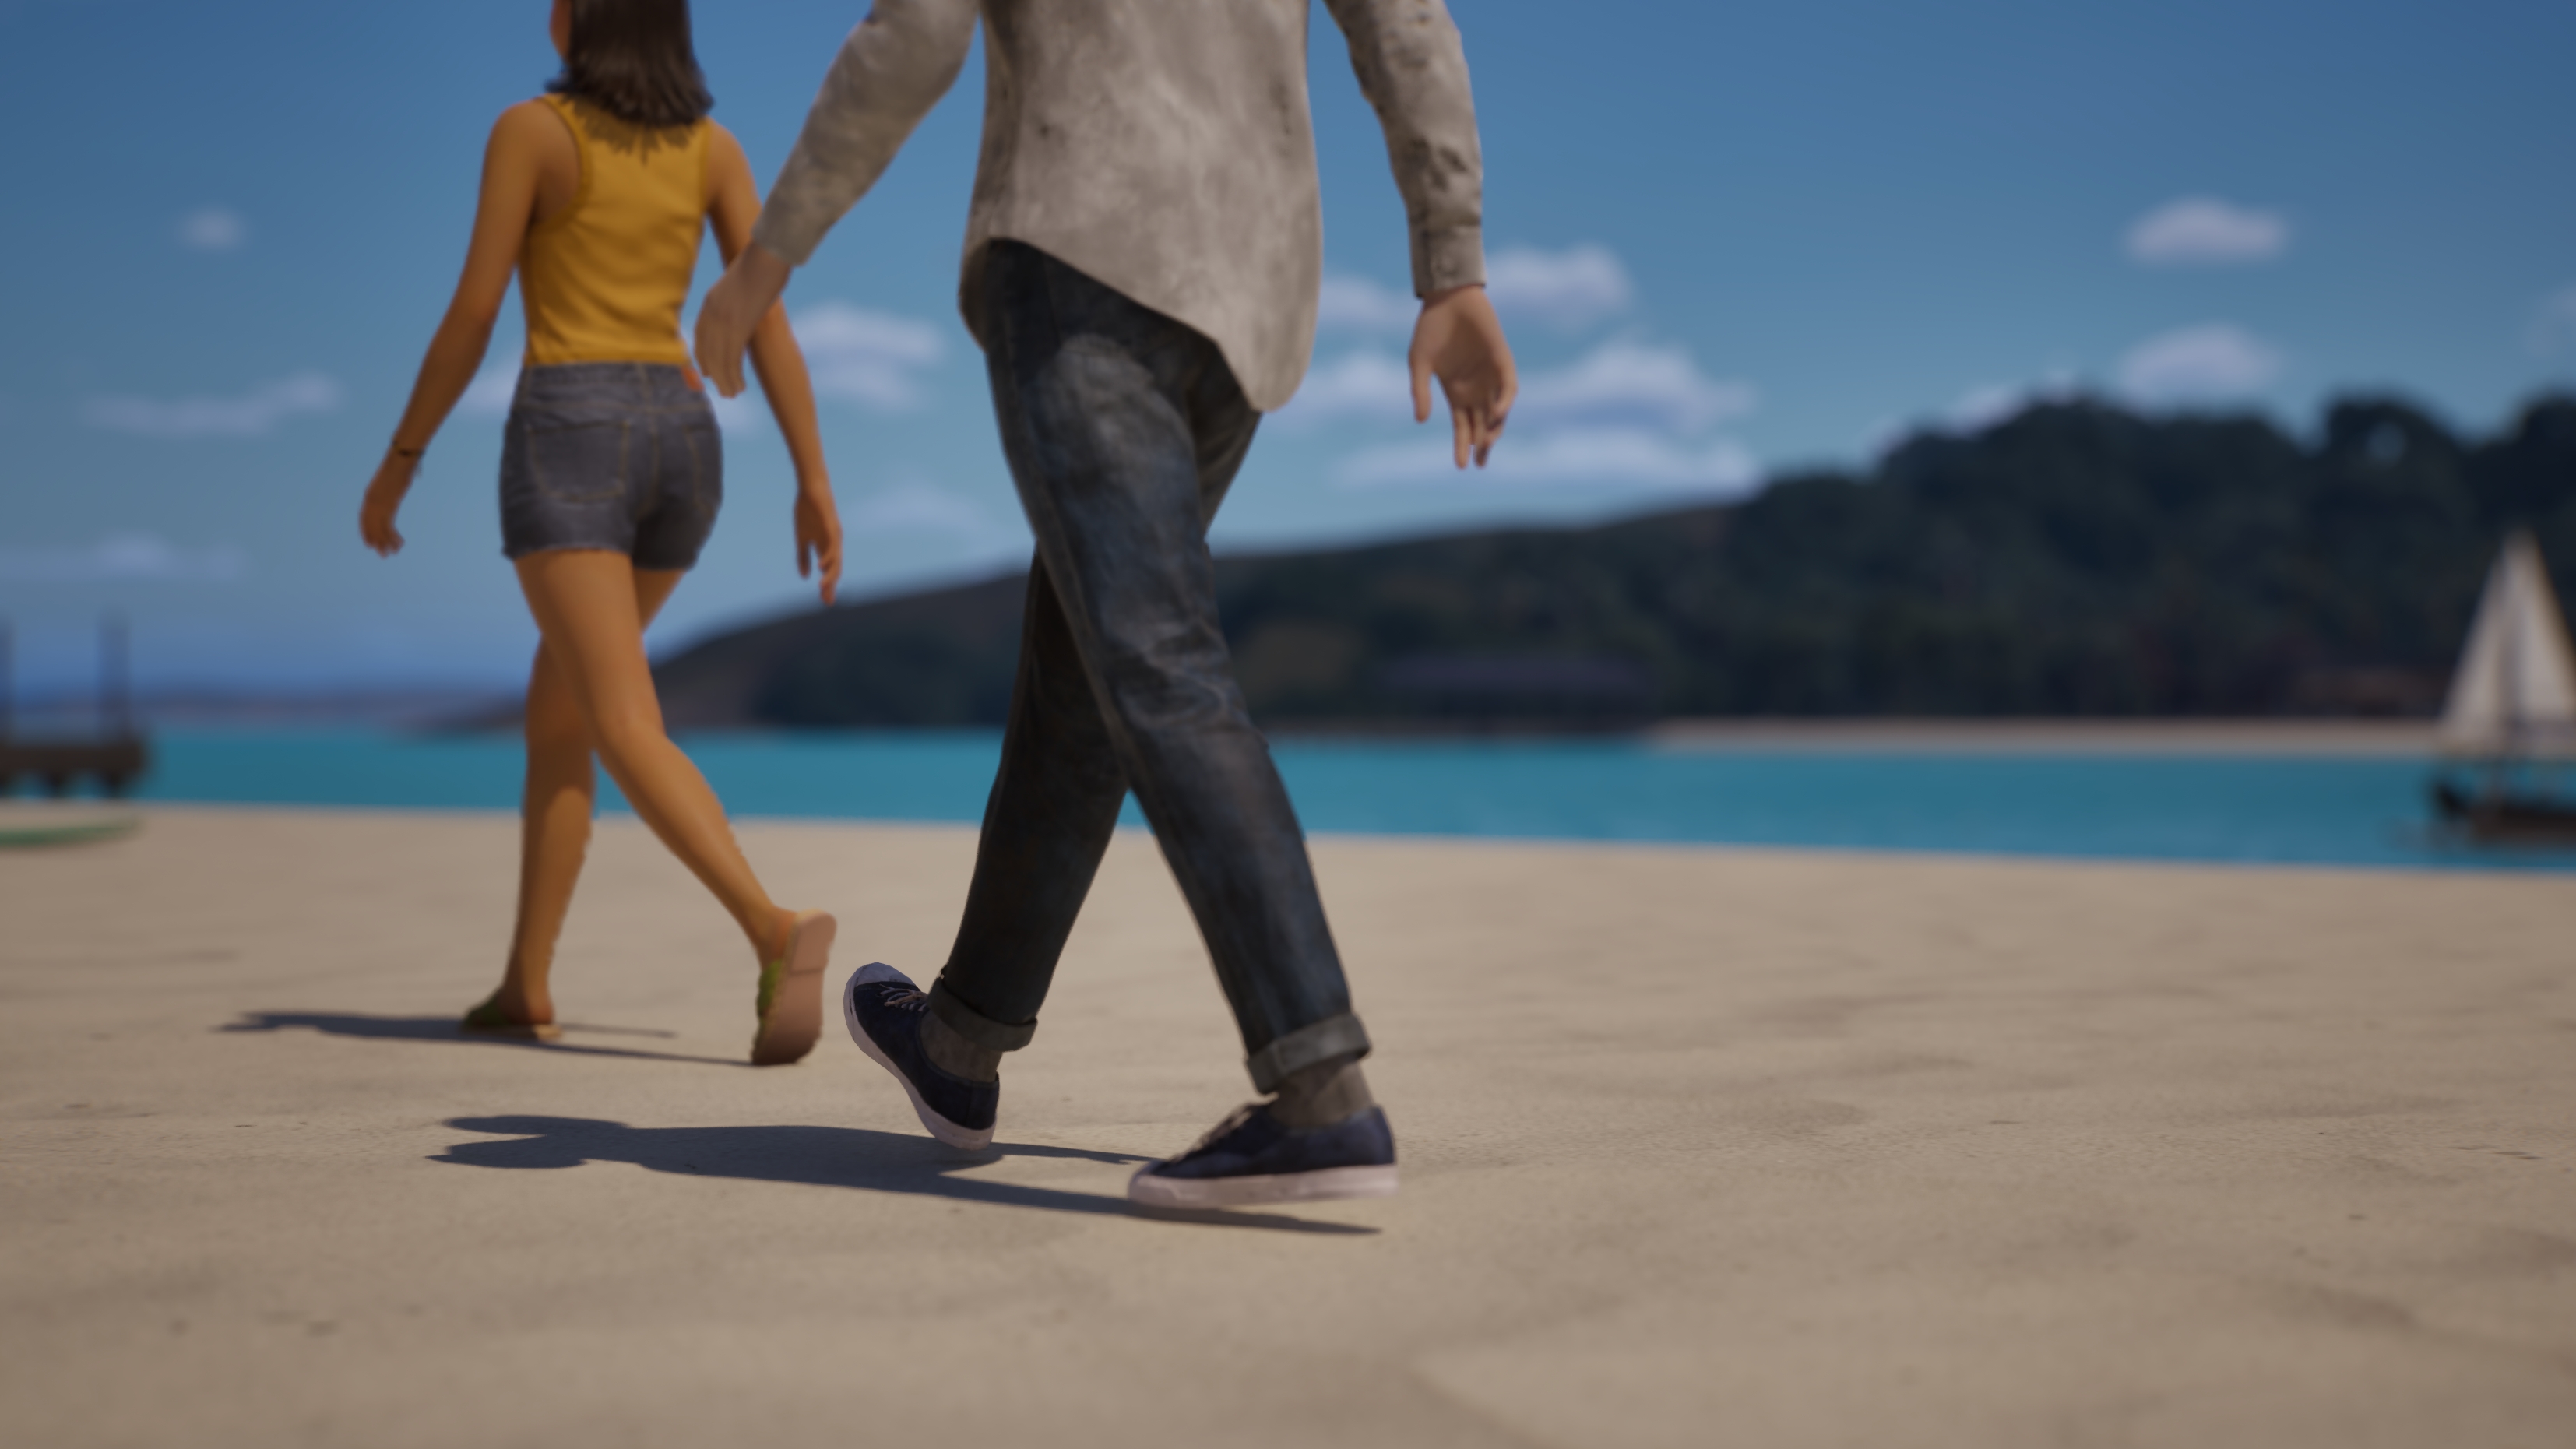
I just came to the realization I barely use this, but when I do, it's to emphasize an action. Such as walking, or, in this case, cleaning.
It's often because I don't need the audience to see their faces at this point. In fact, we want to see what they're doing, and maybe even why 😉
Keep your characters away from the middle!:
That may sound odd, but I will show you why:
Not a bad picture of Hiroto! But let's see what happens if we move the camera more to the right...
You see how it's a bit more intense? You're more focused on him now, than the one where he was in the middle. Which shows how weird our brains really are lol.
So... second example:
You see how at the first one it feels as if we just met this dude on the street and passing him by?
But with the second one, you're much more like "ohh, what's going on?" It's almost as if you're more invited into the conversation 😉
What about Landscapes?
First things first, I also apply the same "don't put things in the middle" rule here too!"
Additionally to that, I use a few methods for this! Either:
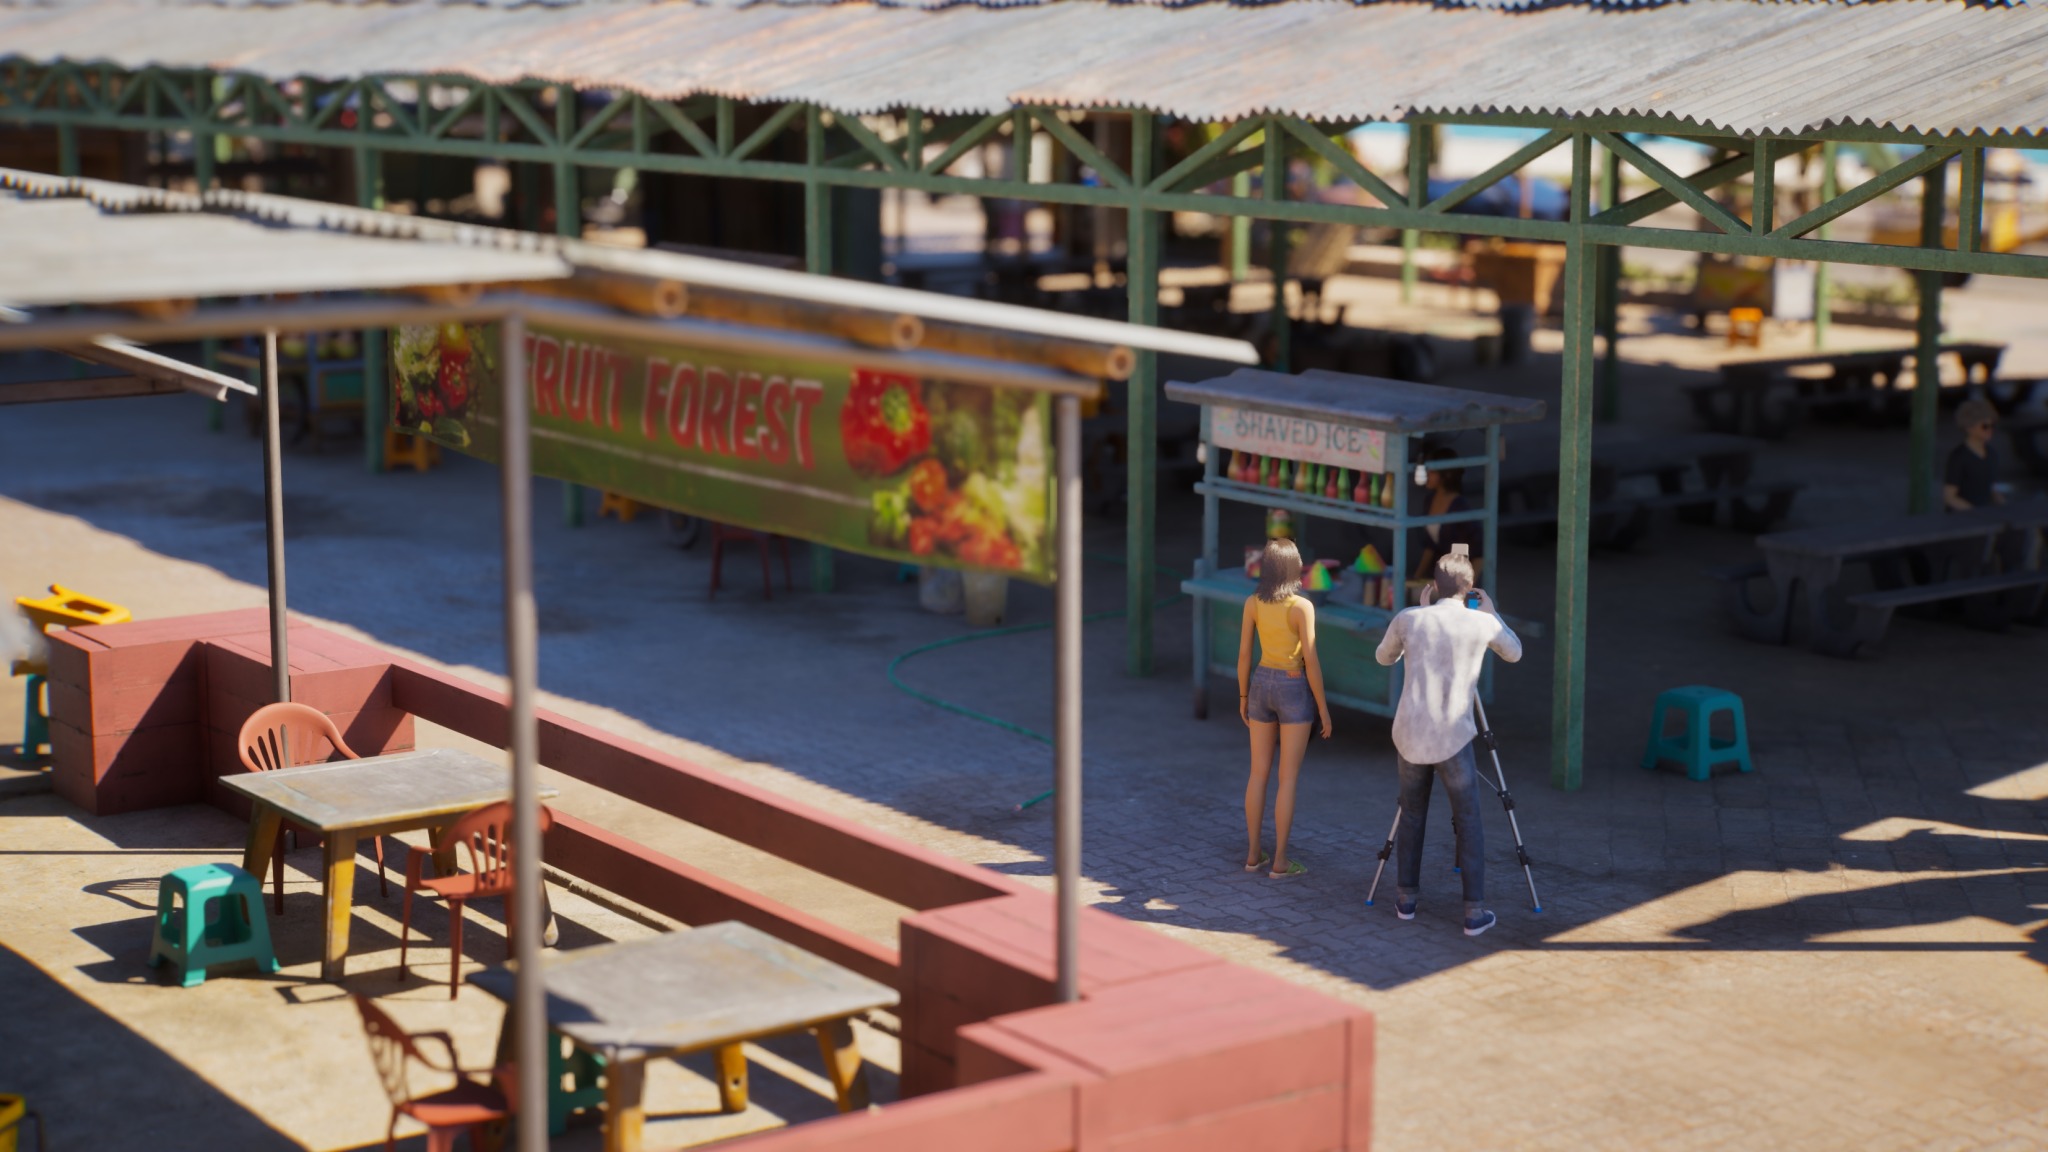
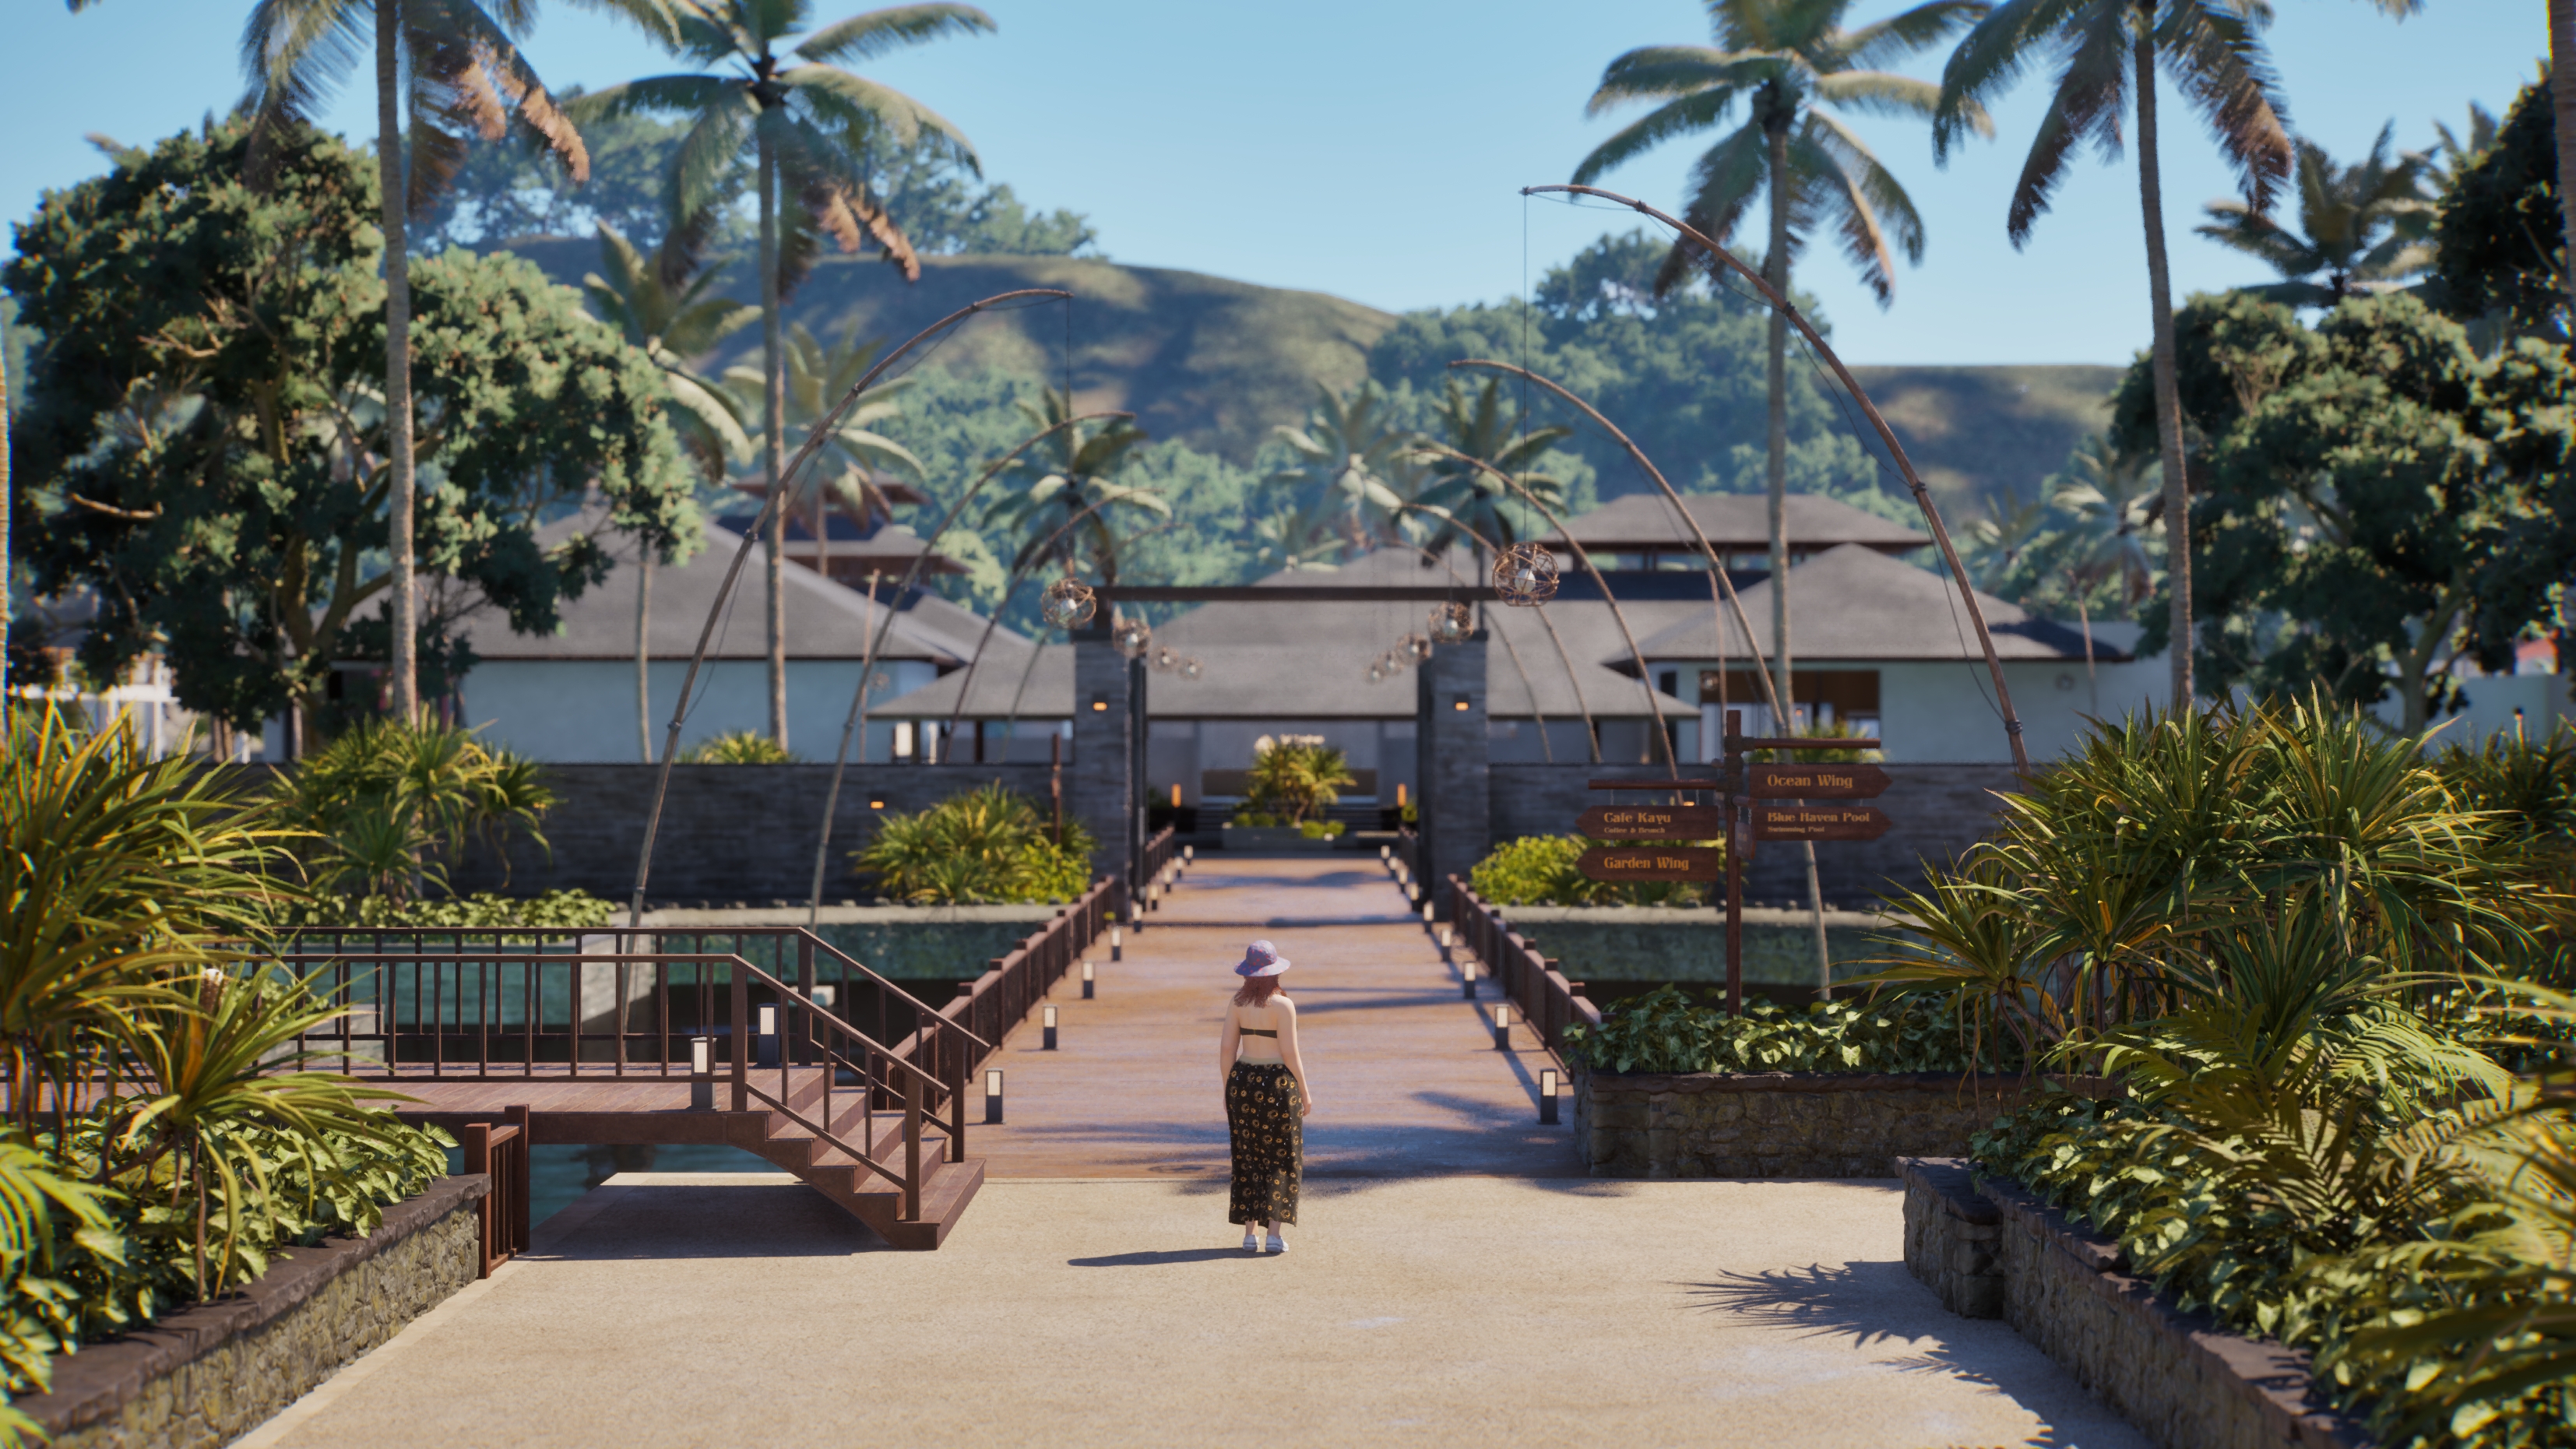
- ... Making them feel more Isometric-y
- ... Find a focus point in the landscape.
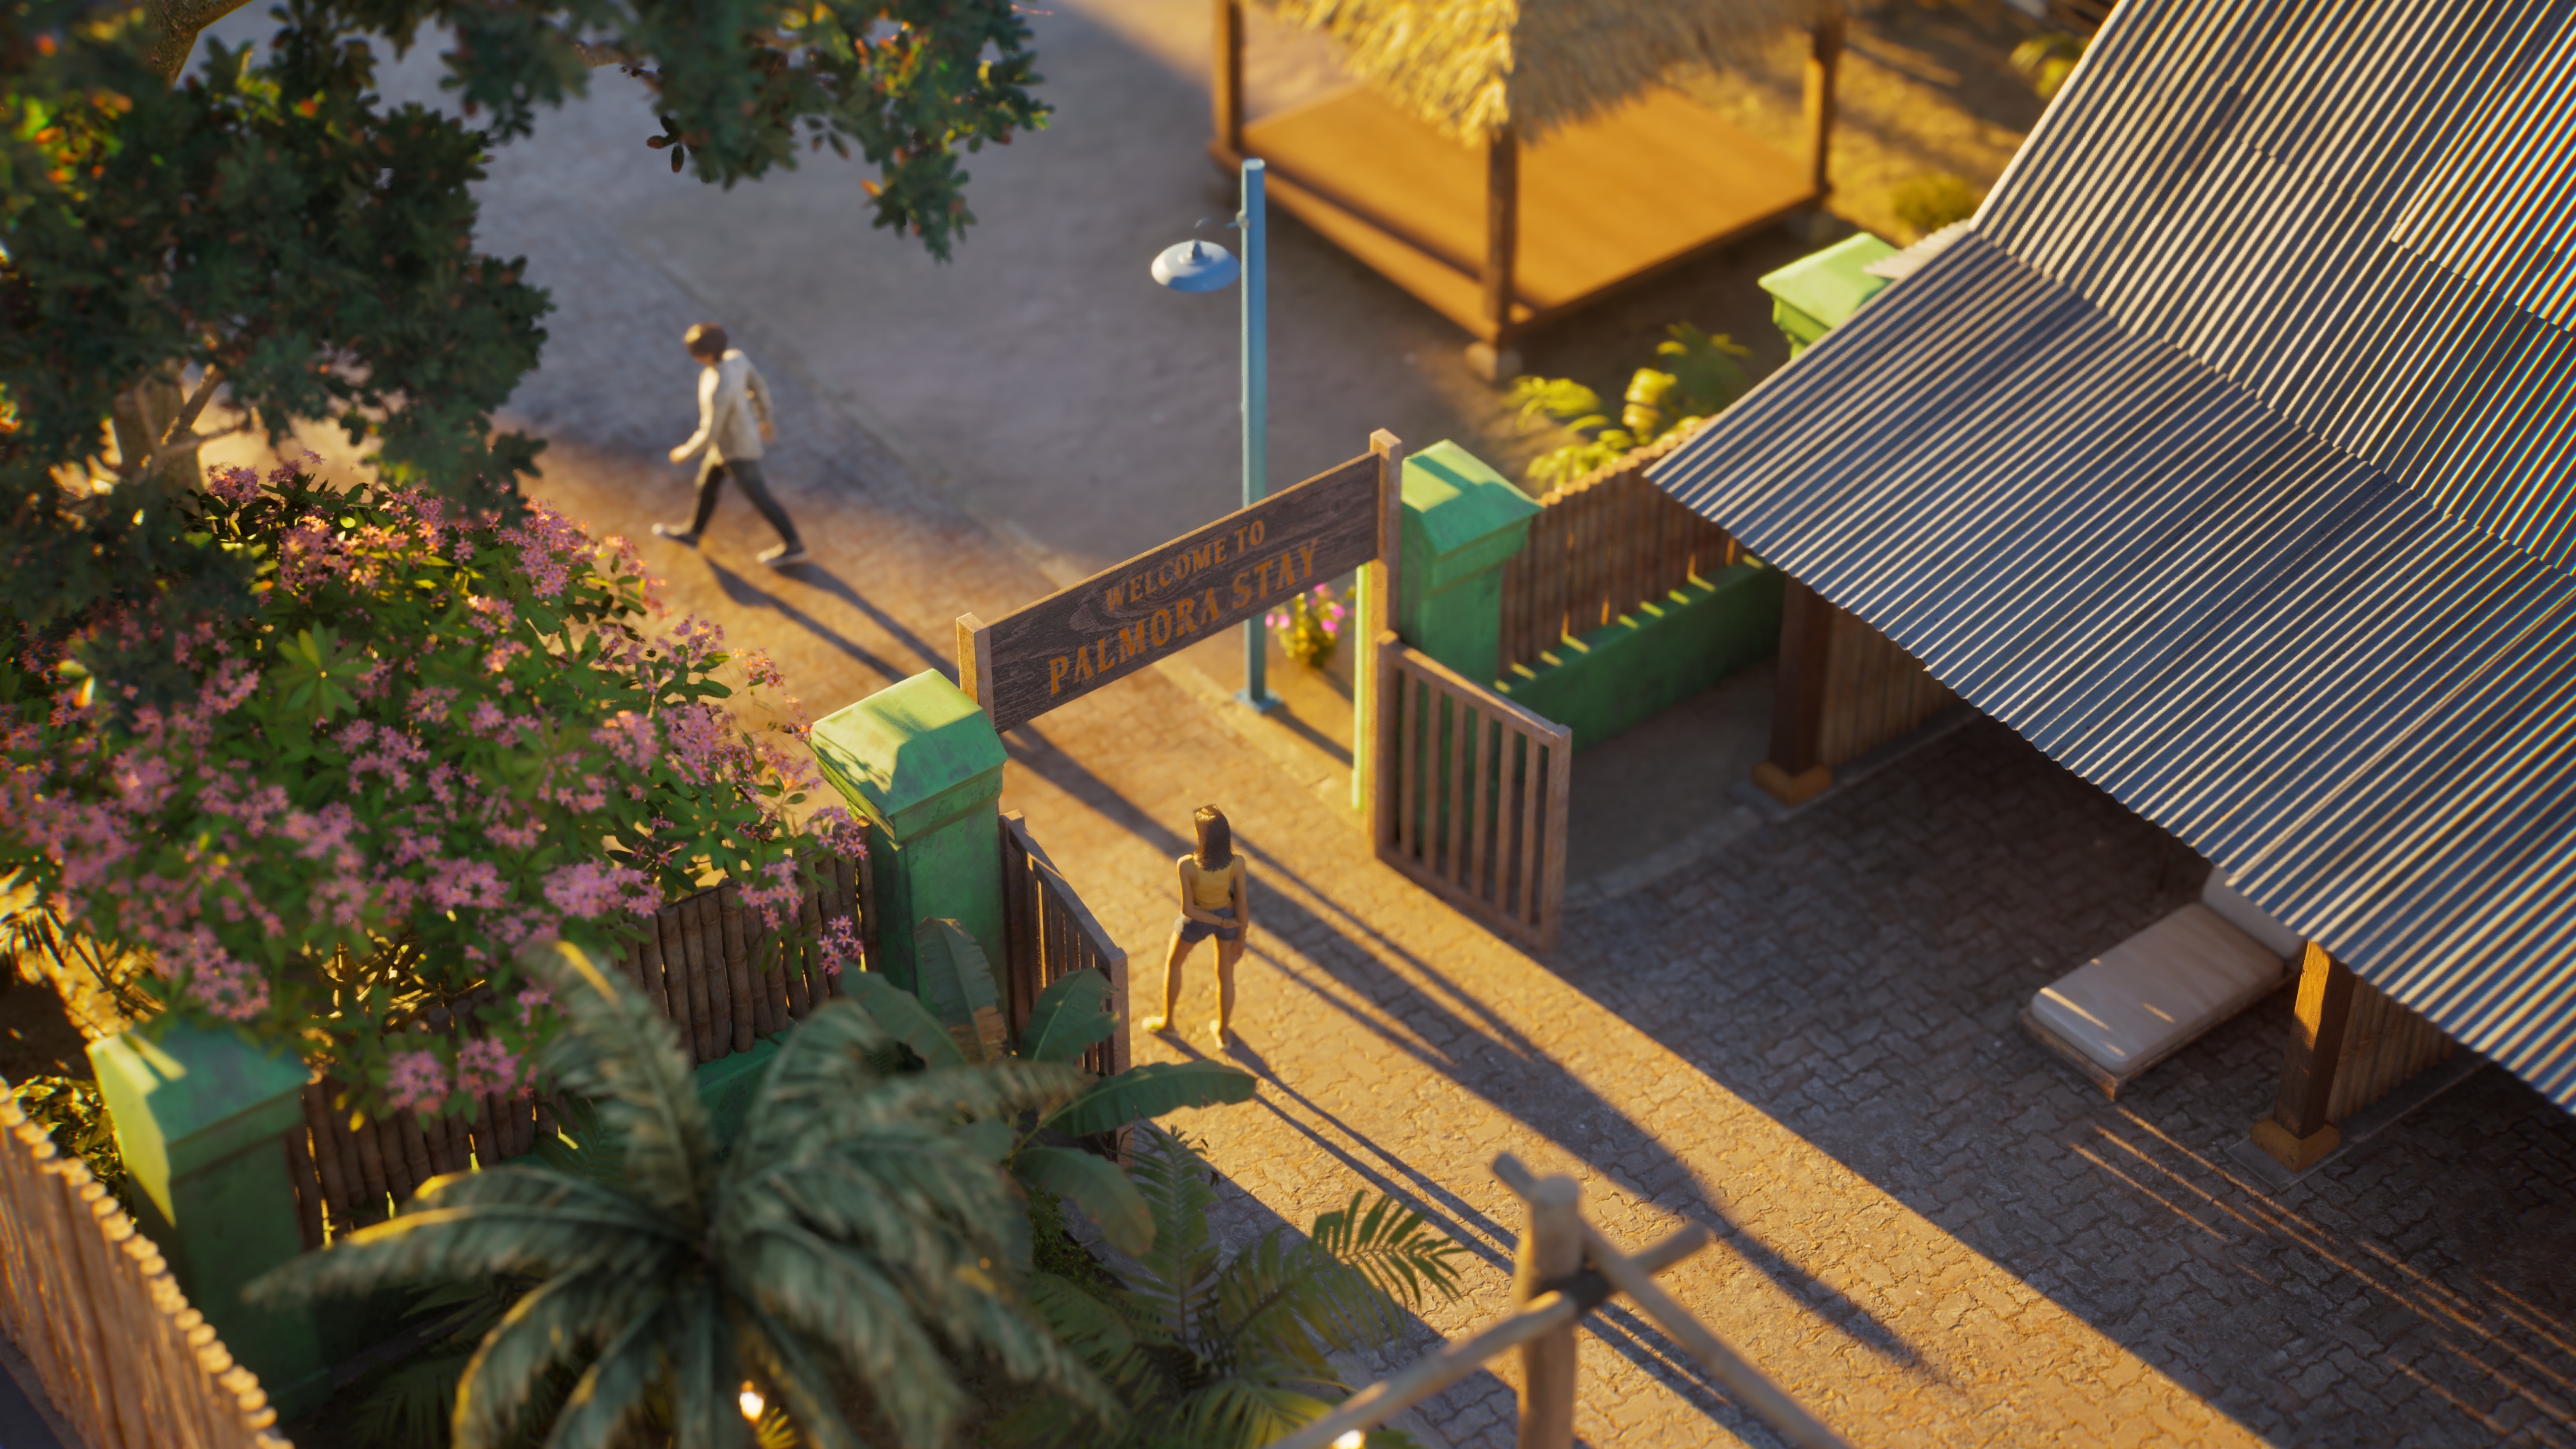
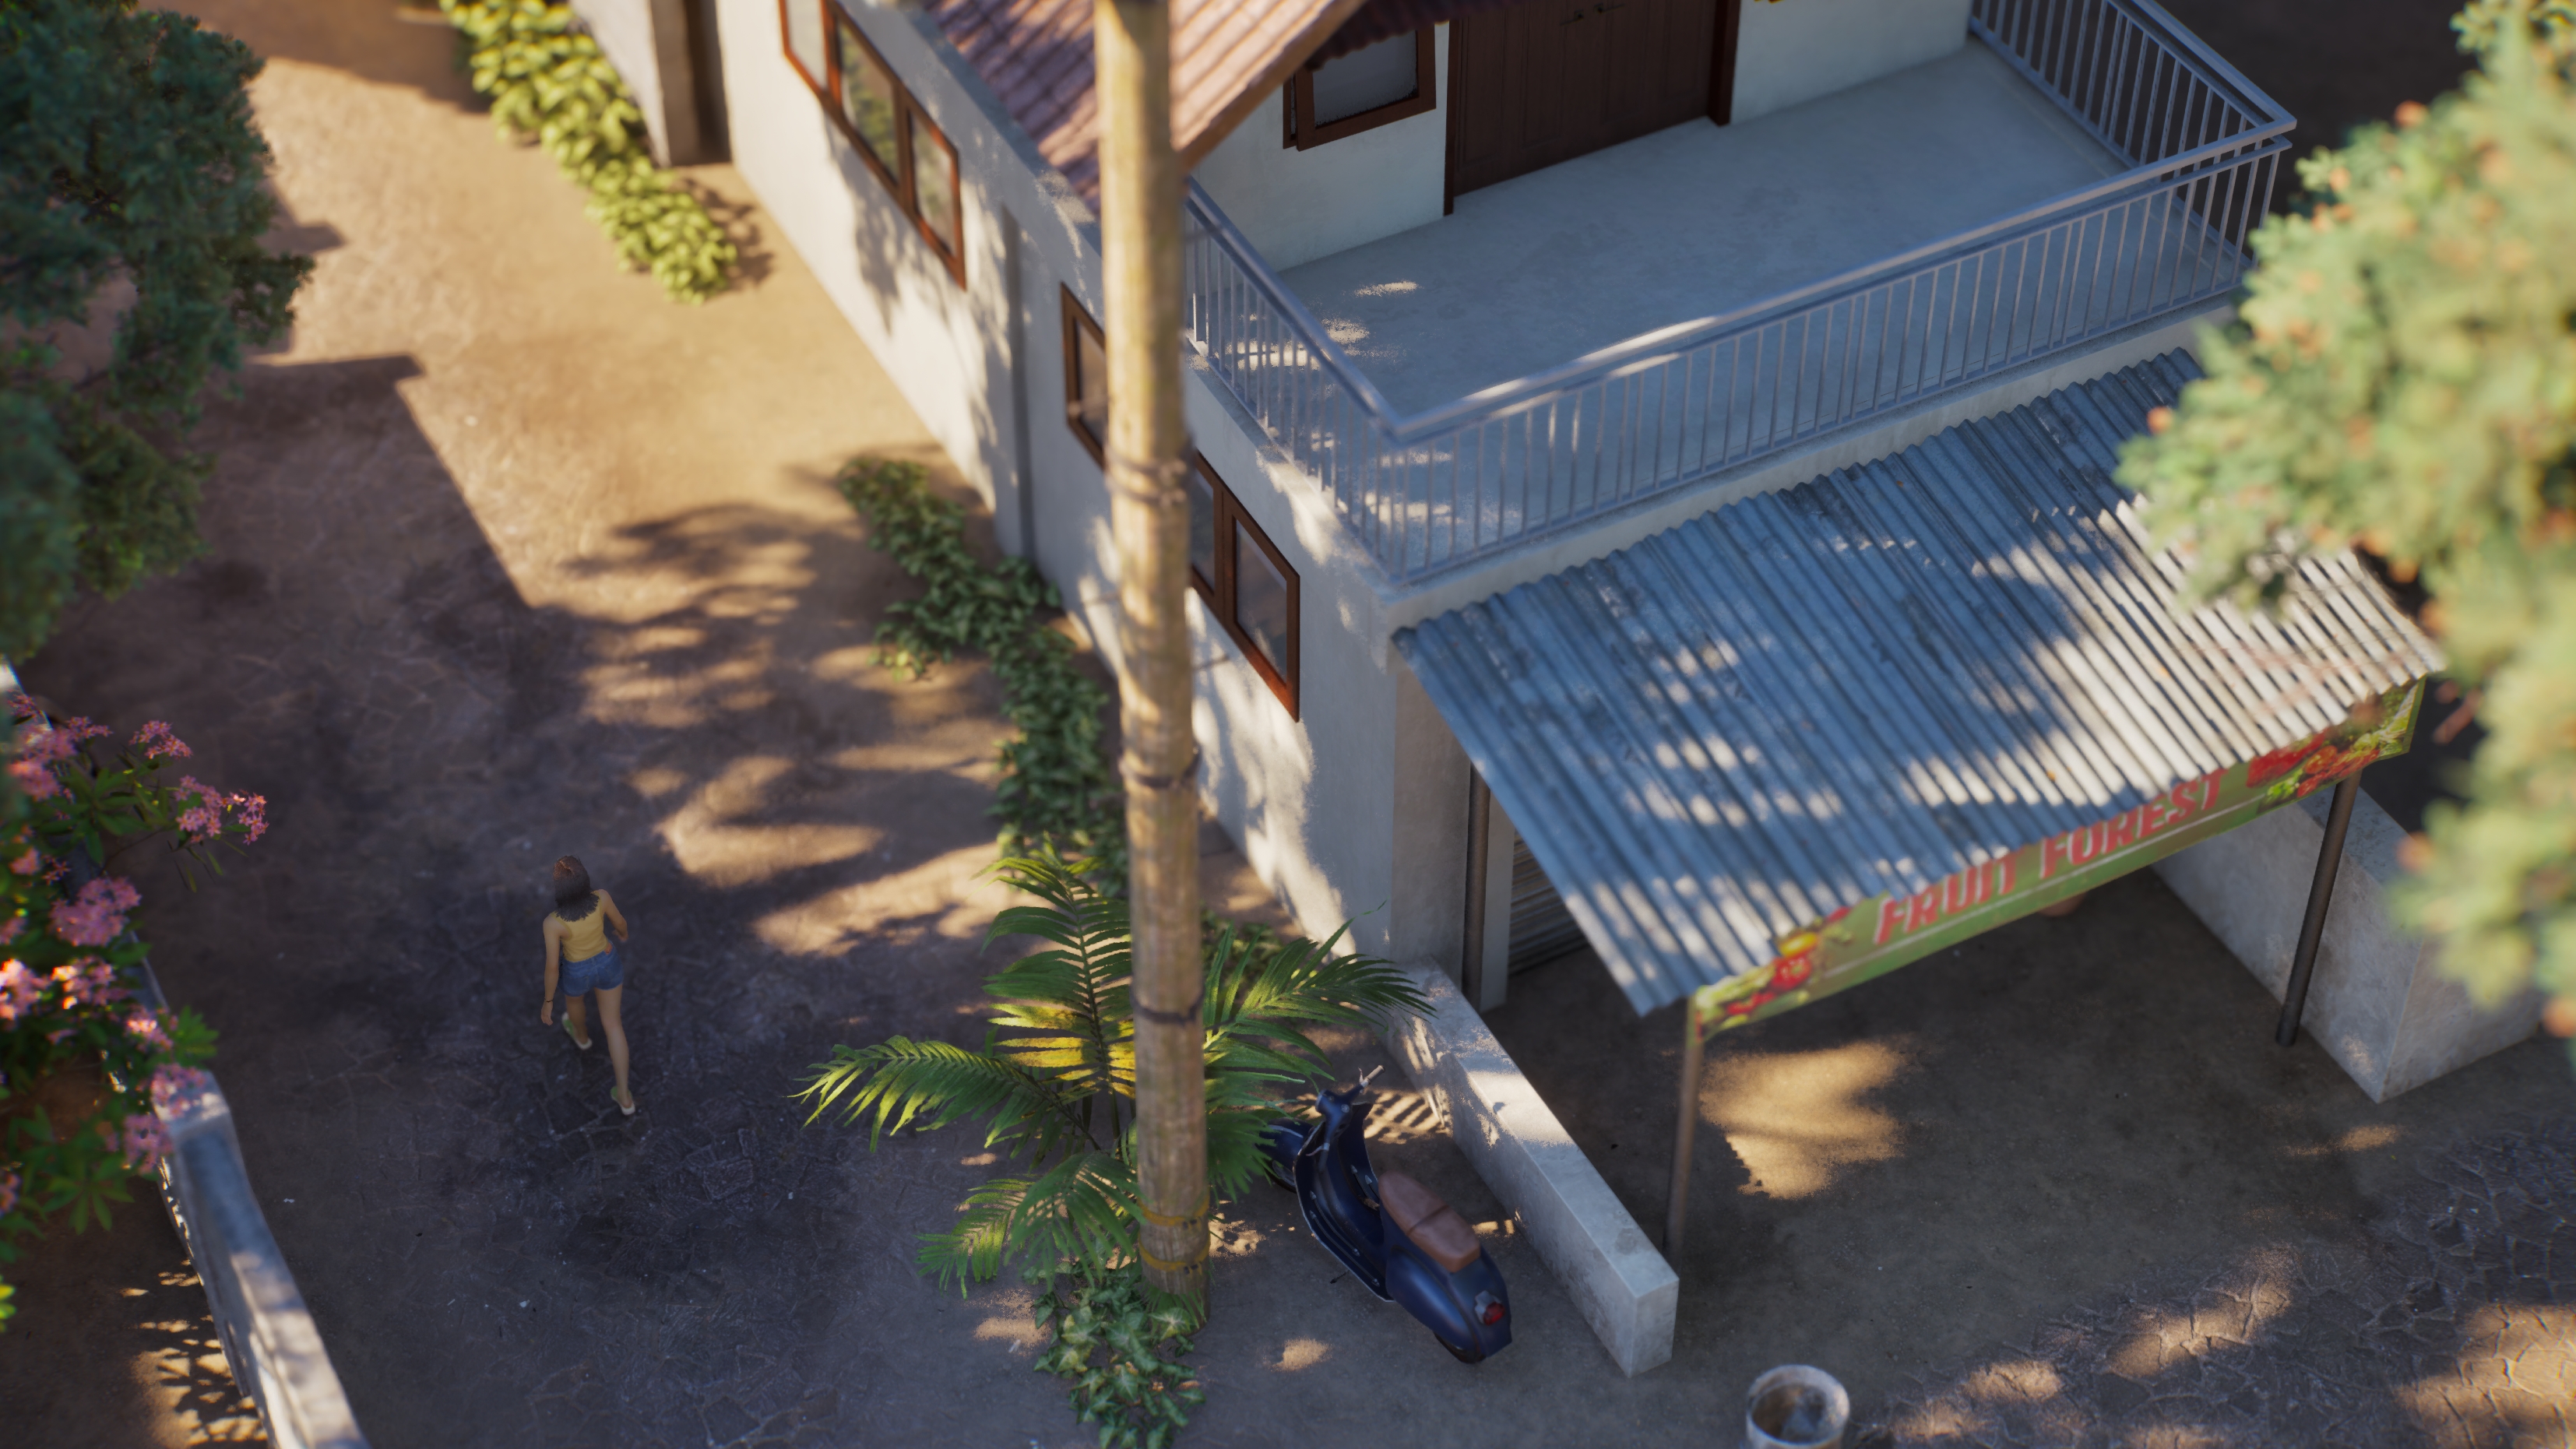
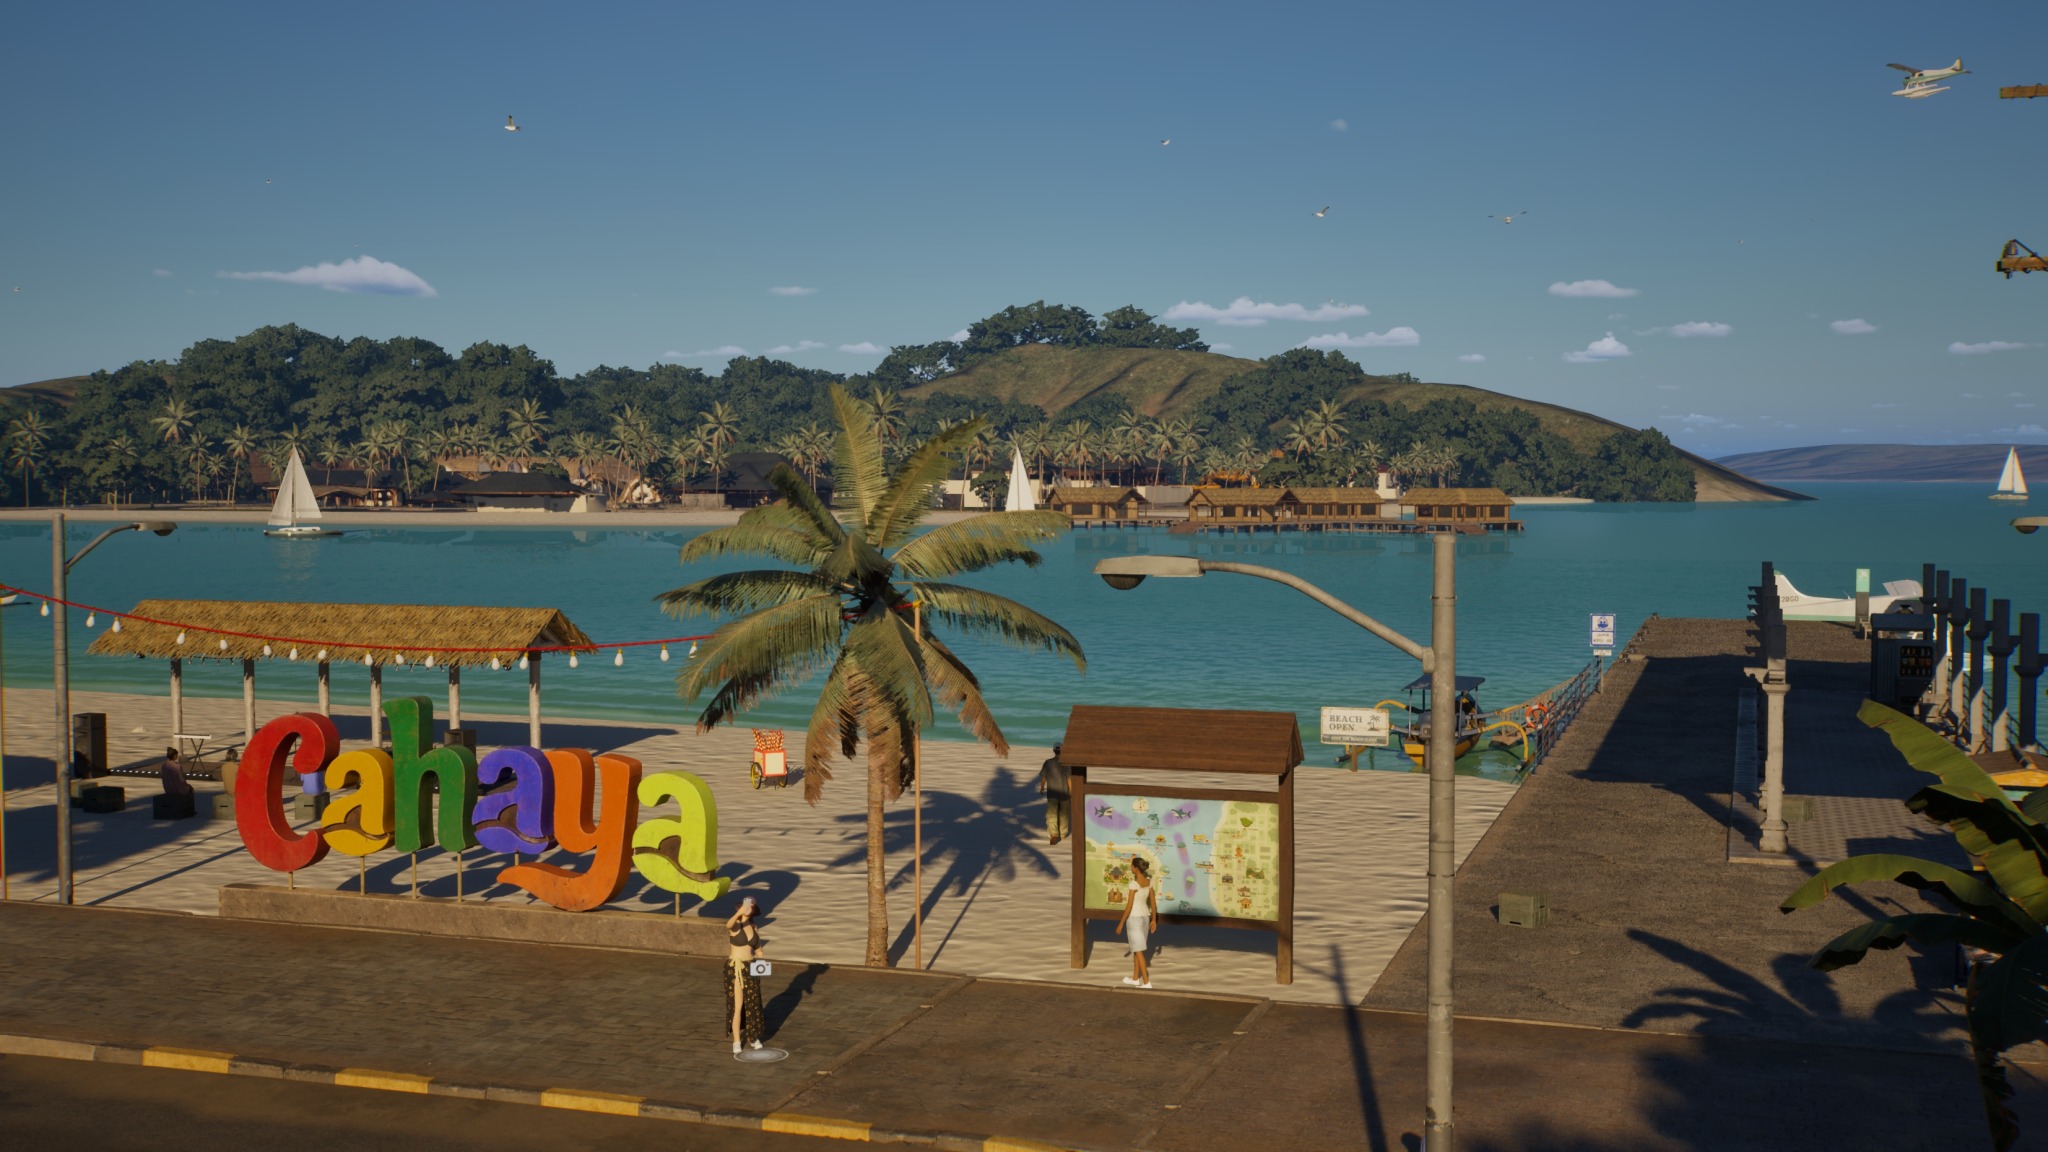
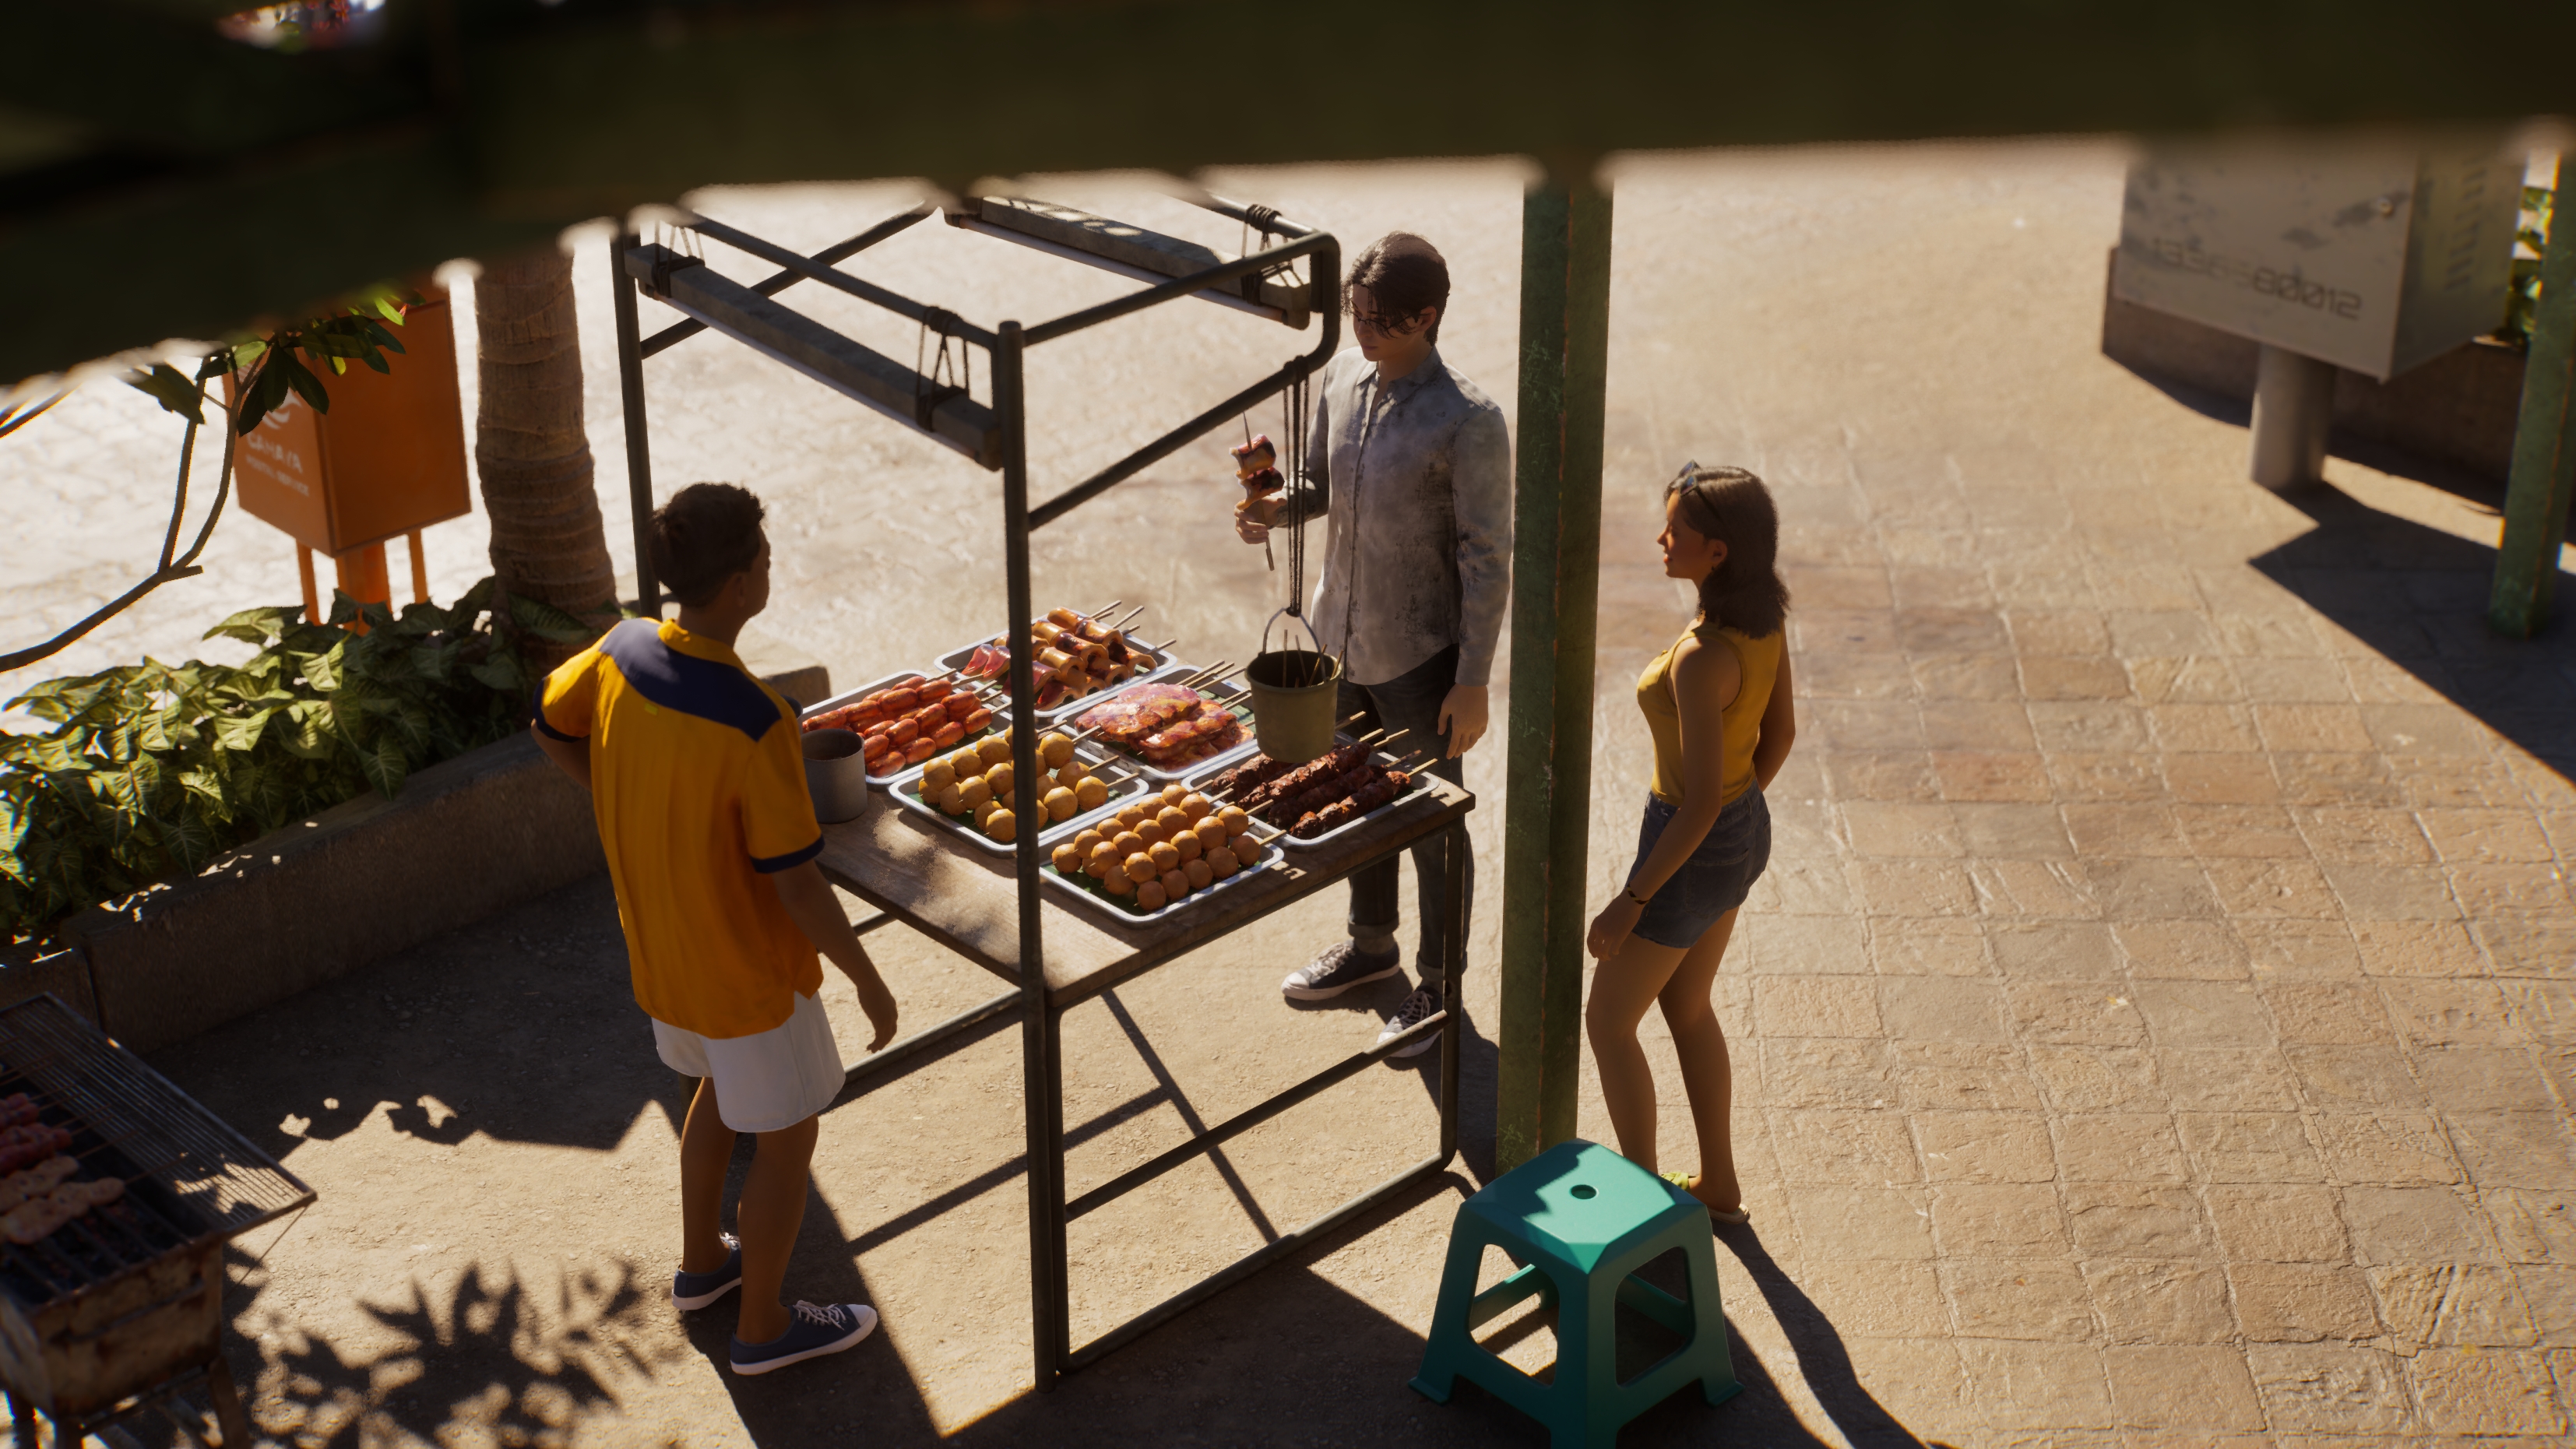
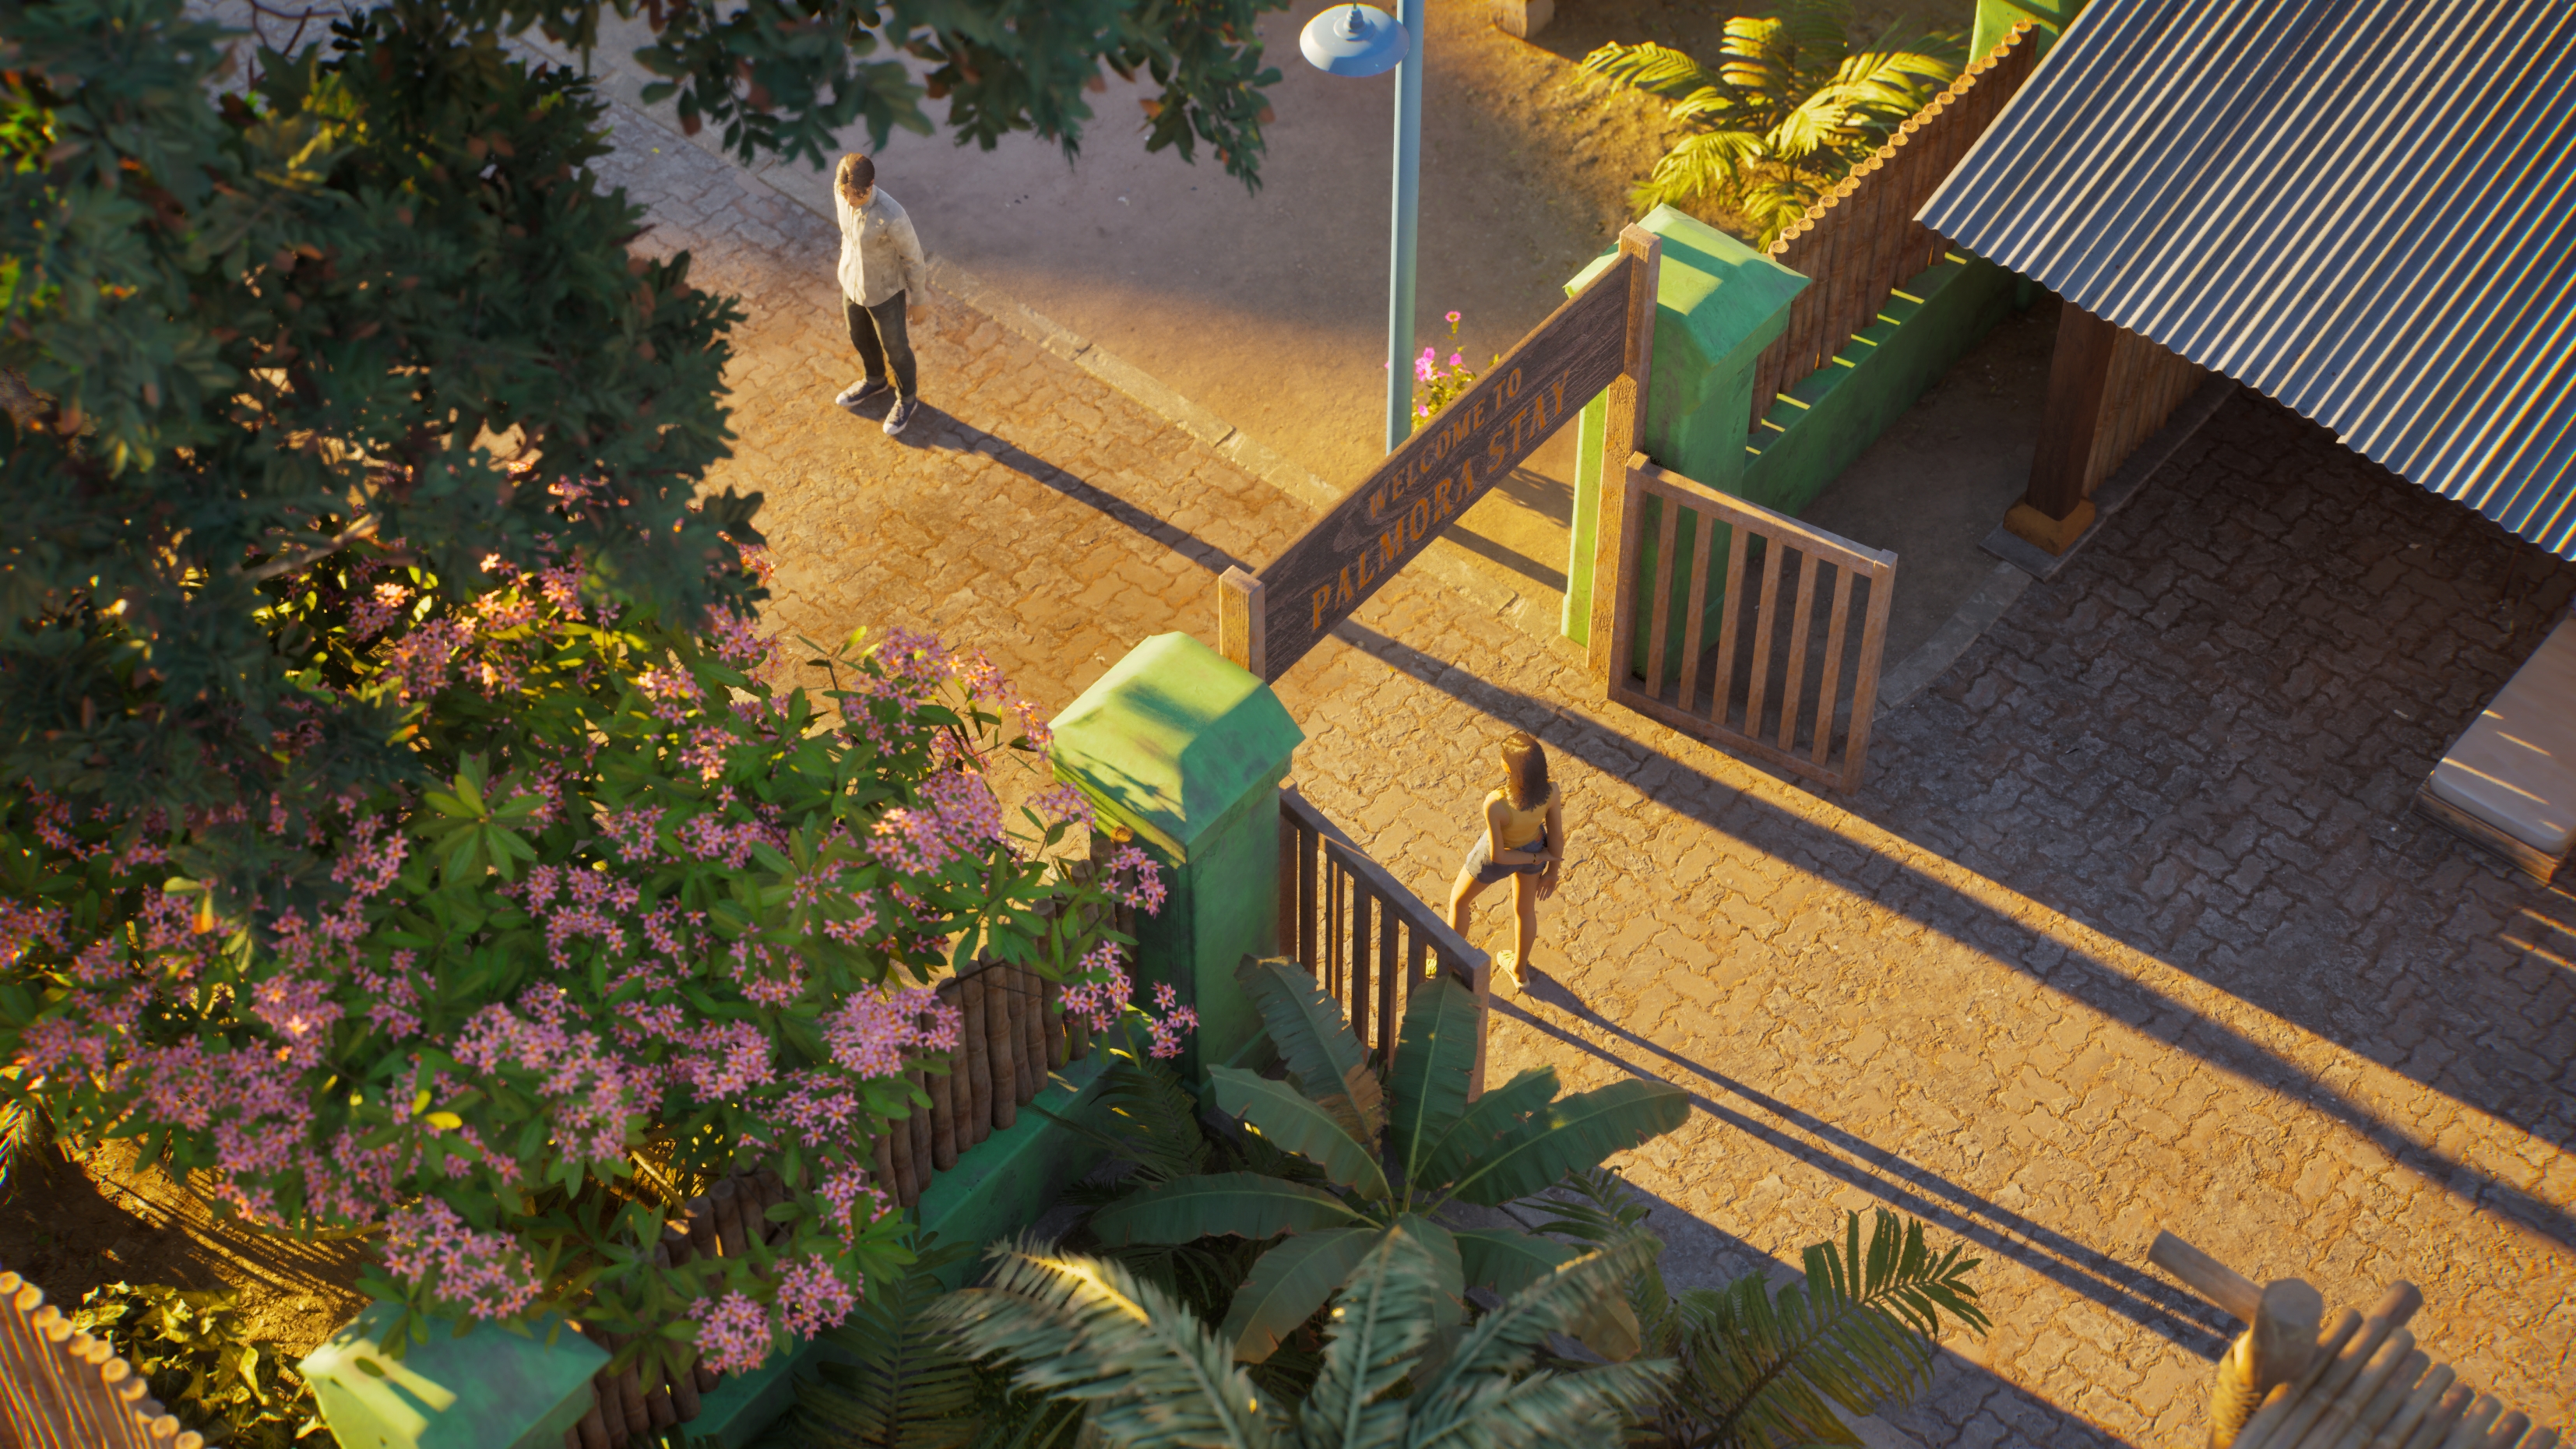
Here are some of the Isometric examples I mean. You see how things are top down, but also more 45 degrees rotated? That's what you want to go for! 😉
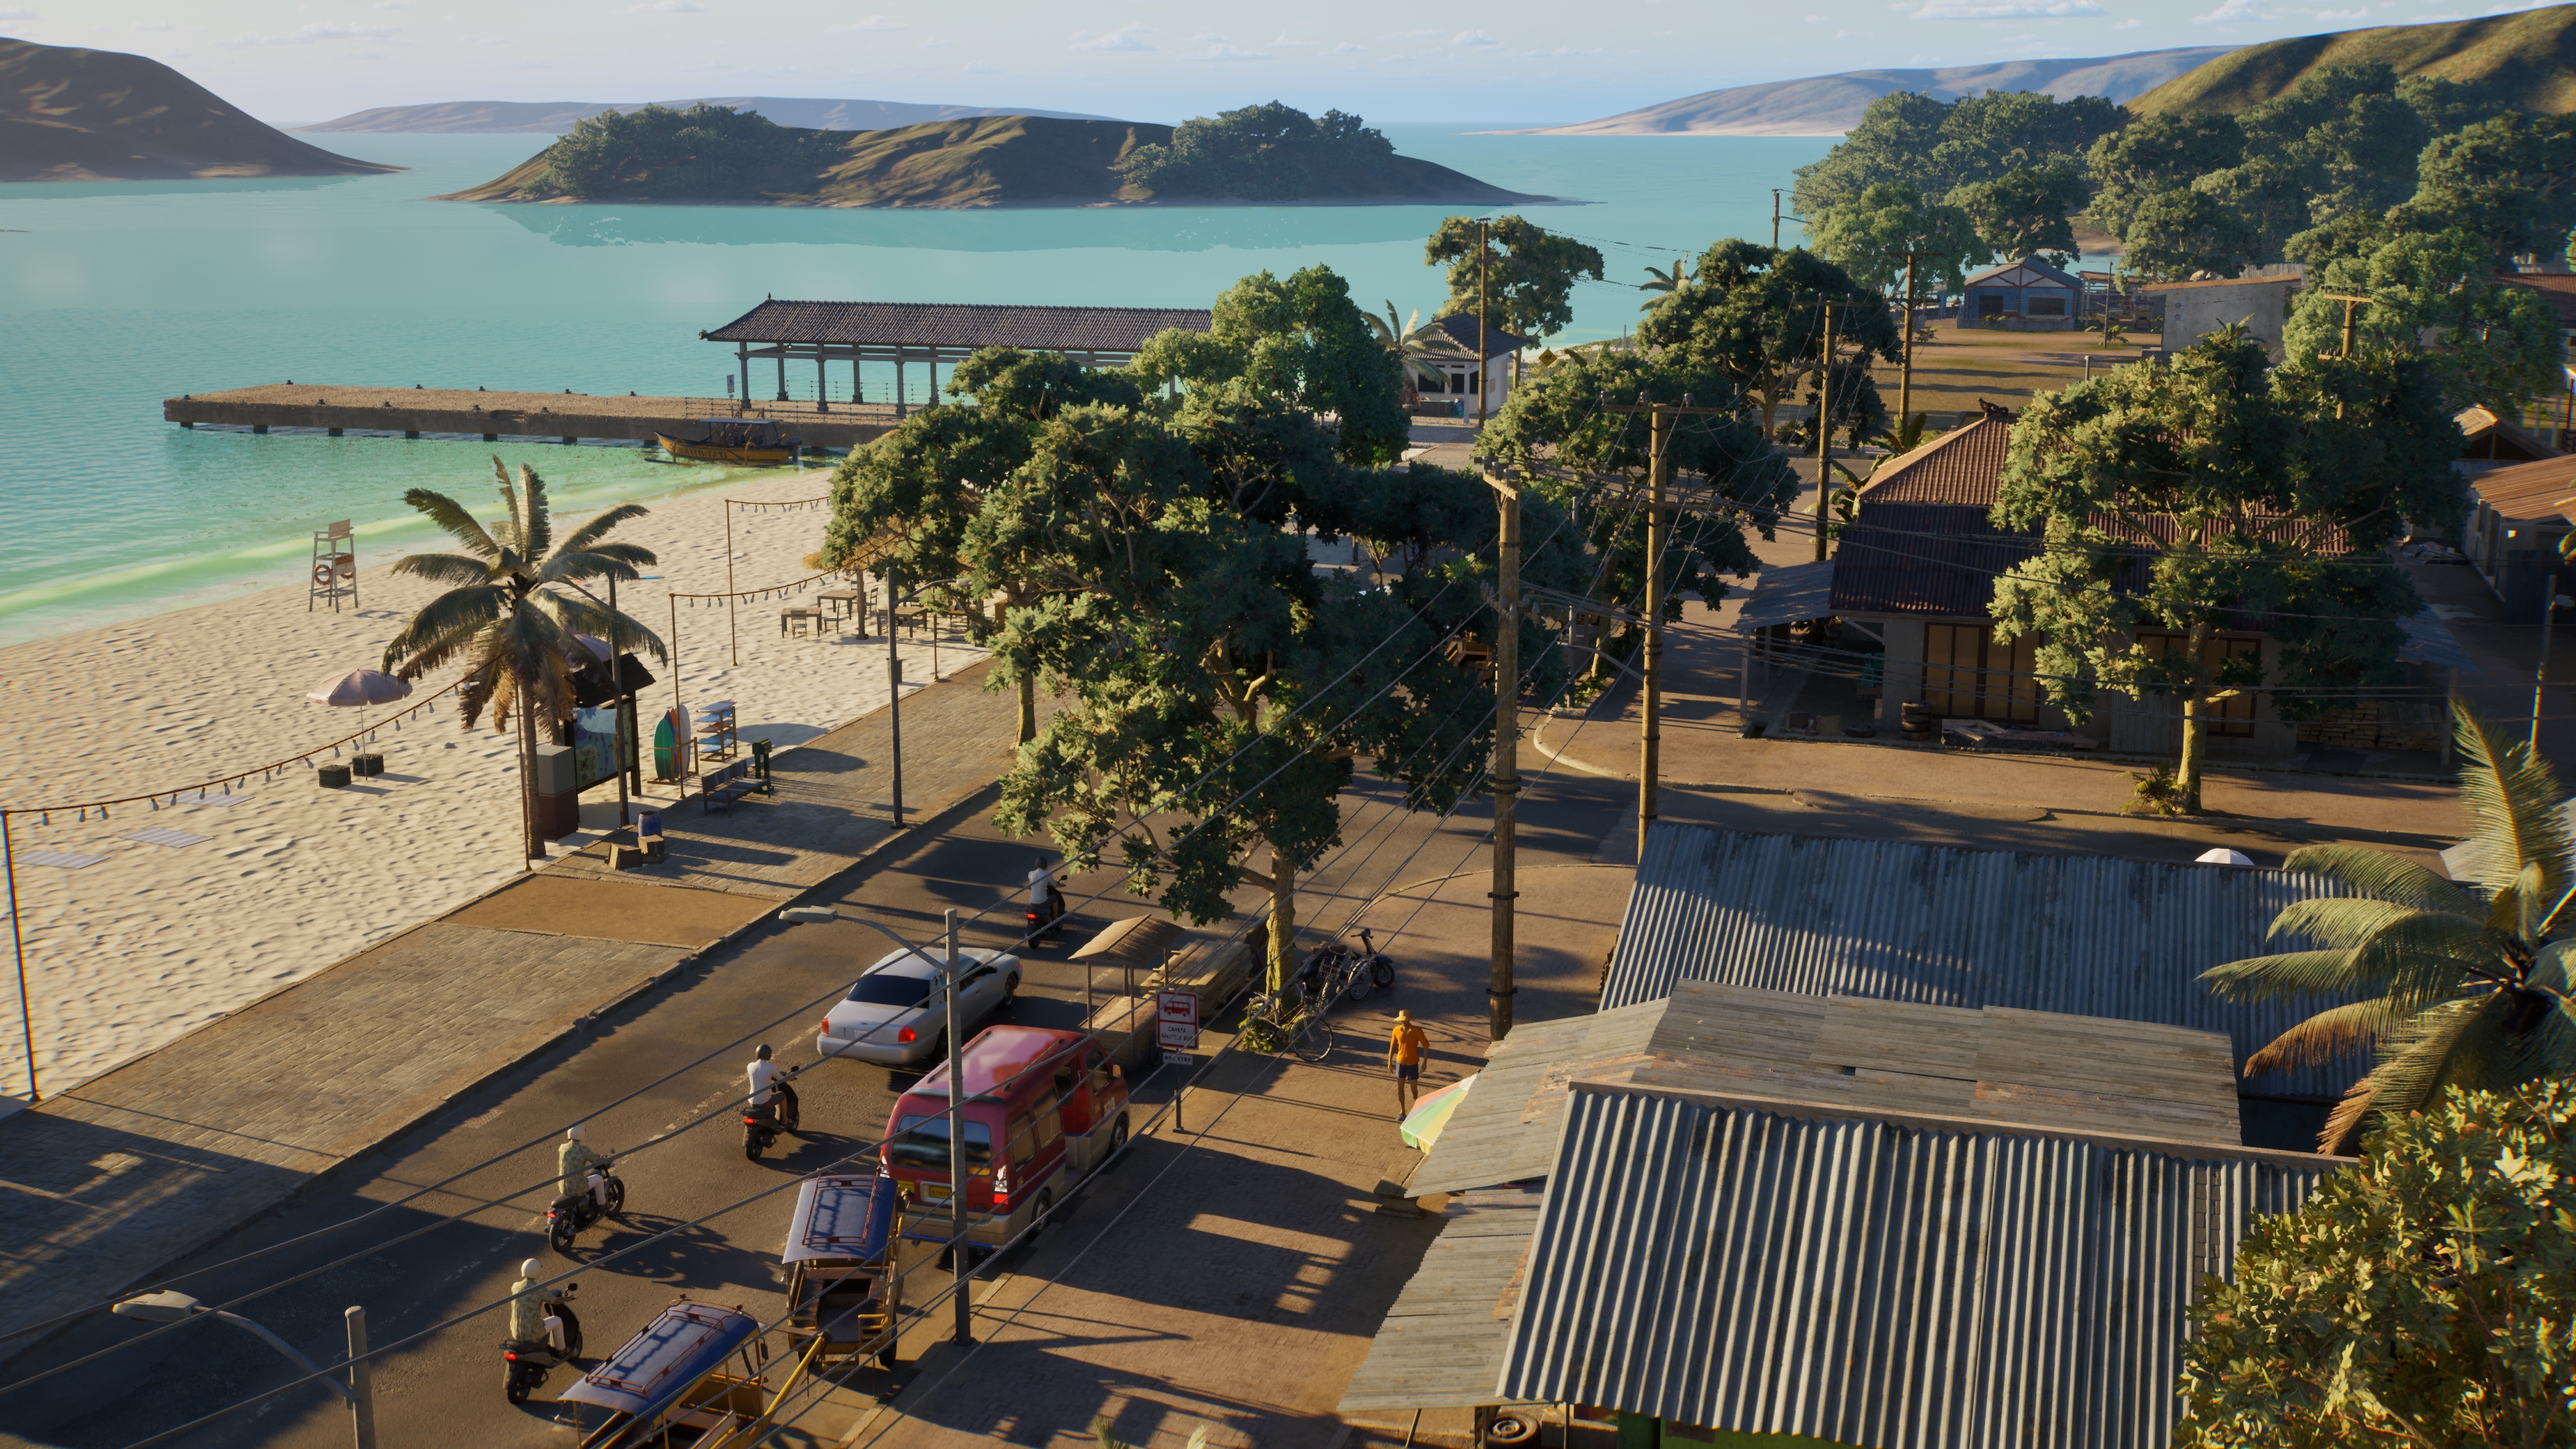
Focus points in Landscape pictures I tend to not be as strict in. Usually I try to:
- See if angling the camera will capture the landscape better
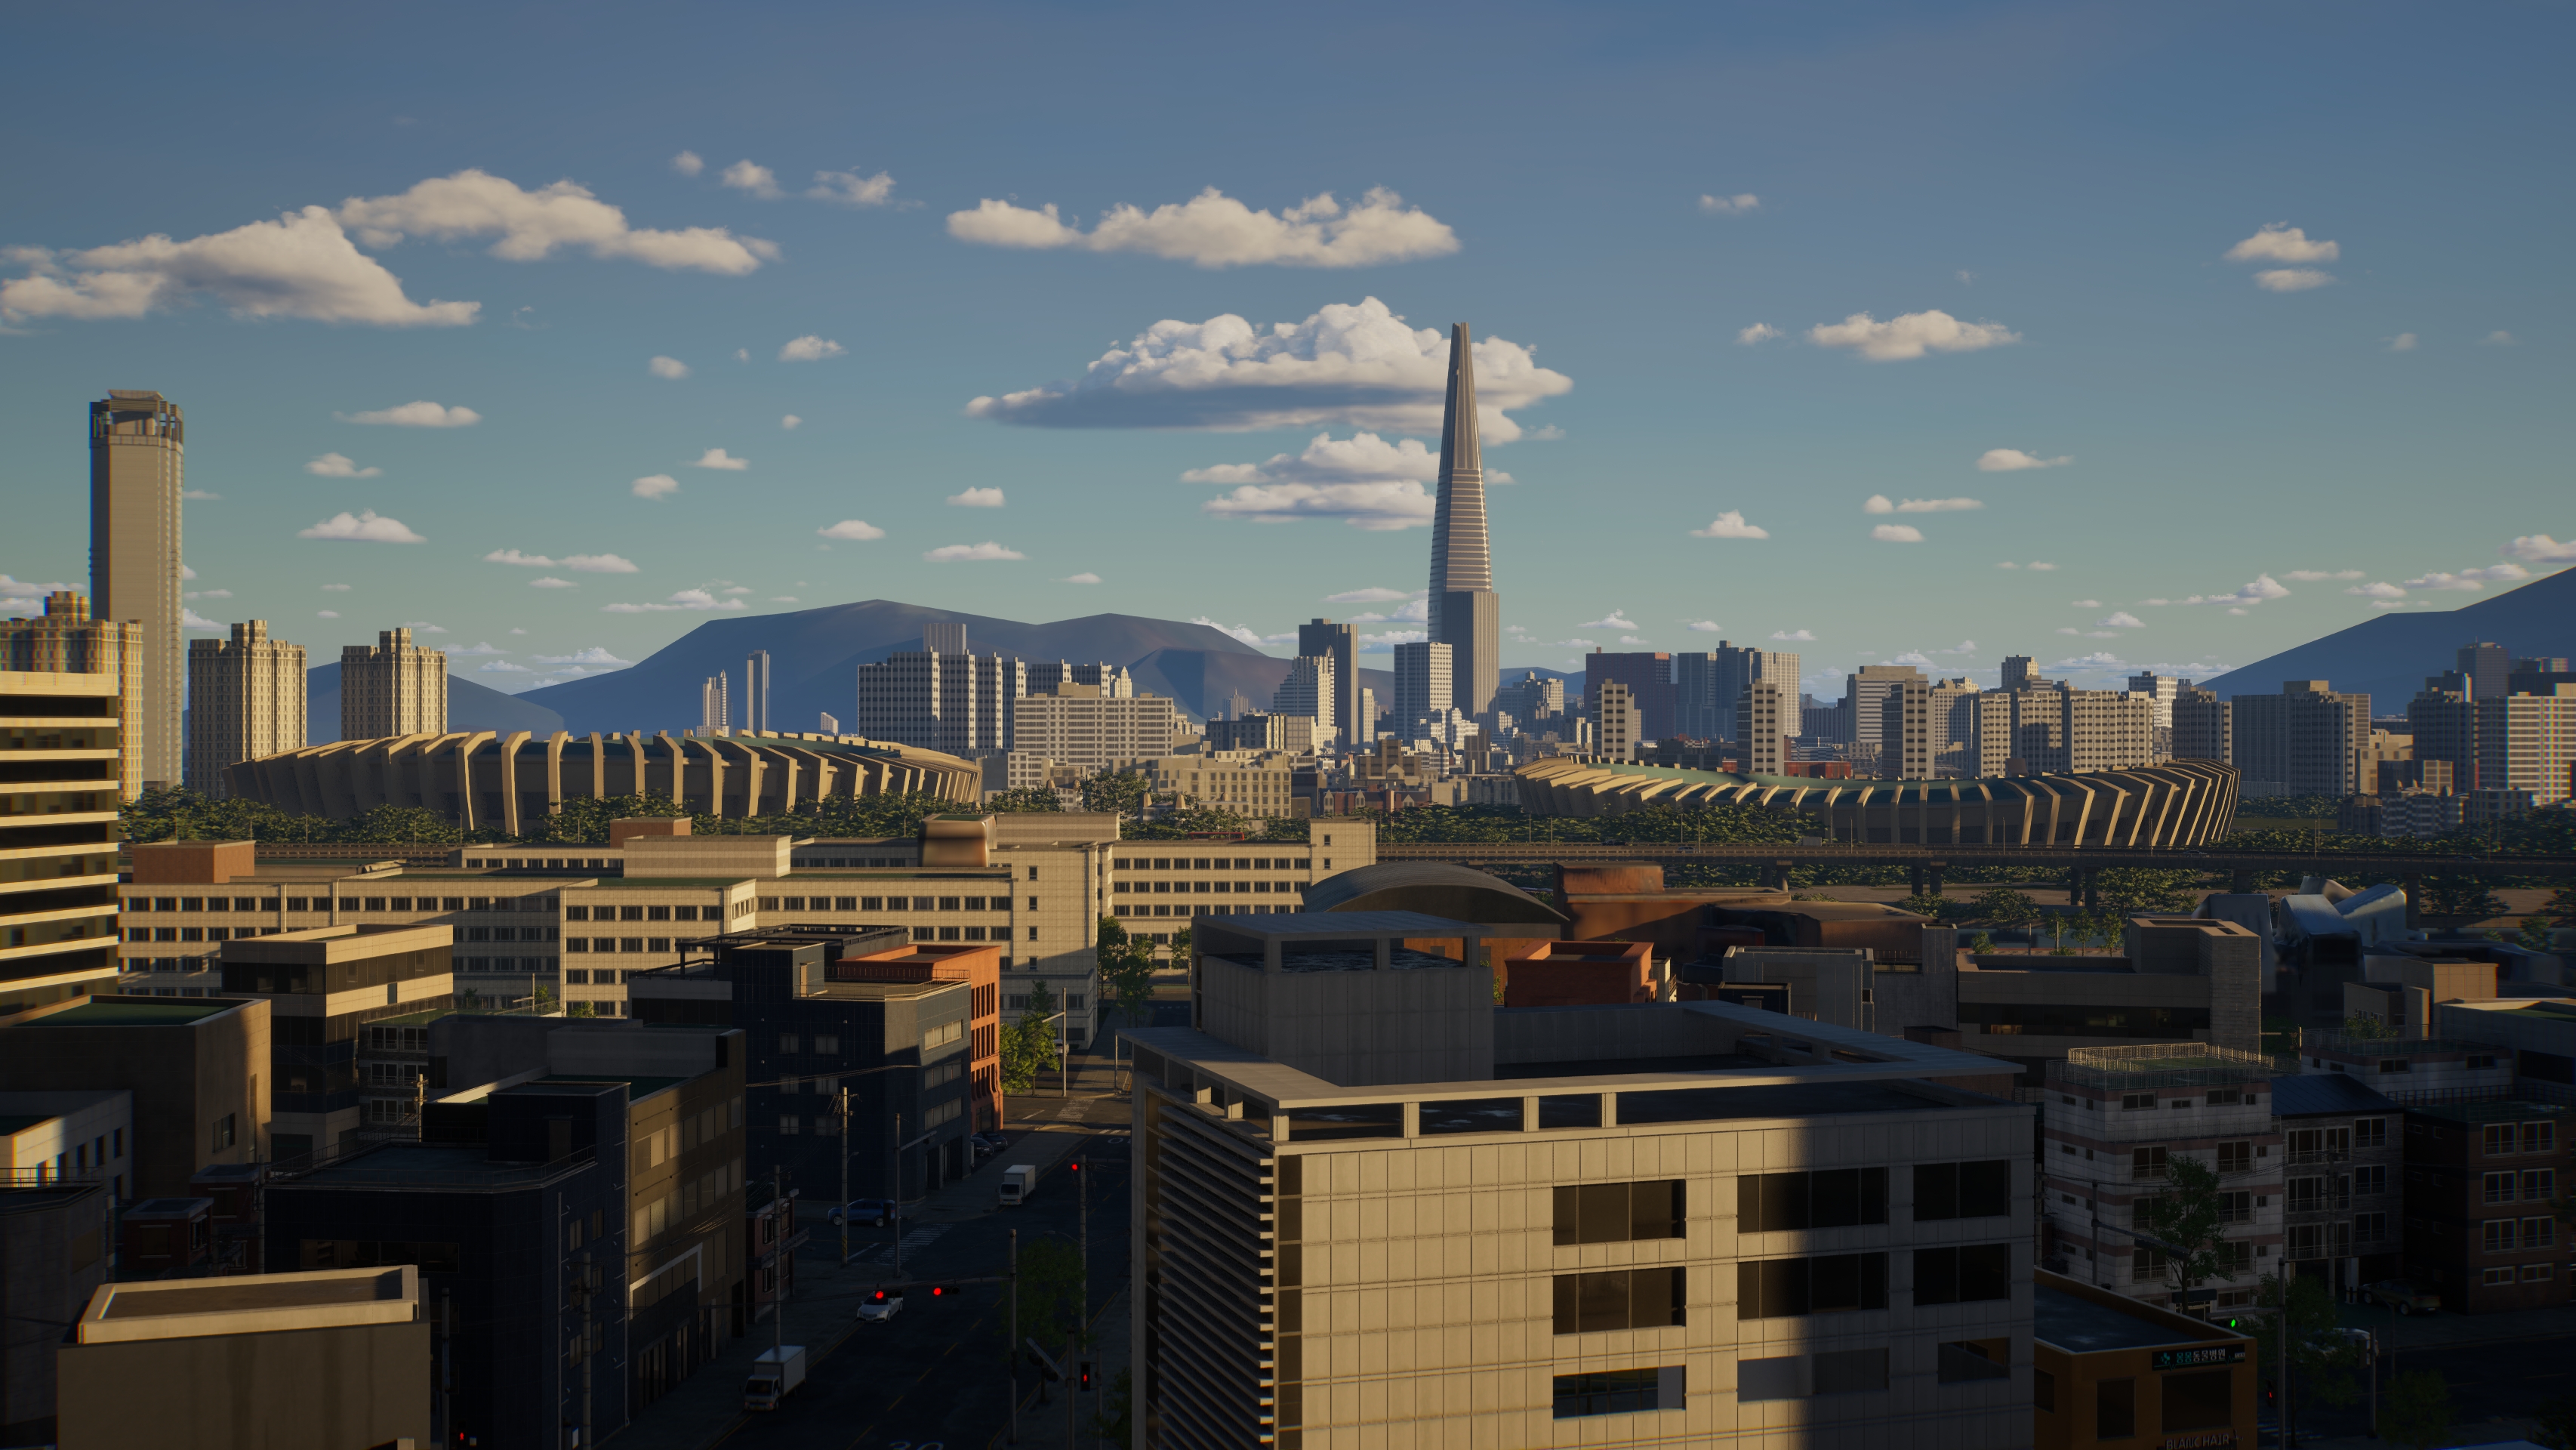
- about 30-50% sky/background mountains. So make sure to make screenshots of towns/cities where there is only 10% sky (unless it's a mansion, lol).
- Find similar shapes. Like I did in picture 2! I simply noticed the symmetry and went with it.
Here I really need to mention finding similar shapes, really is exactly what I mean. You need to hunt for it. Look at the subject through different angles till you start noticing patterns! 😉
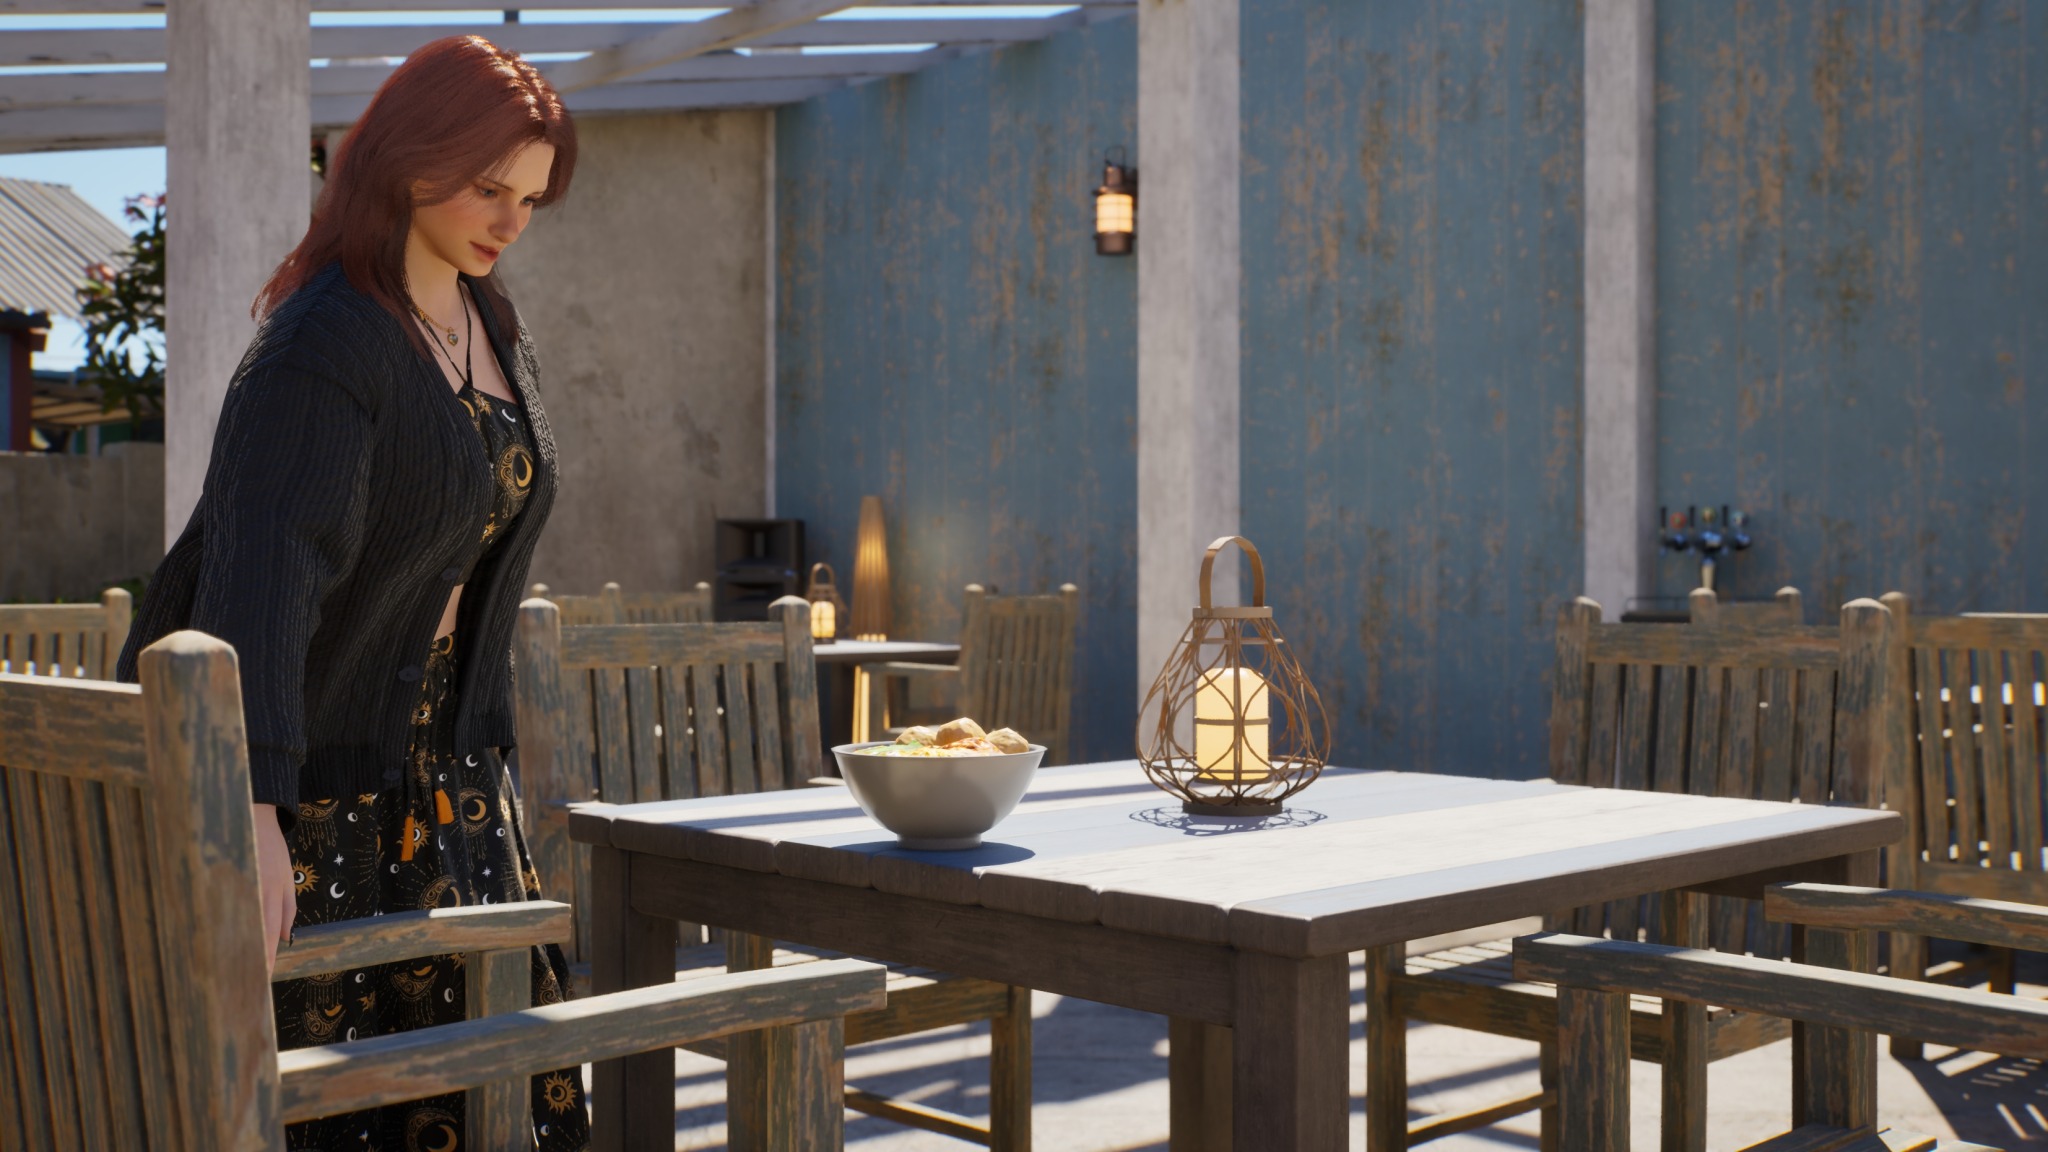
The Importance of natural lighting
Lighting in this game is so nicely done! Sometimes, it even comes across a bit too realistic. But we kind of want that!
But why is it important?
Let's show it with images!
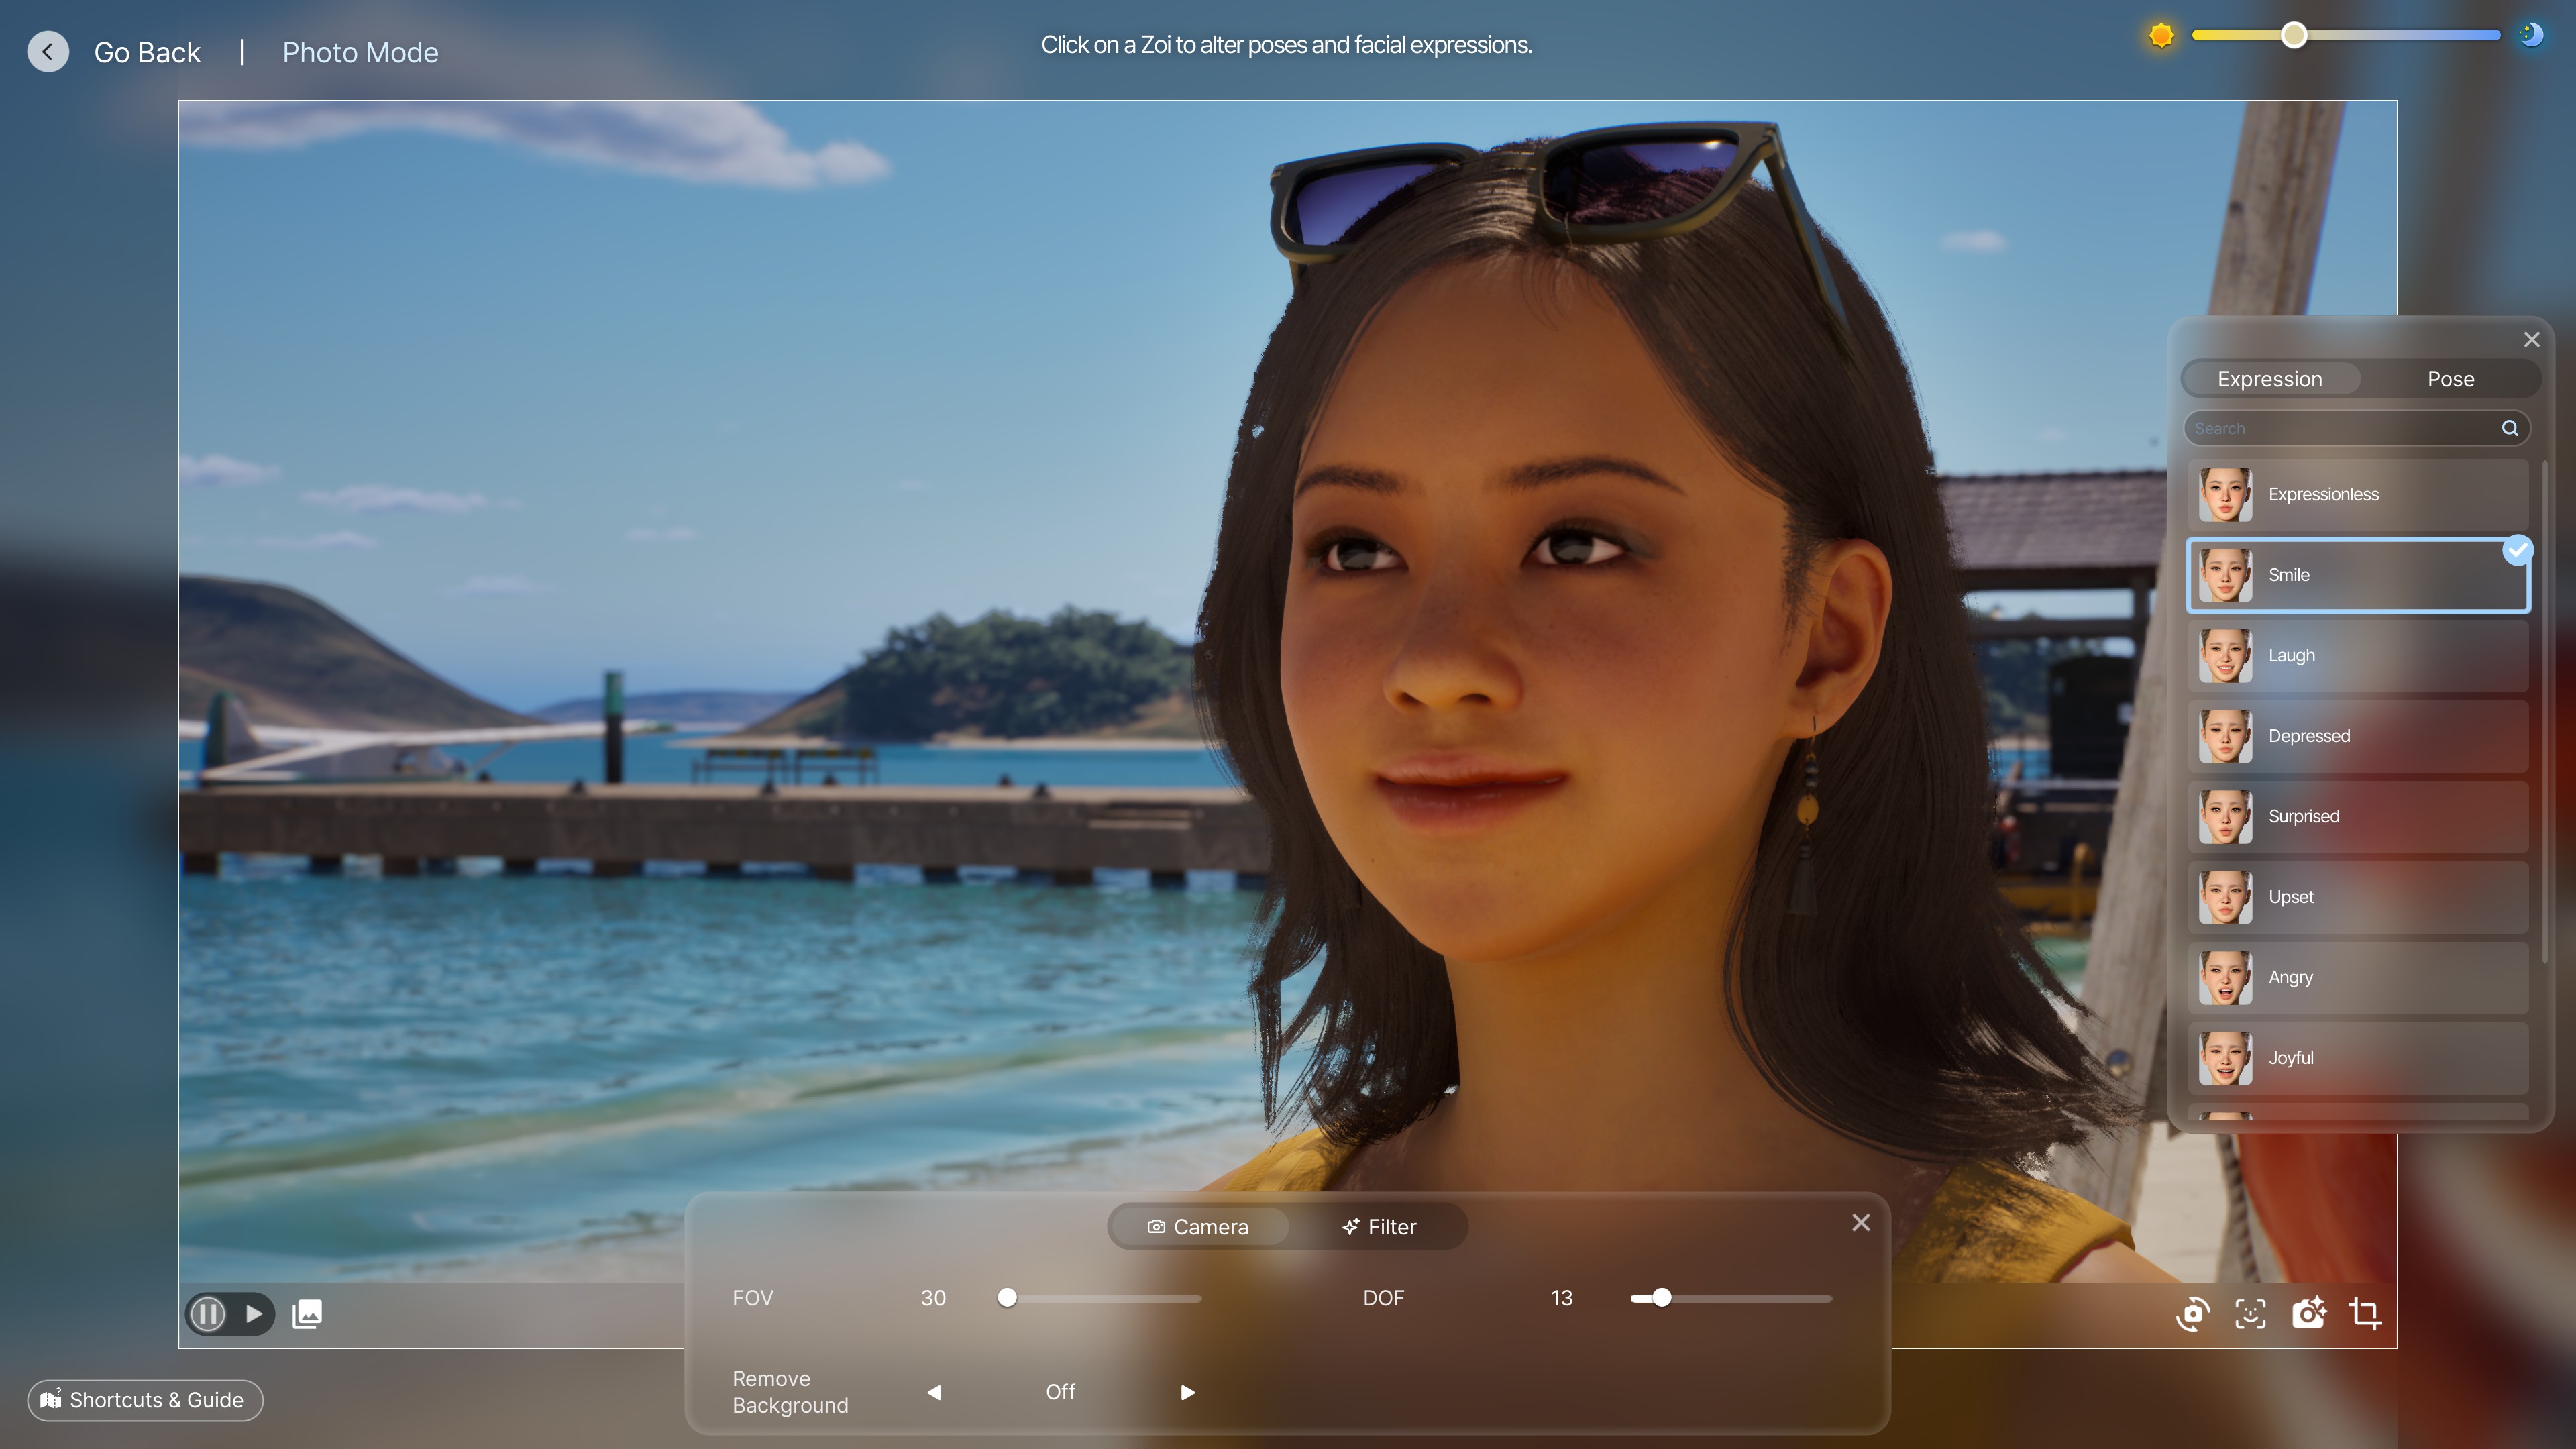
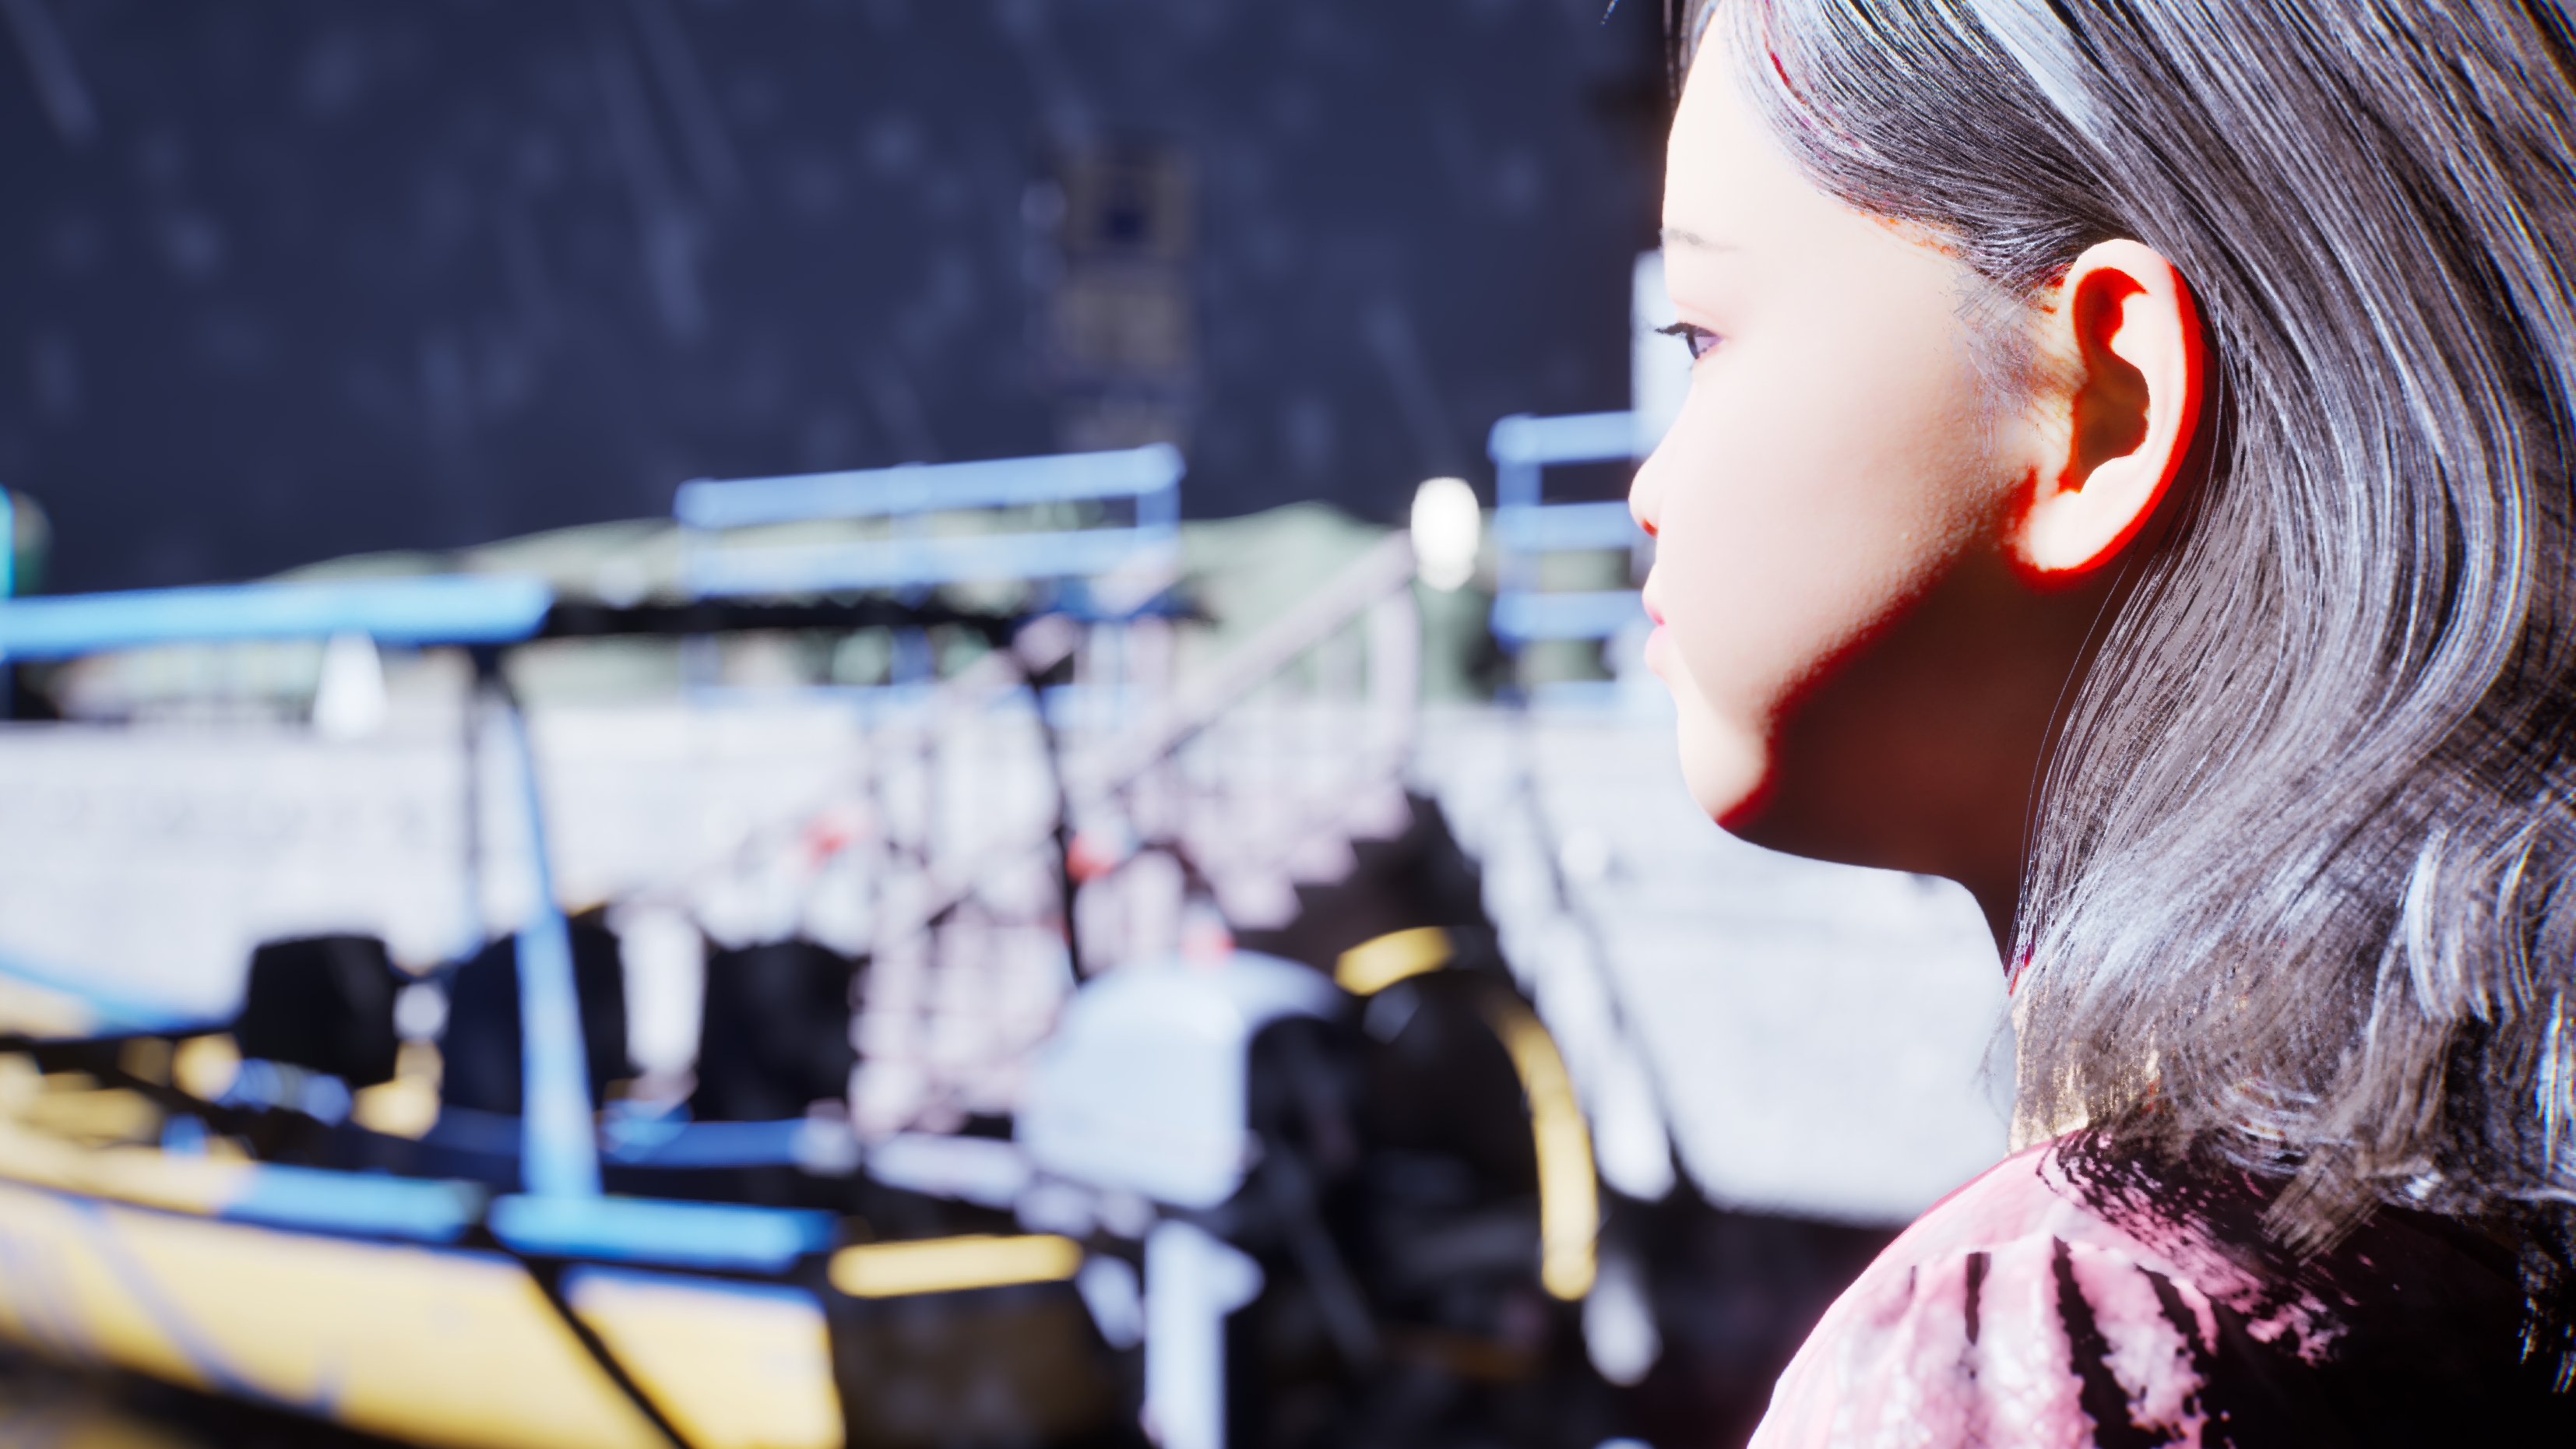
Here we have Cahya, whose looking nicely, no problem necessarily here, but it's also not really interesting to look at.
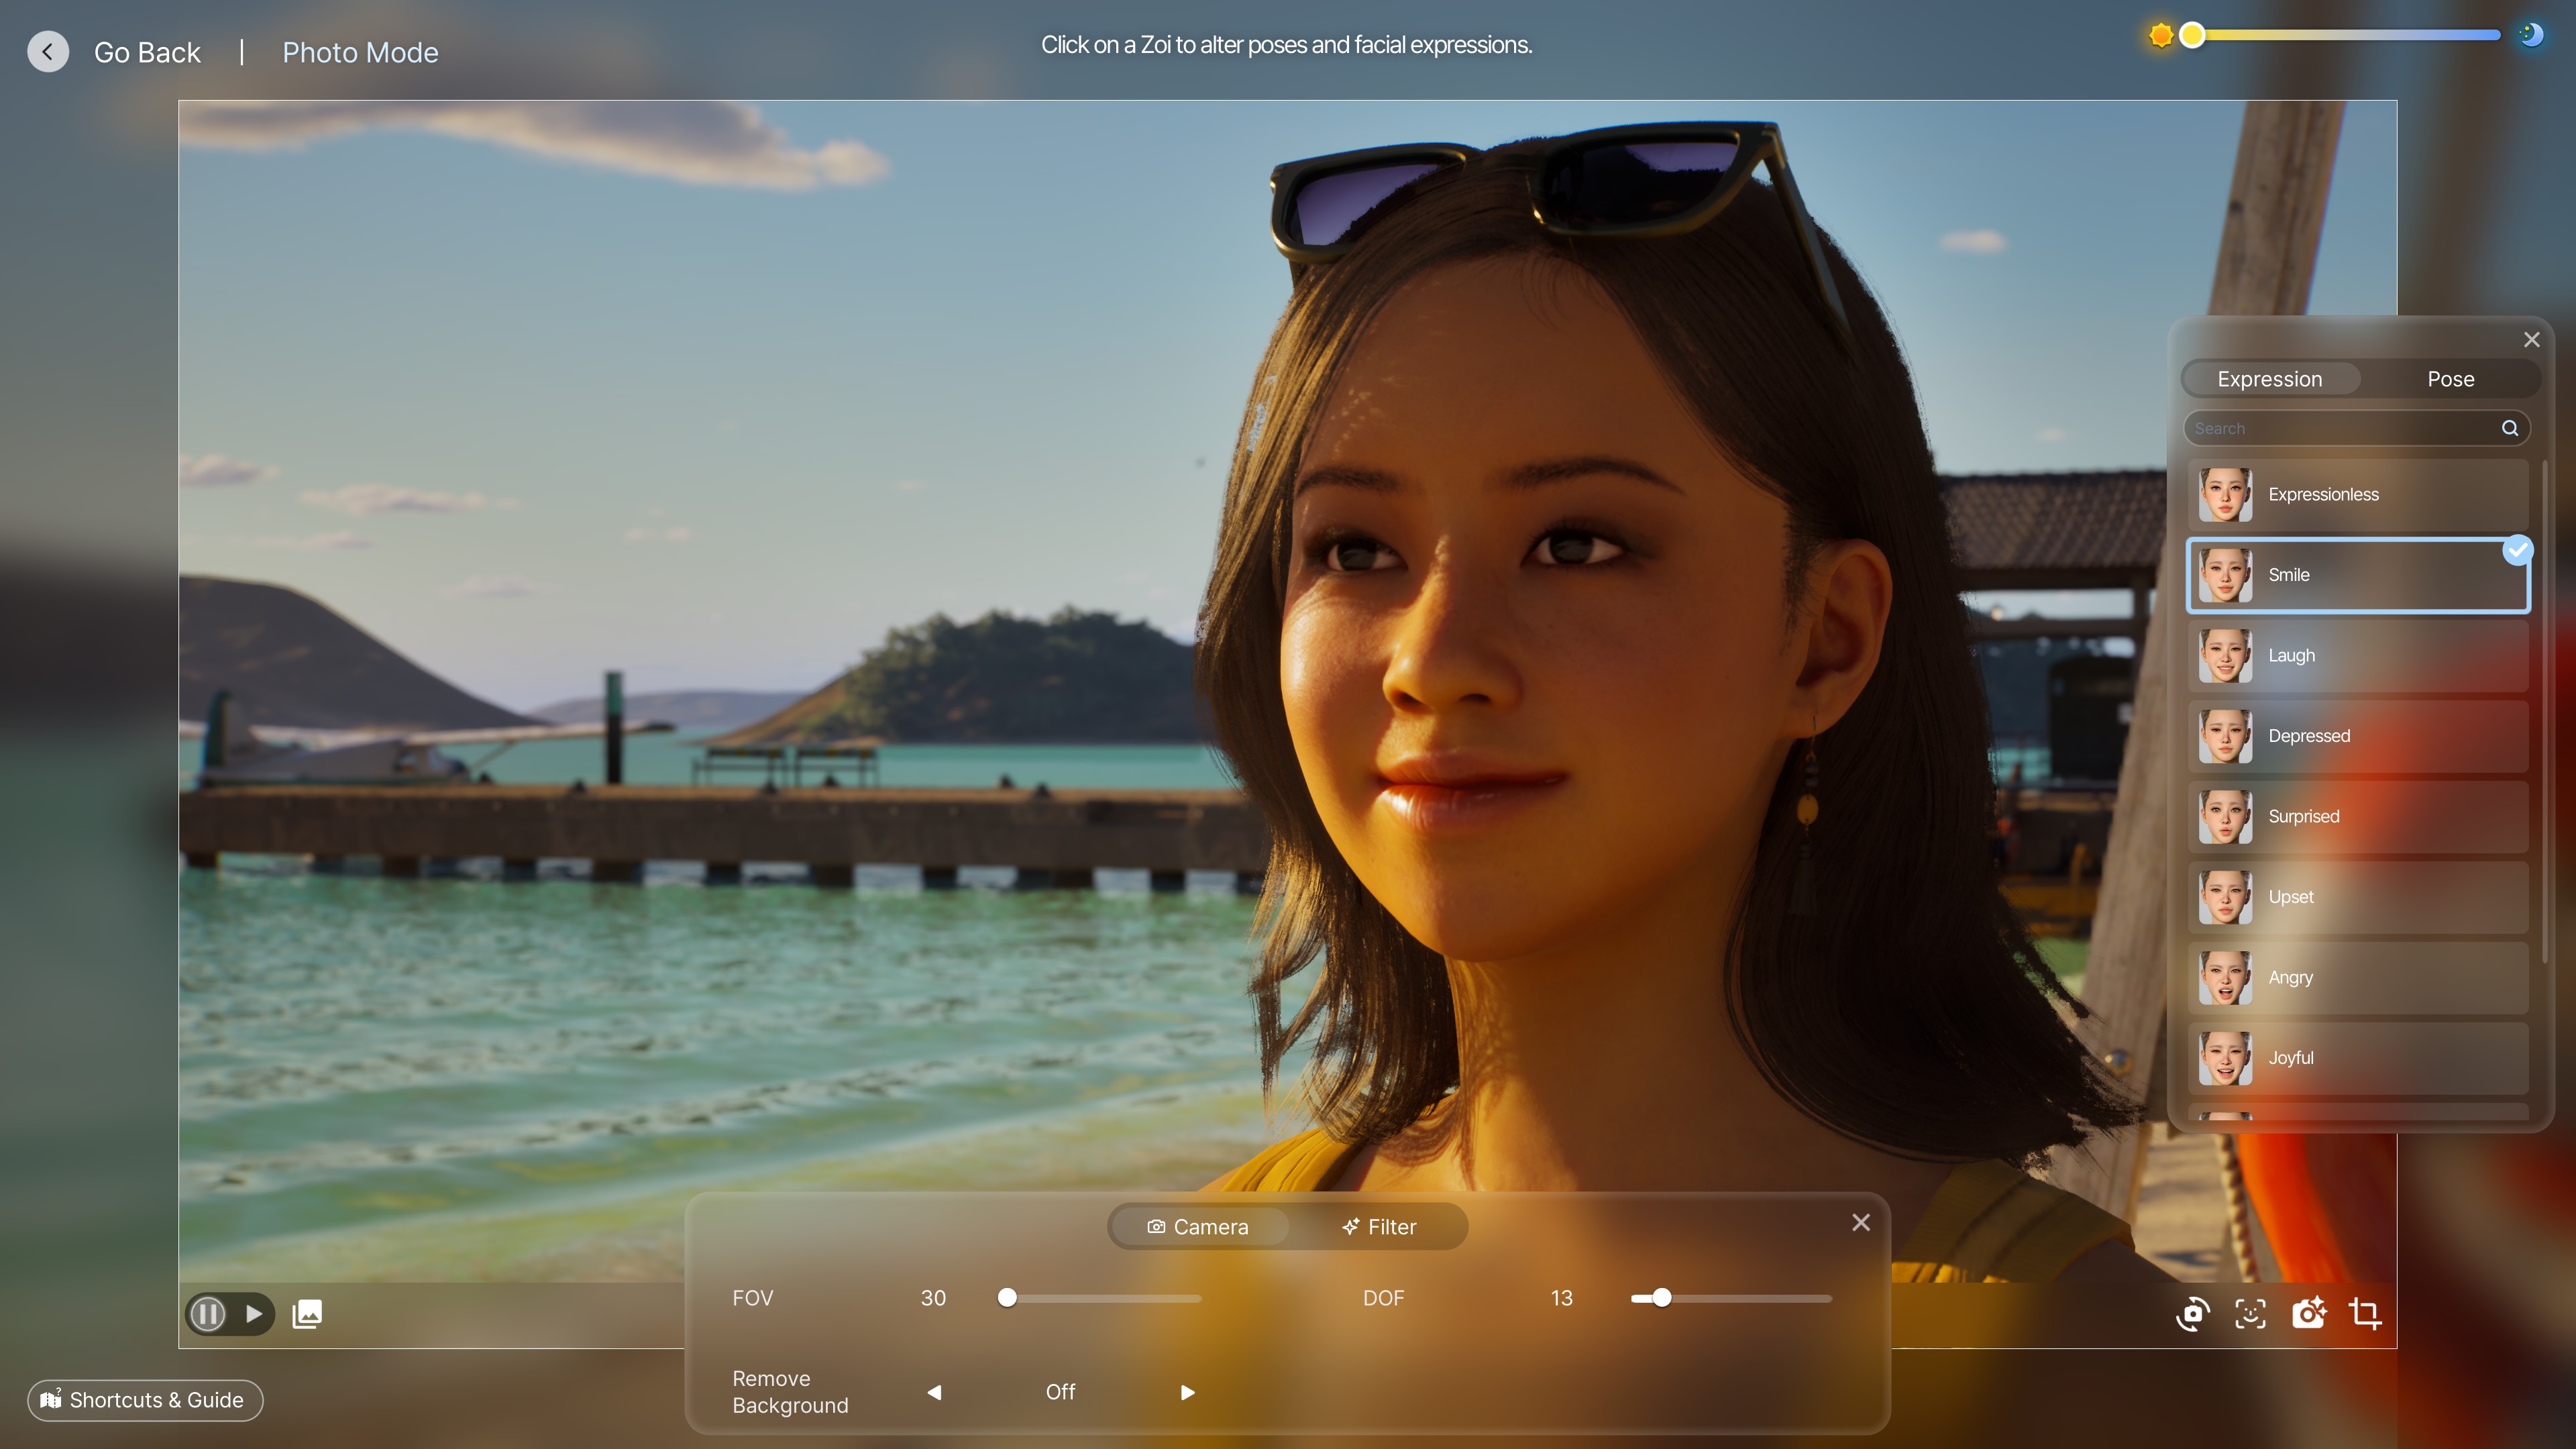
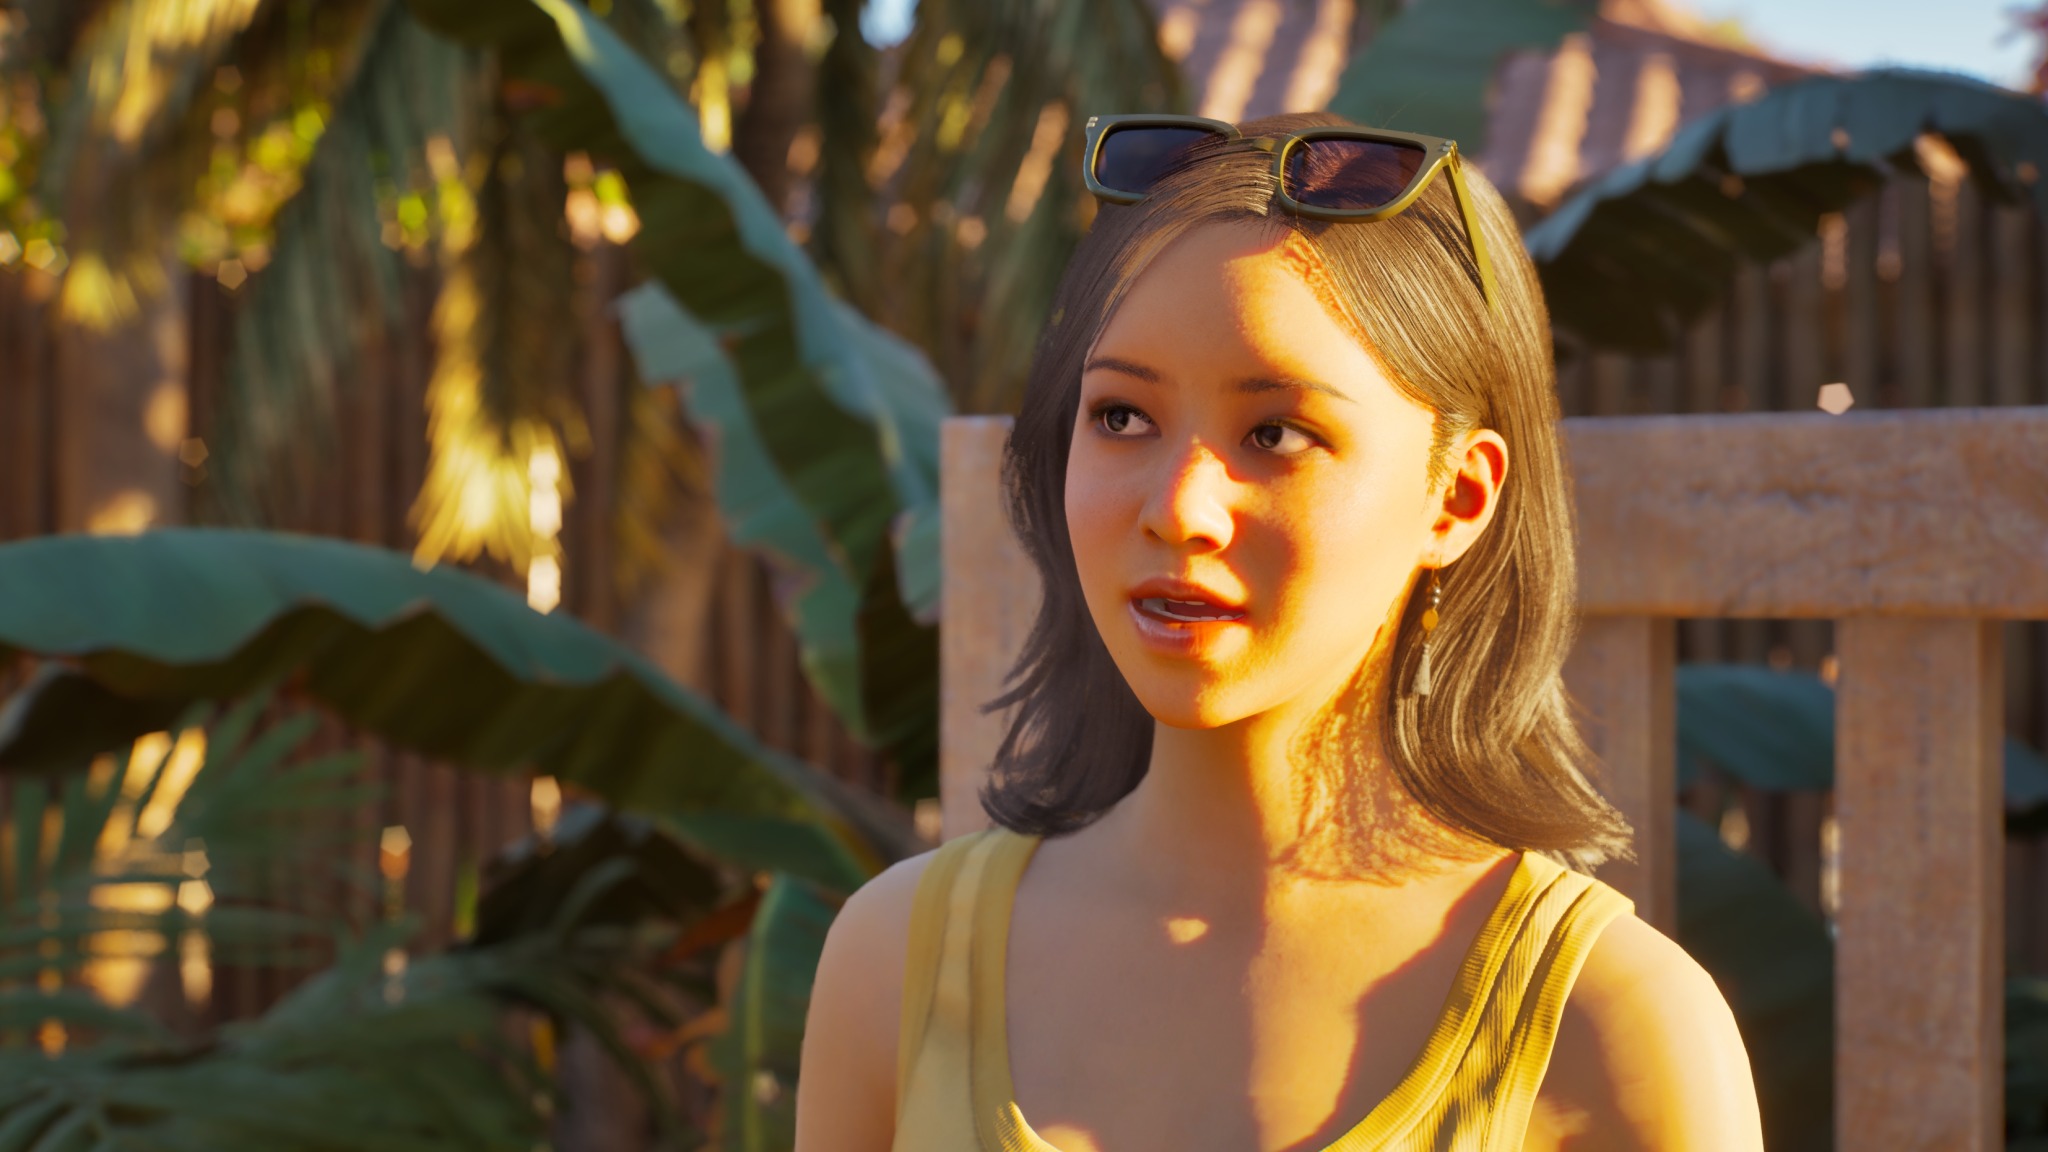
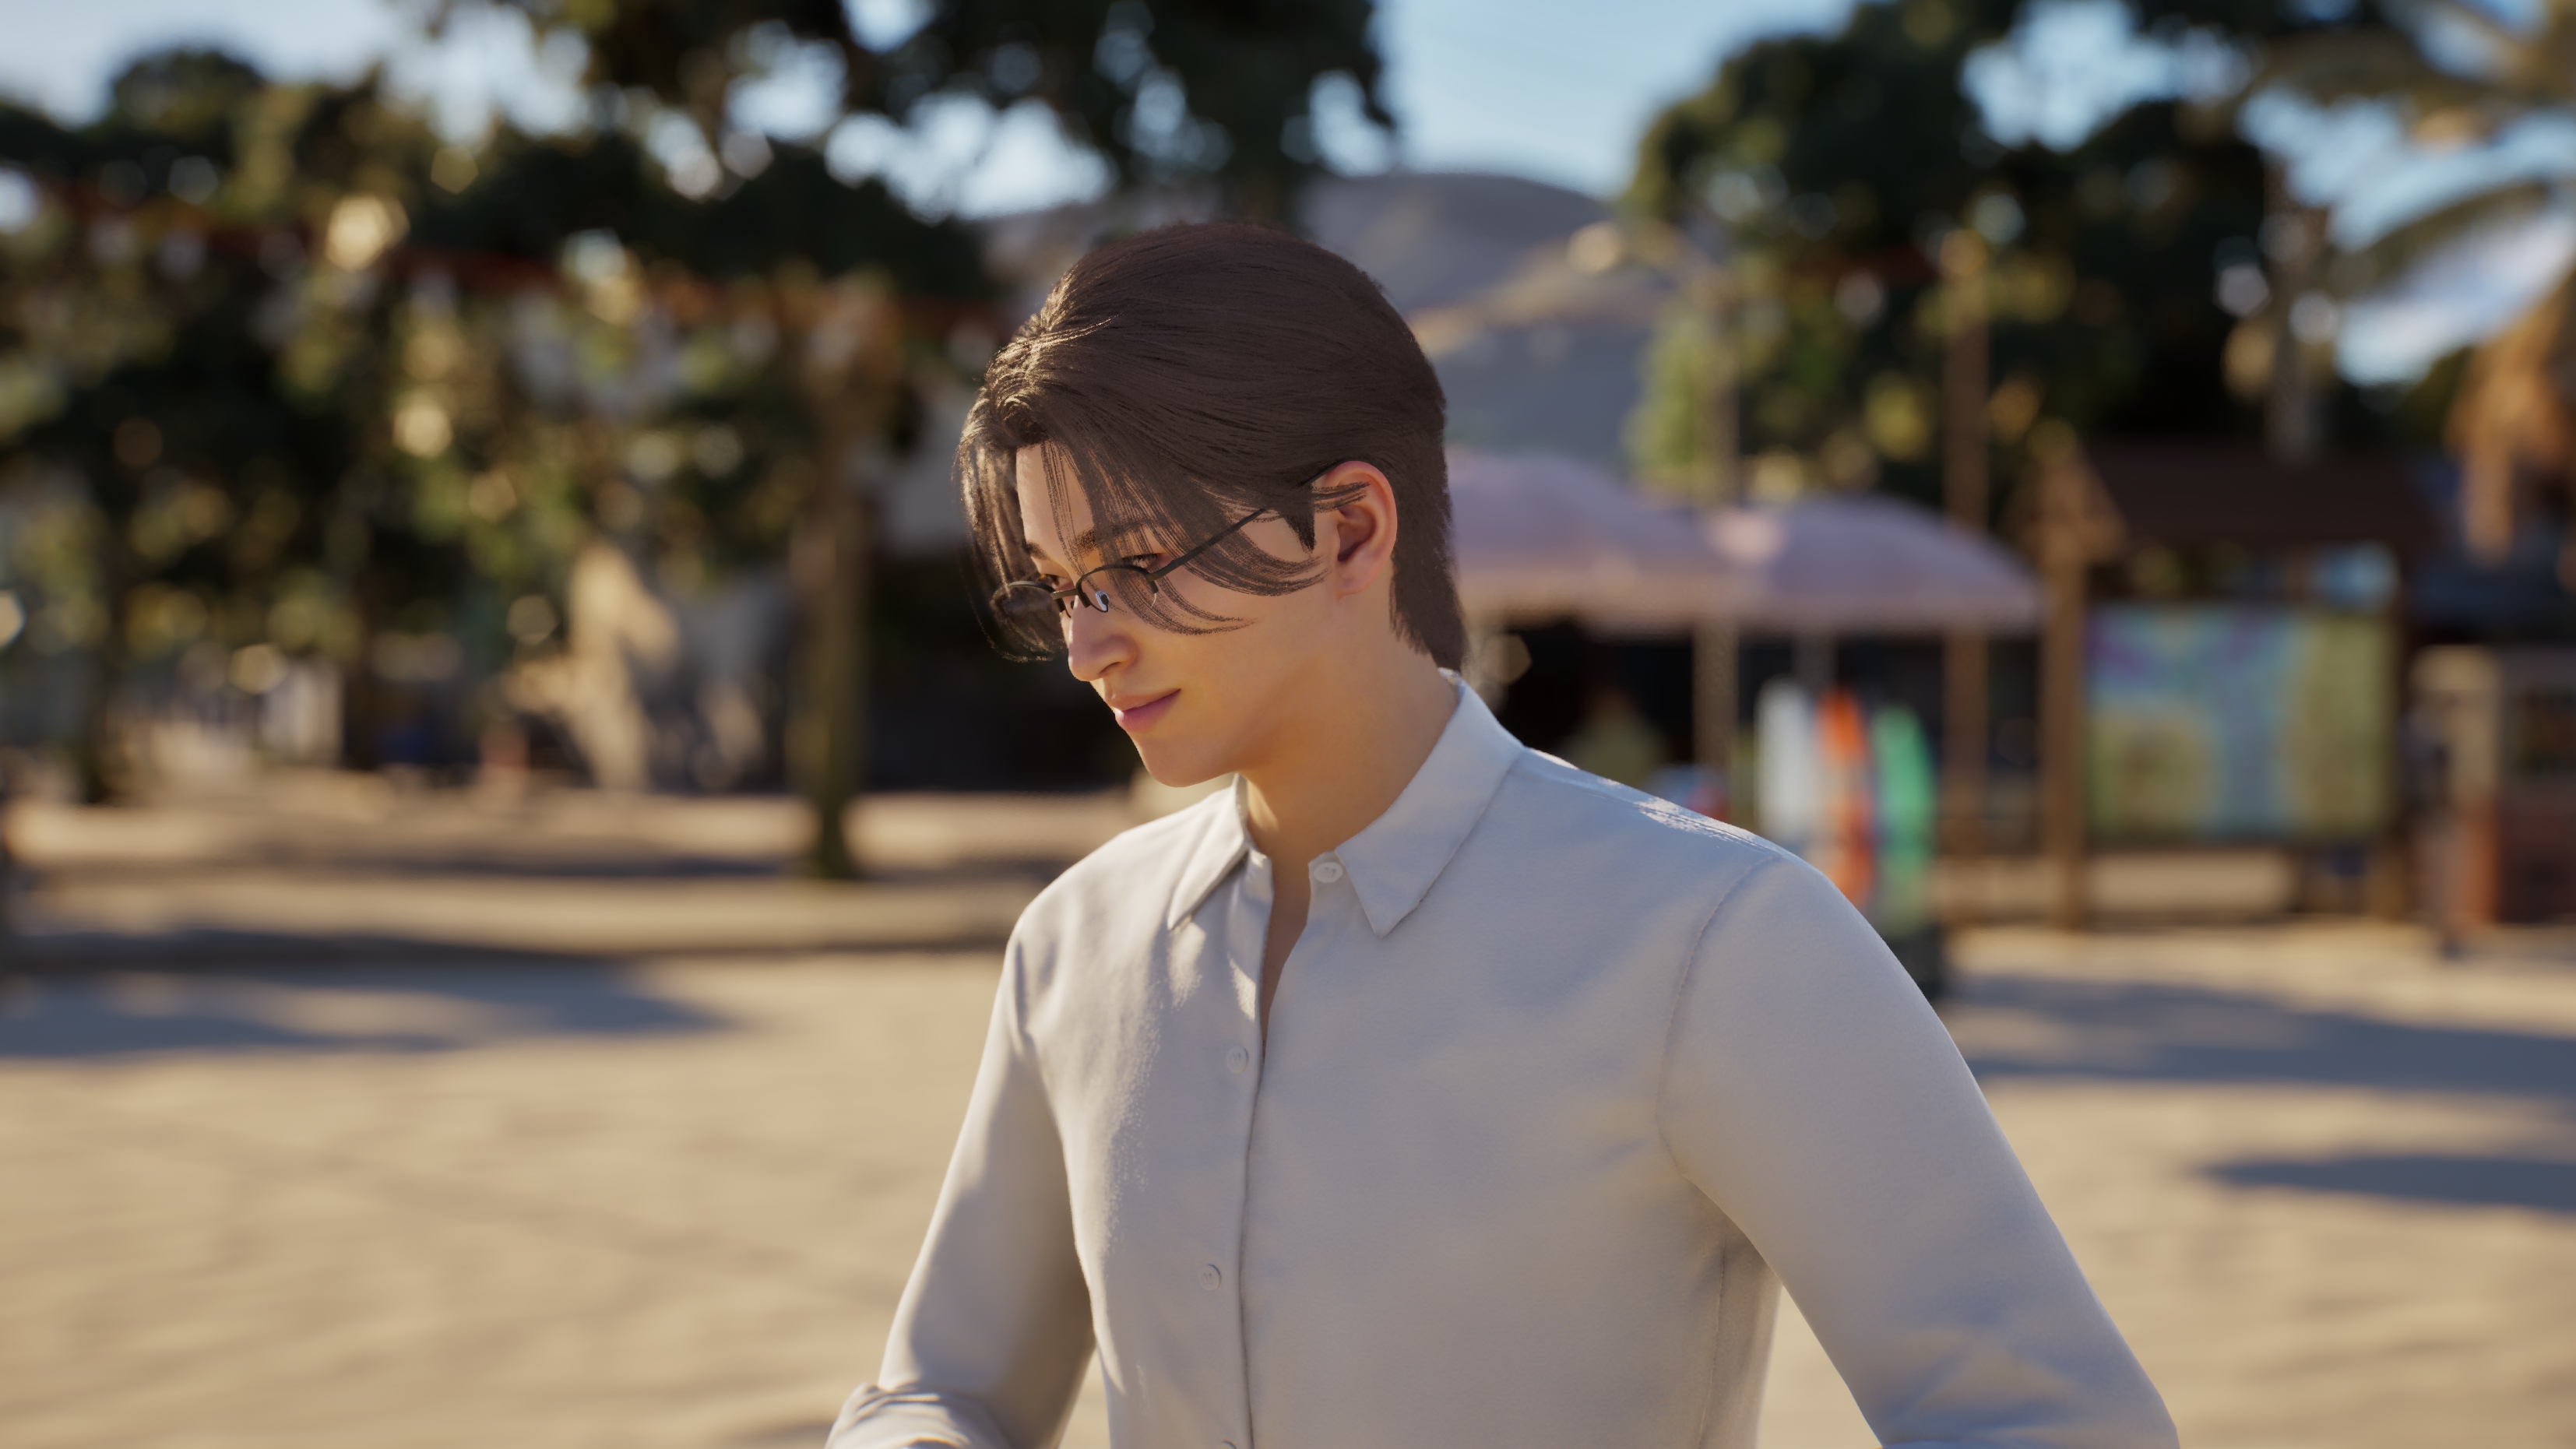
Here, using "Golden Hour" will make her look more real, makes the image more appealing! Sunset/Sunrise images are really my to-go scenes because of it!

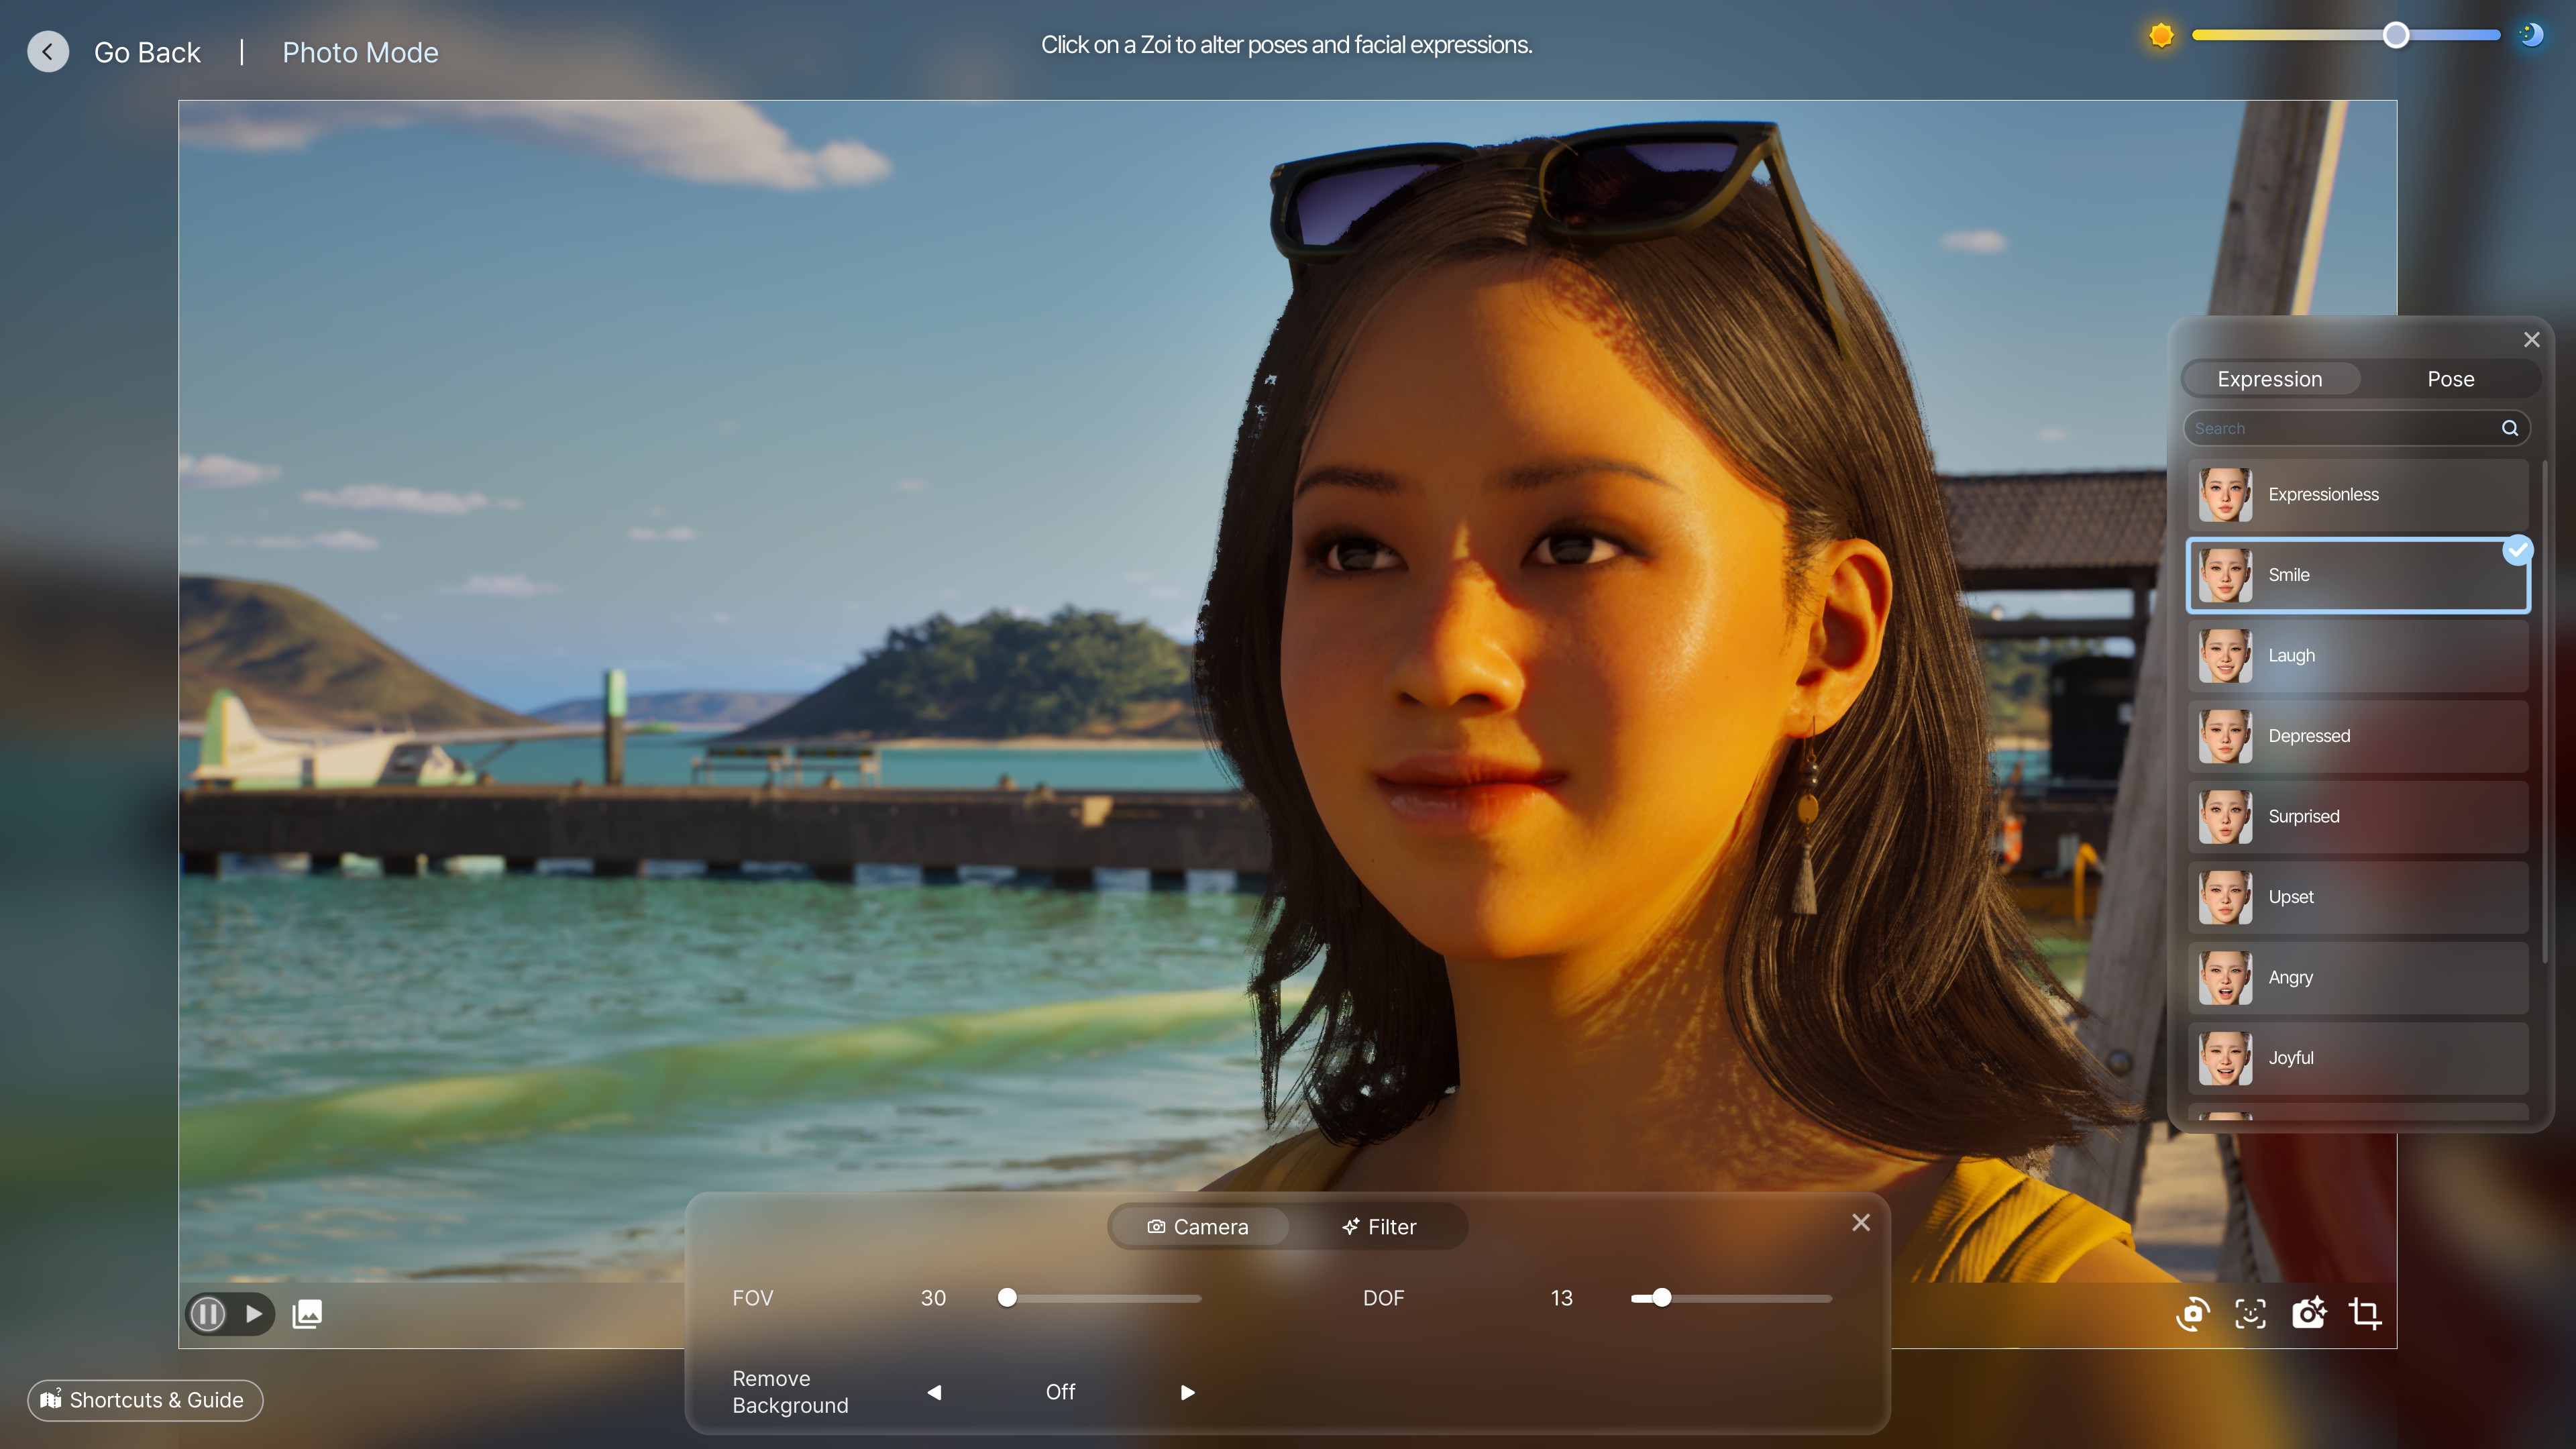
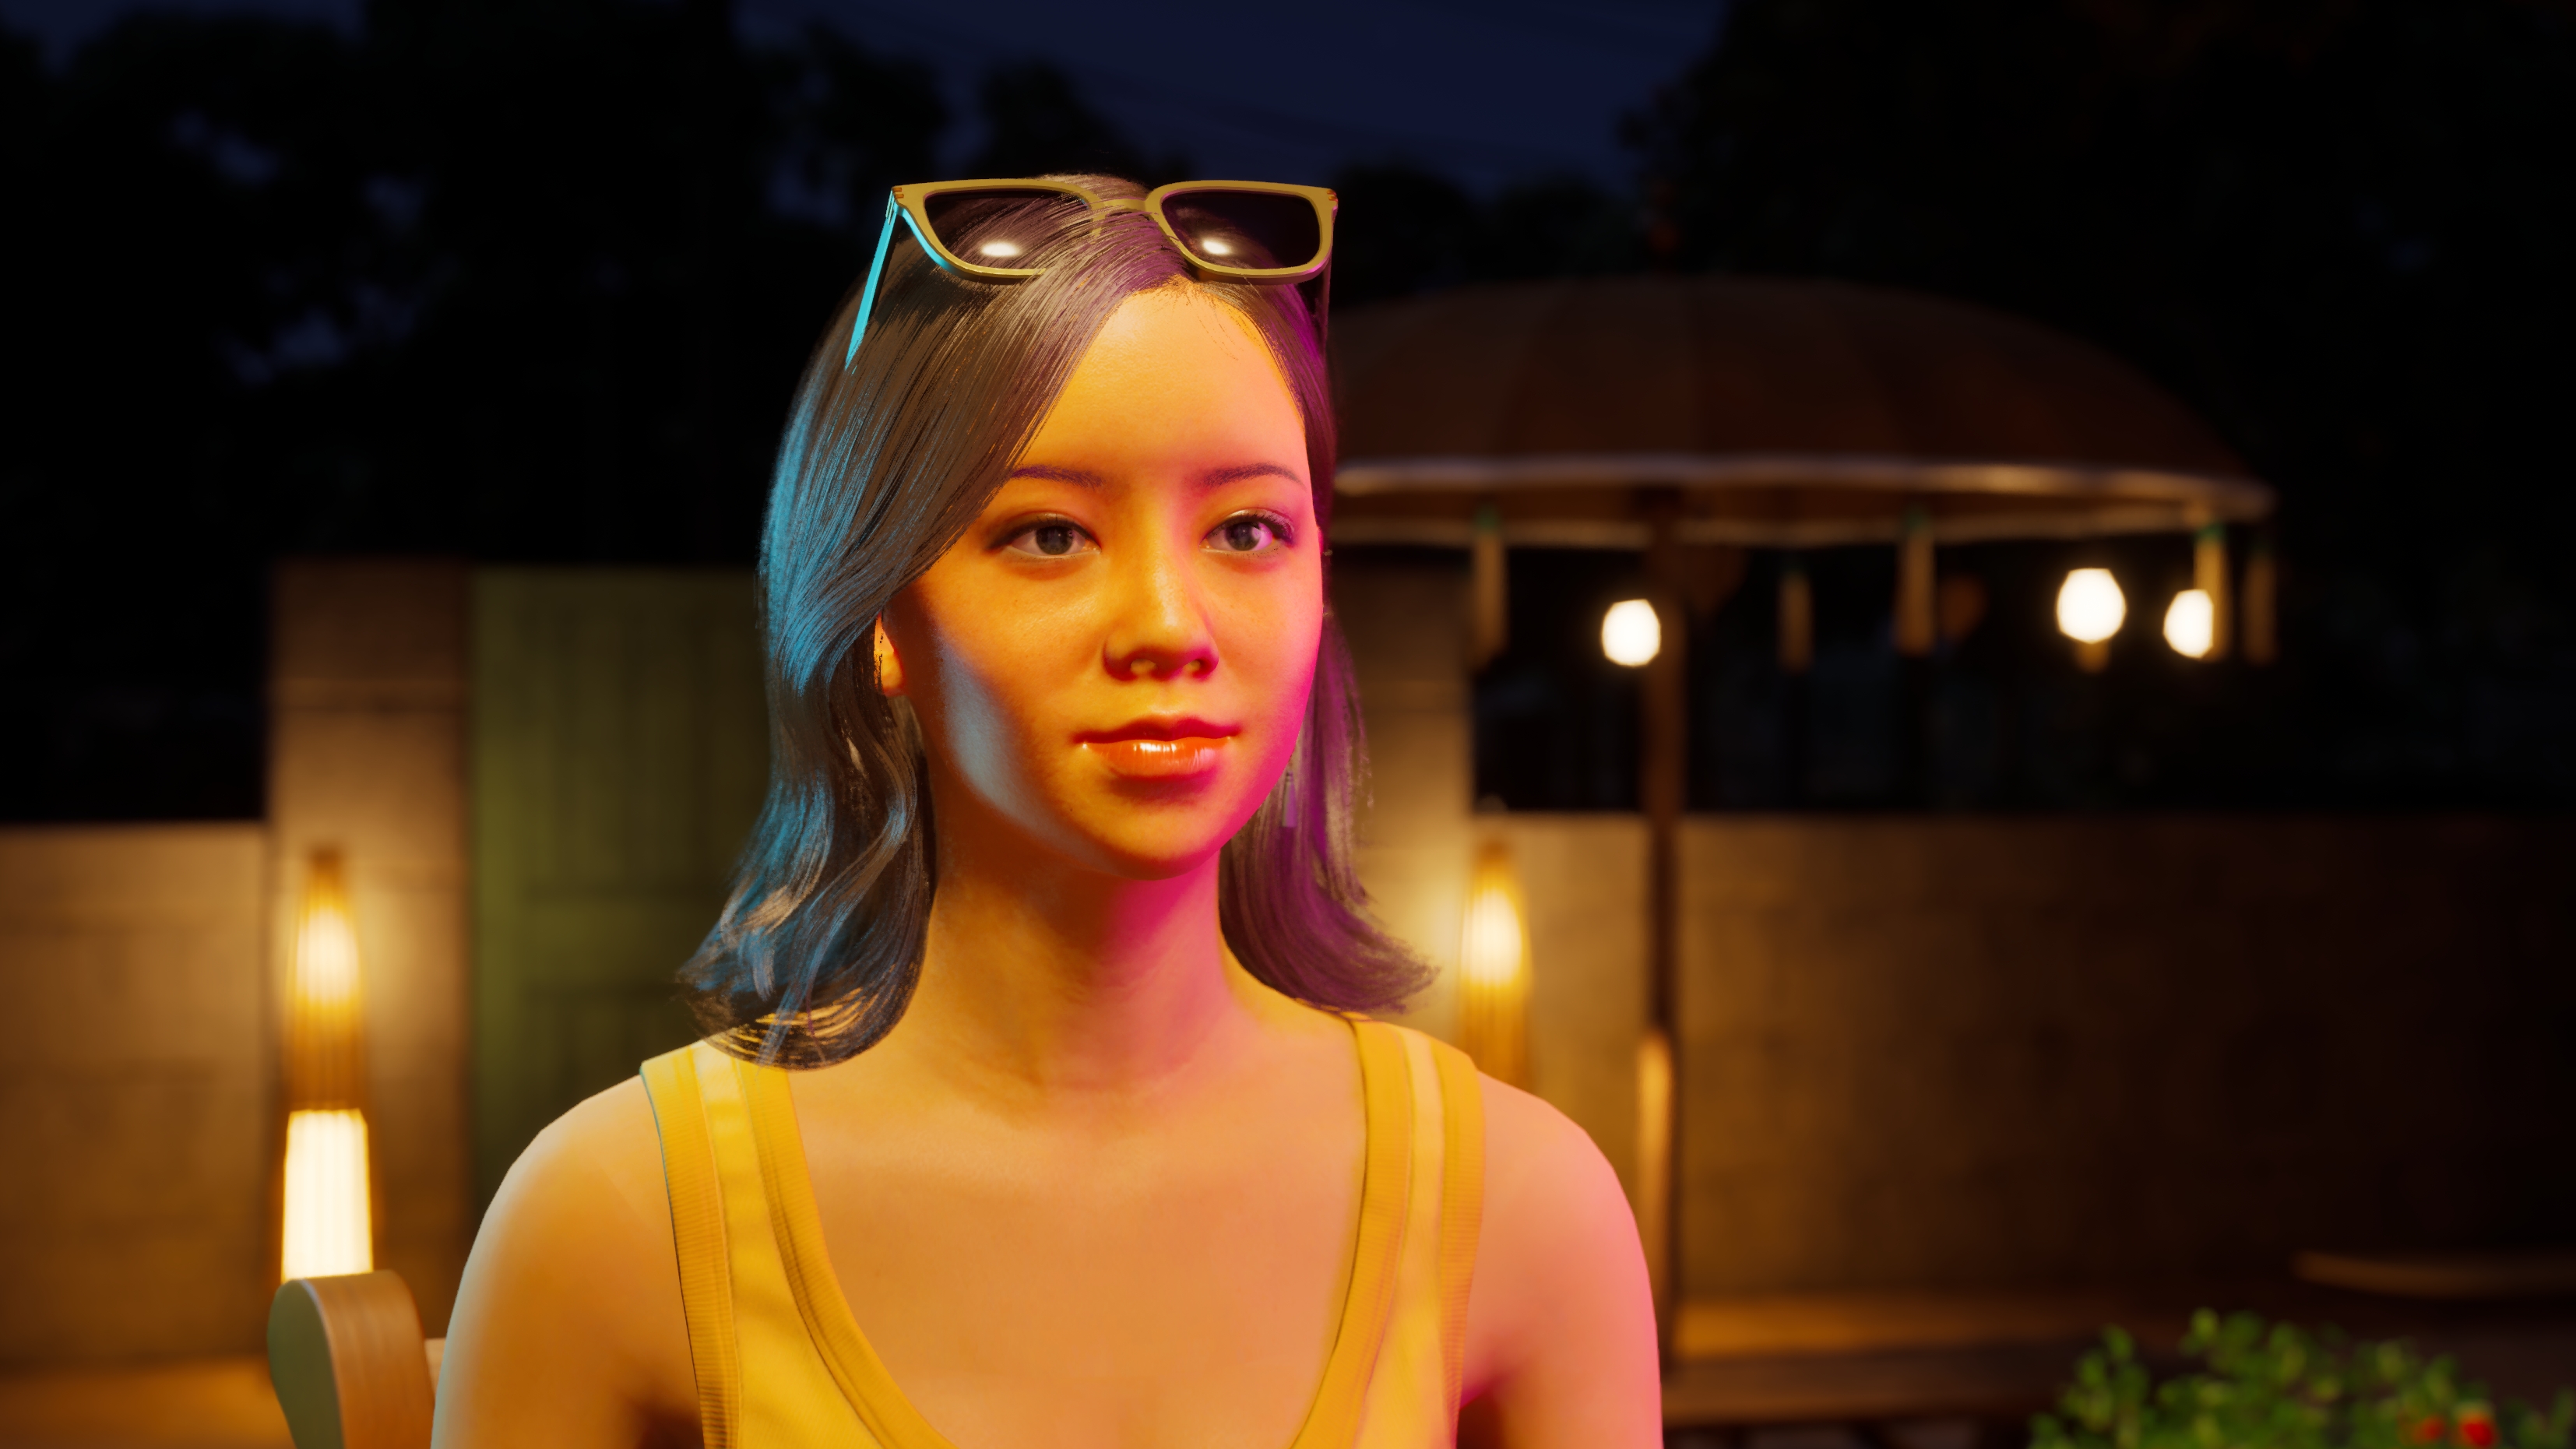
That's not to say the golden hour is necessary! If you take pictures in the afternoon, just having half of your character's face lit up by natural light makes them look so cool!
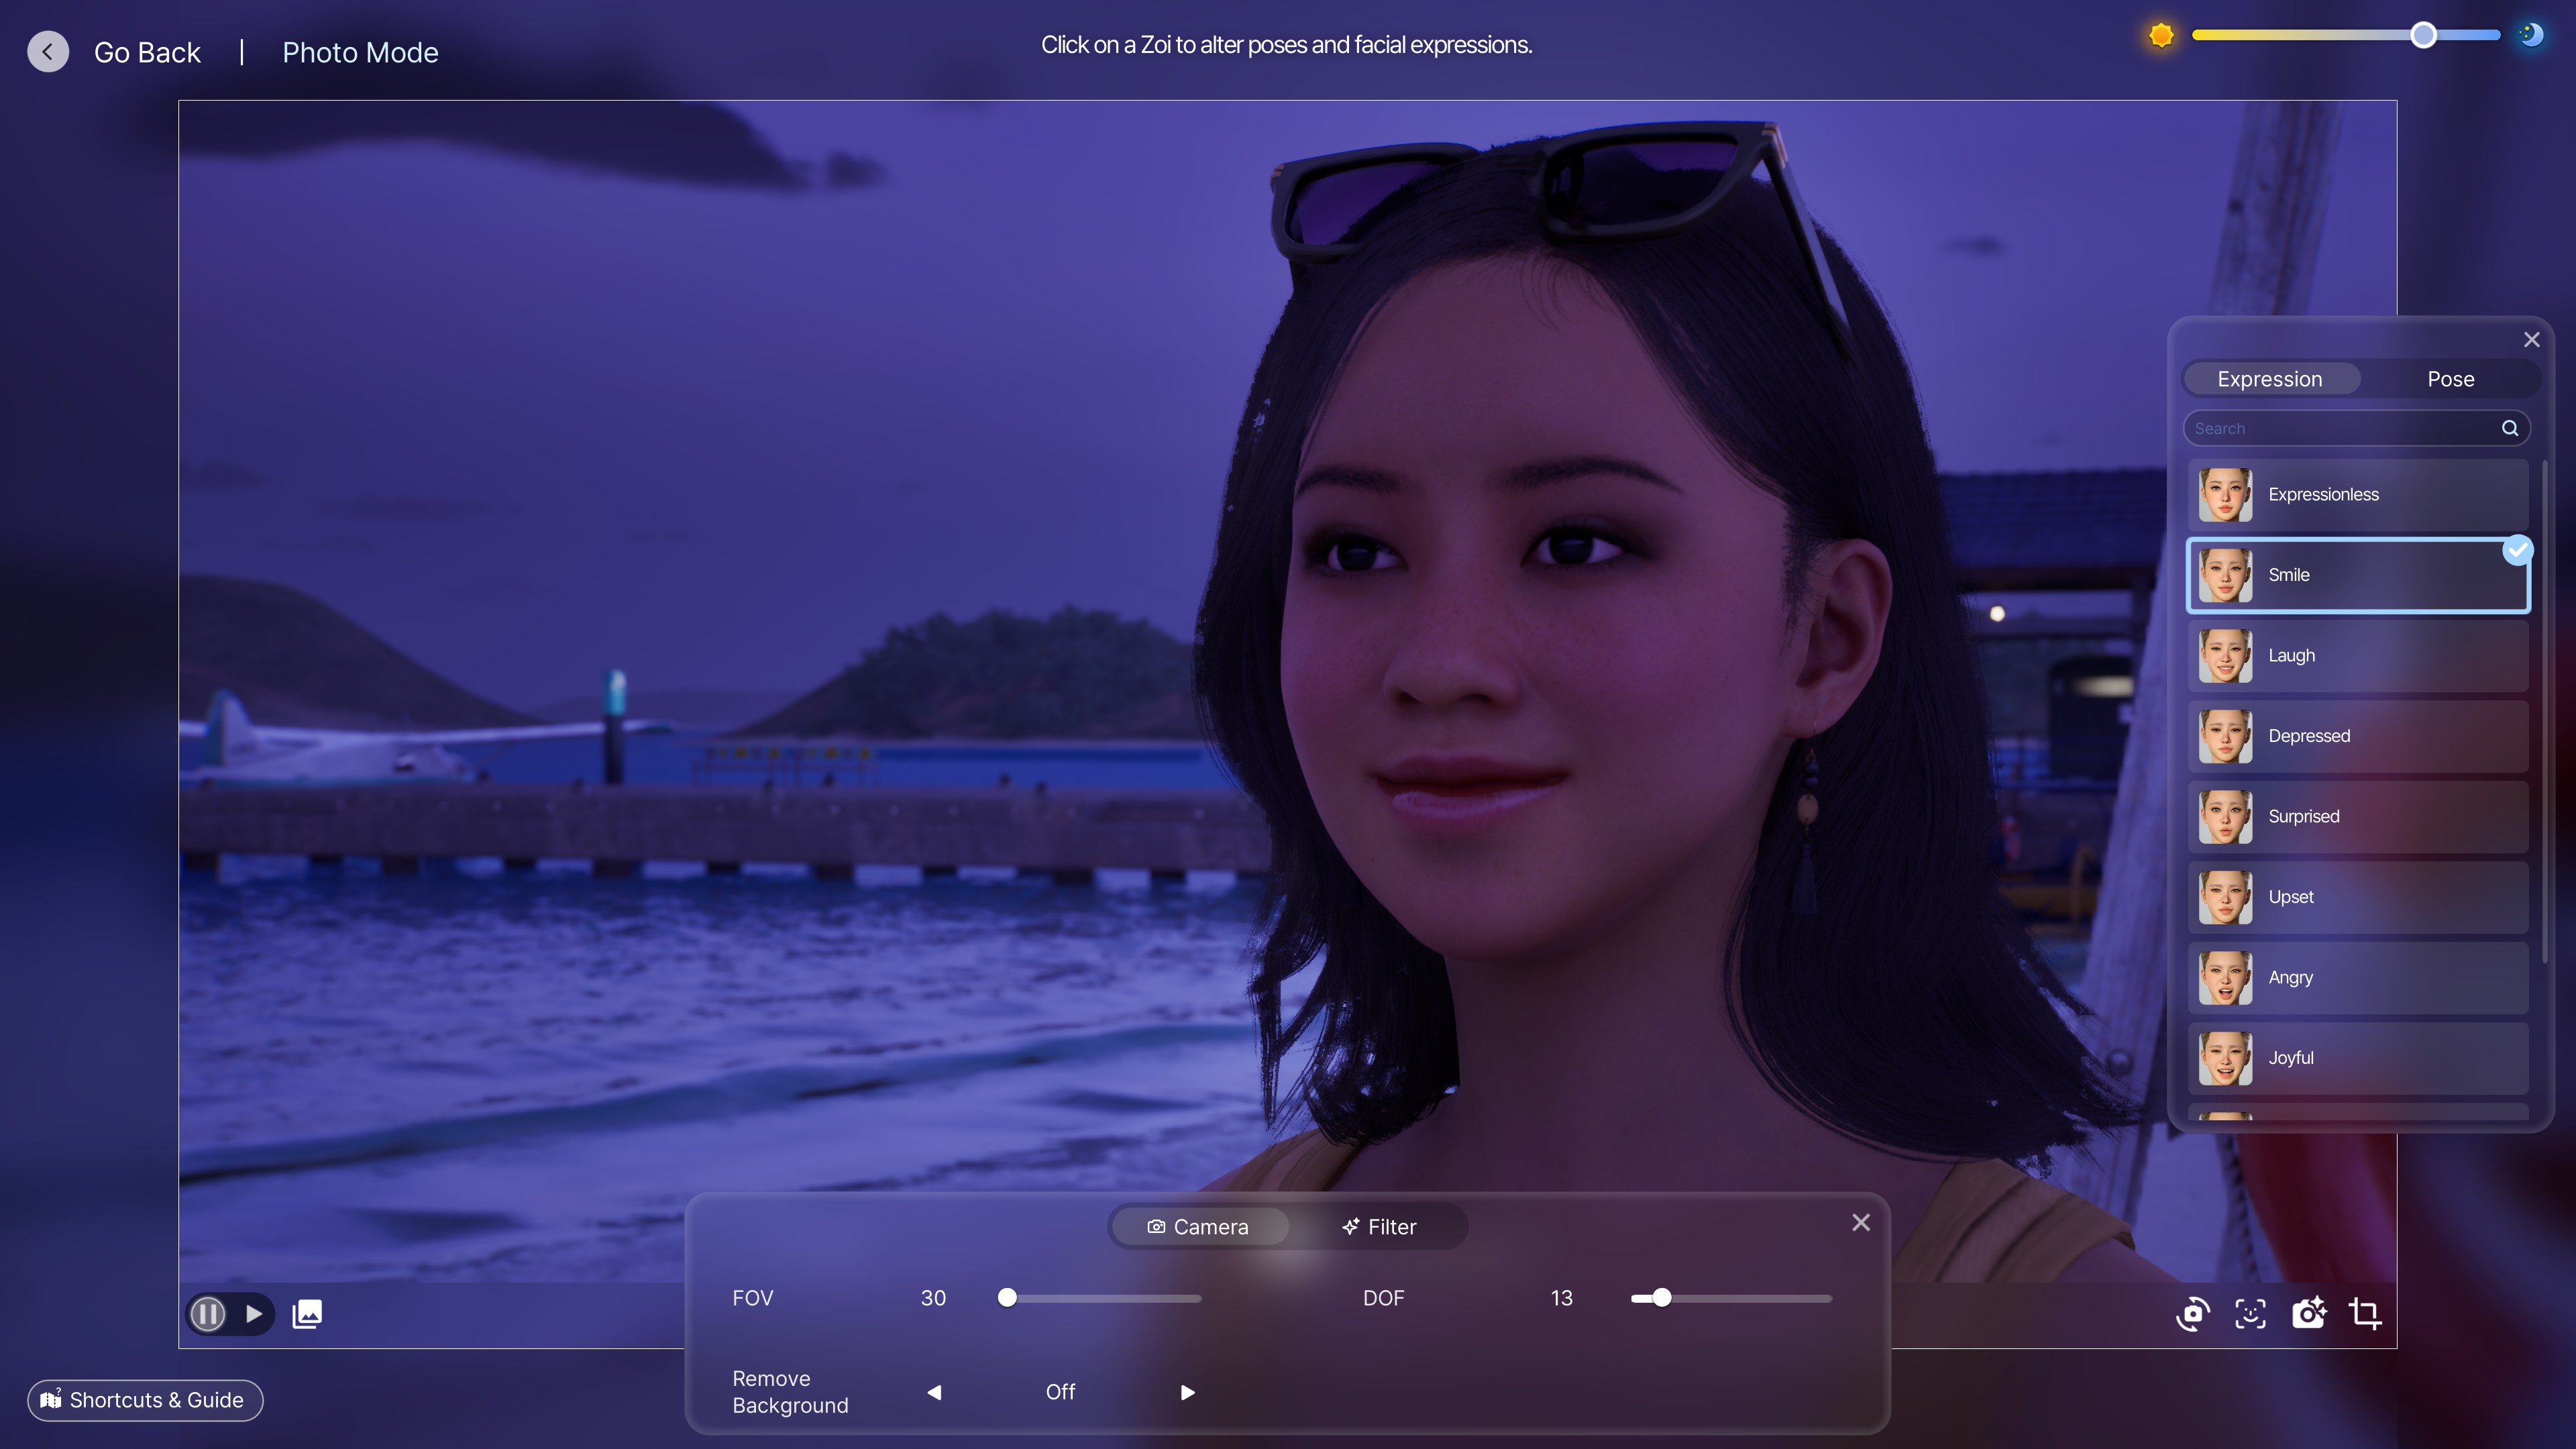
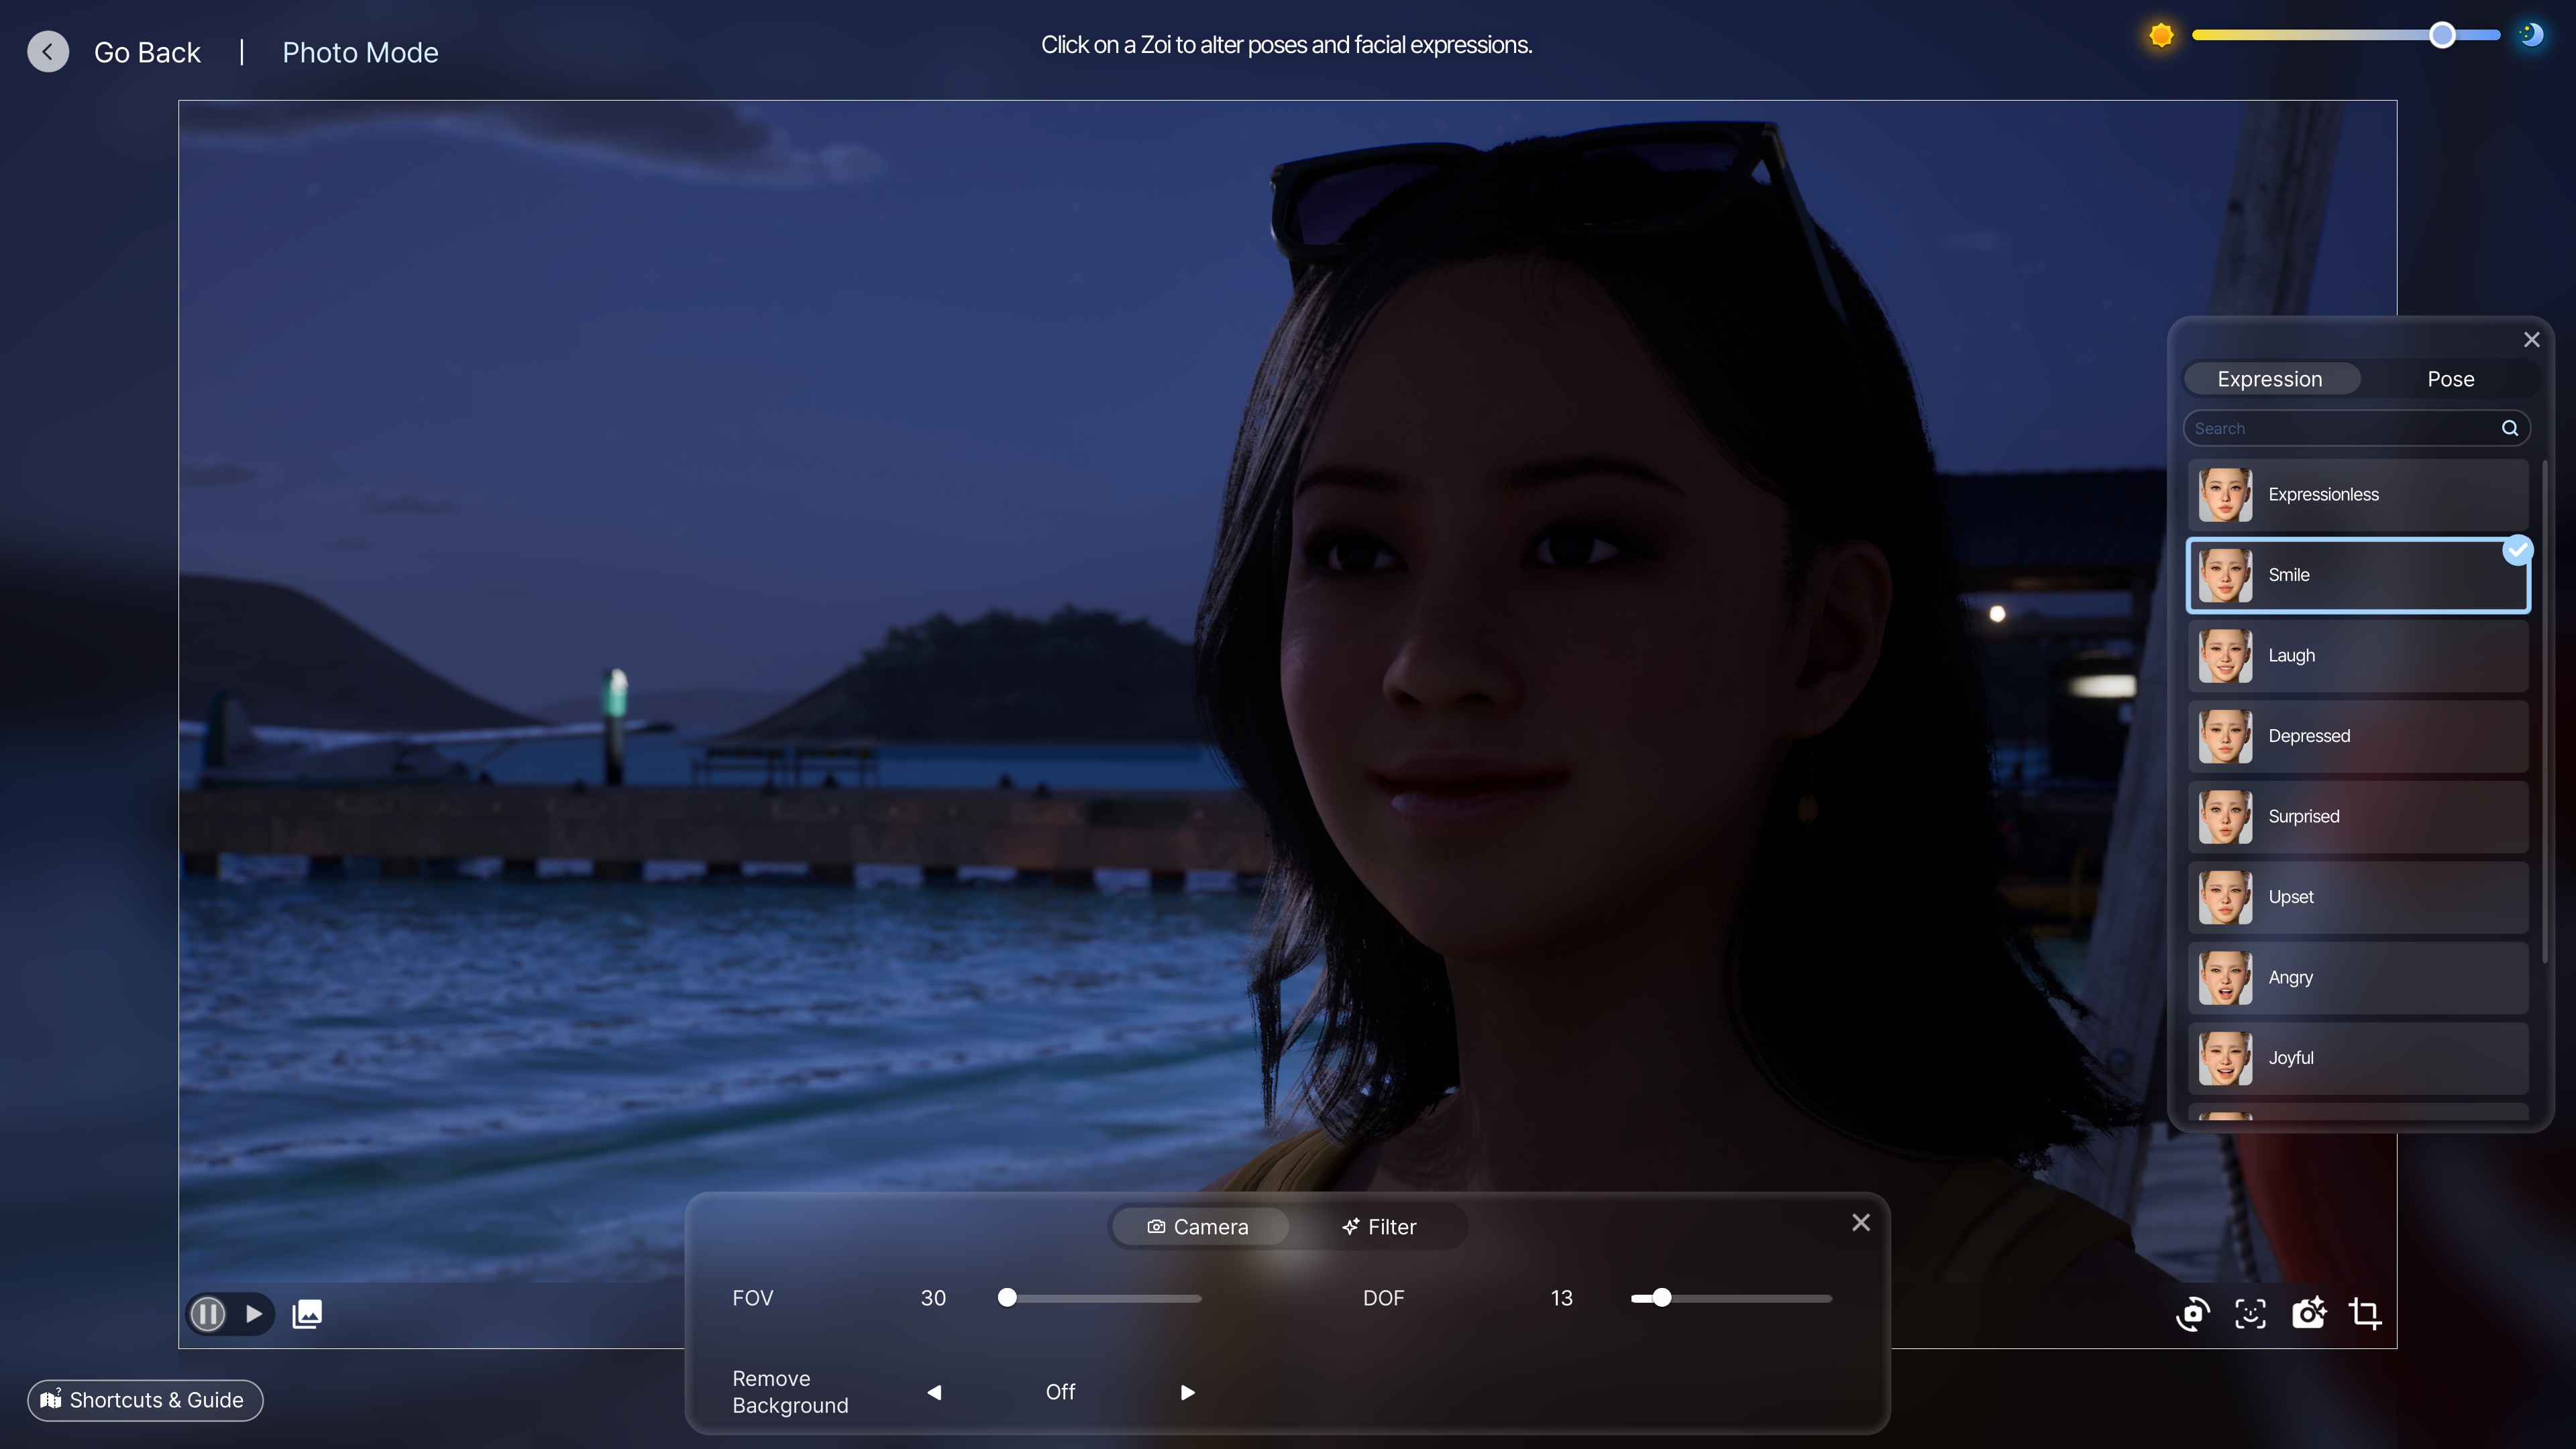
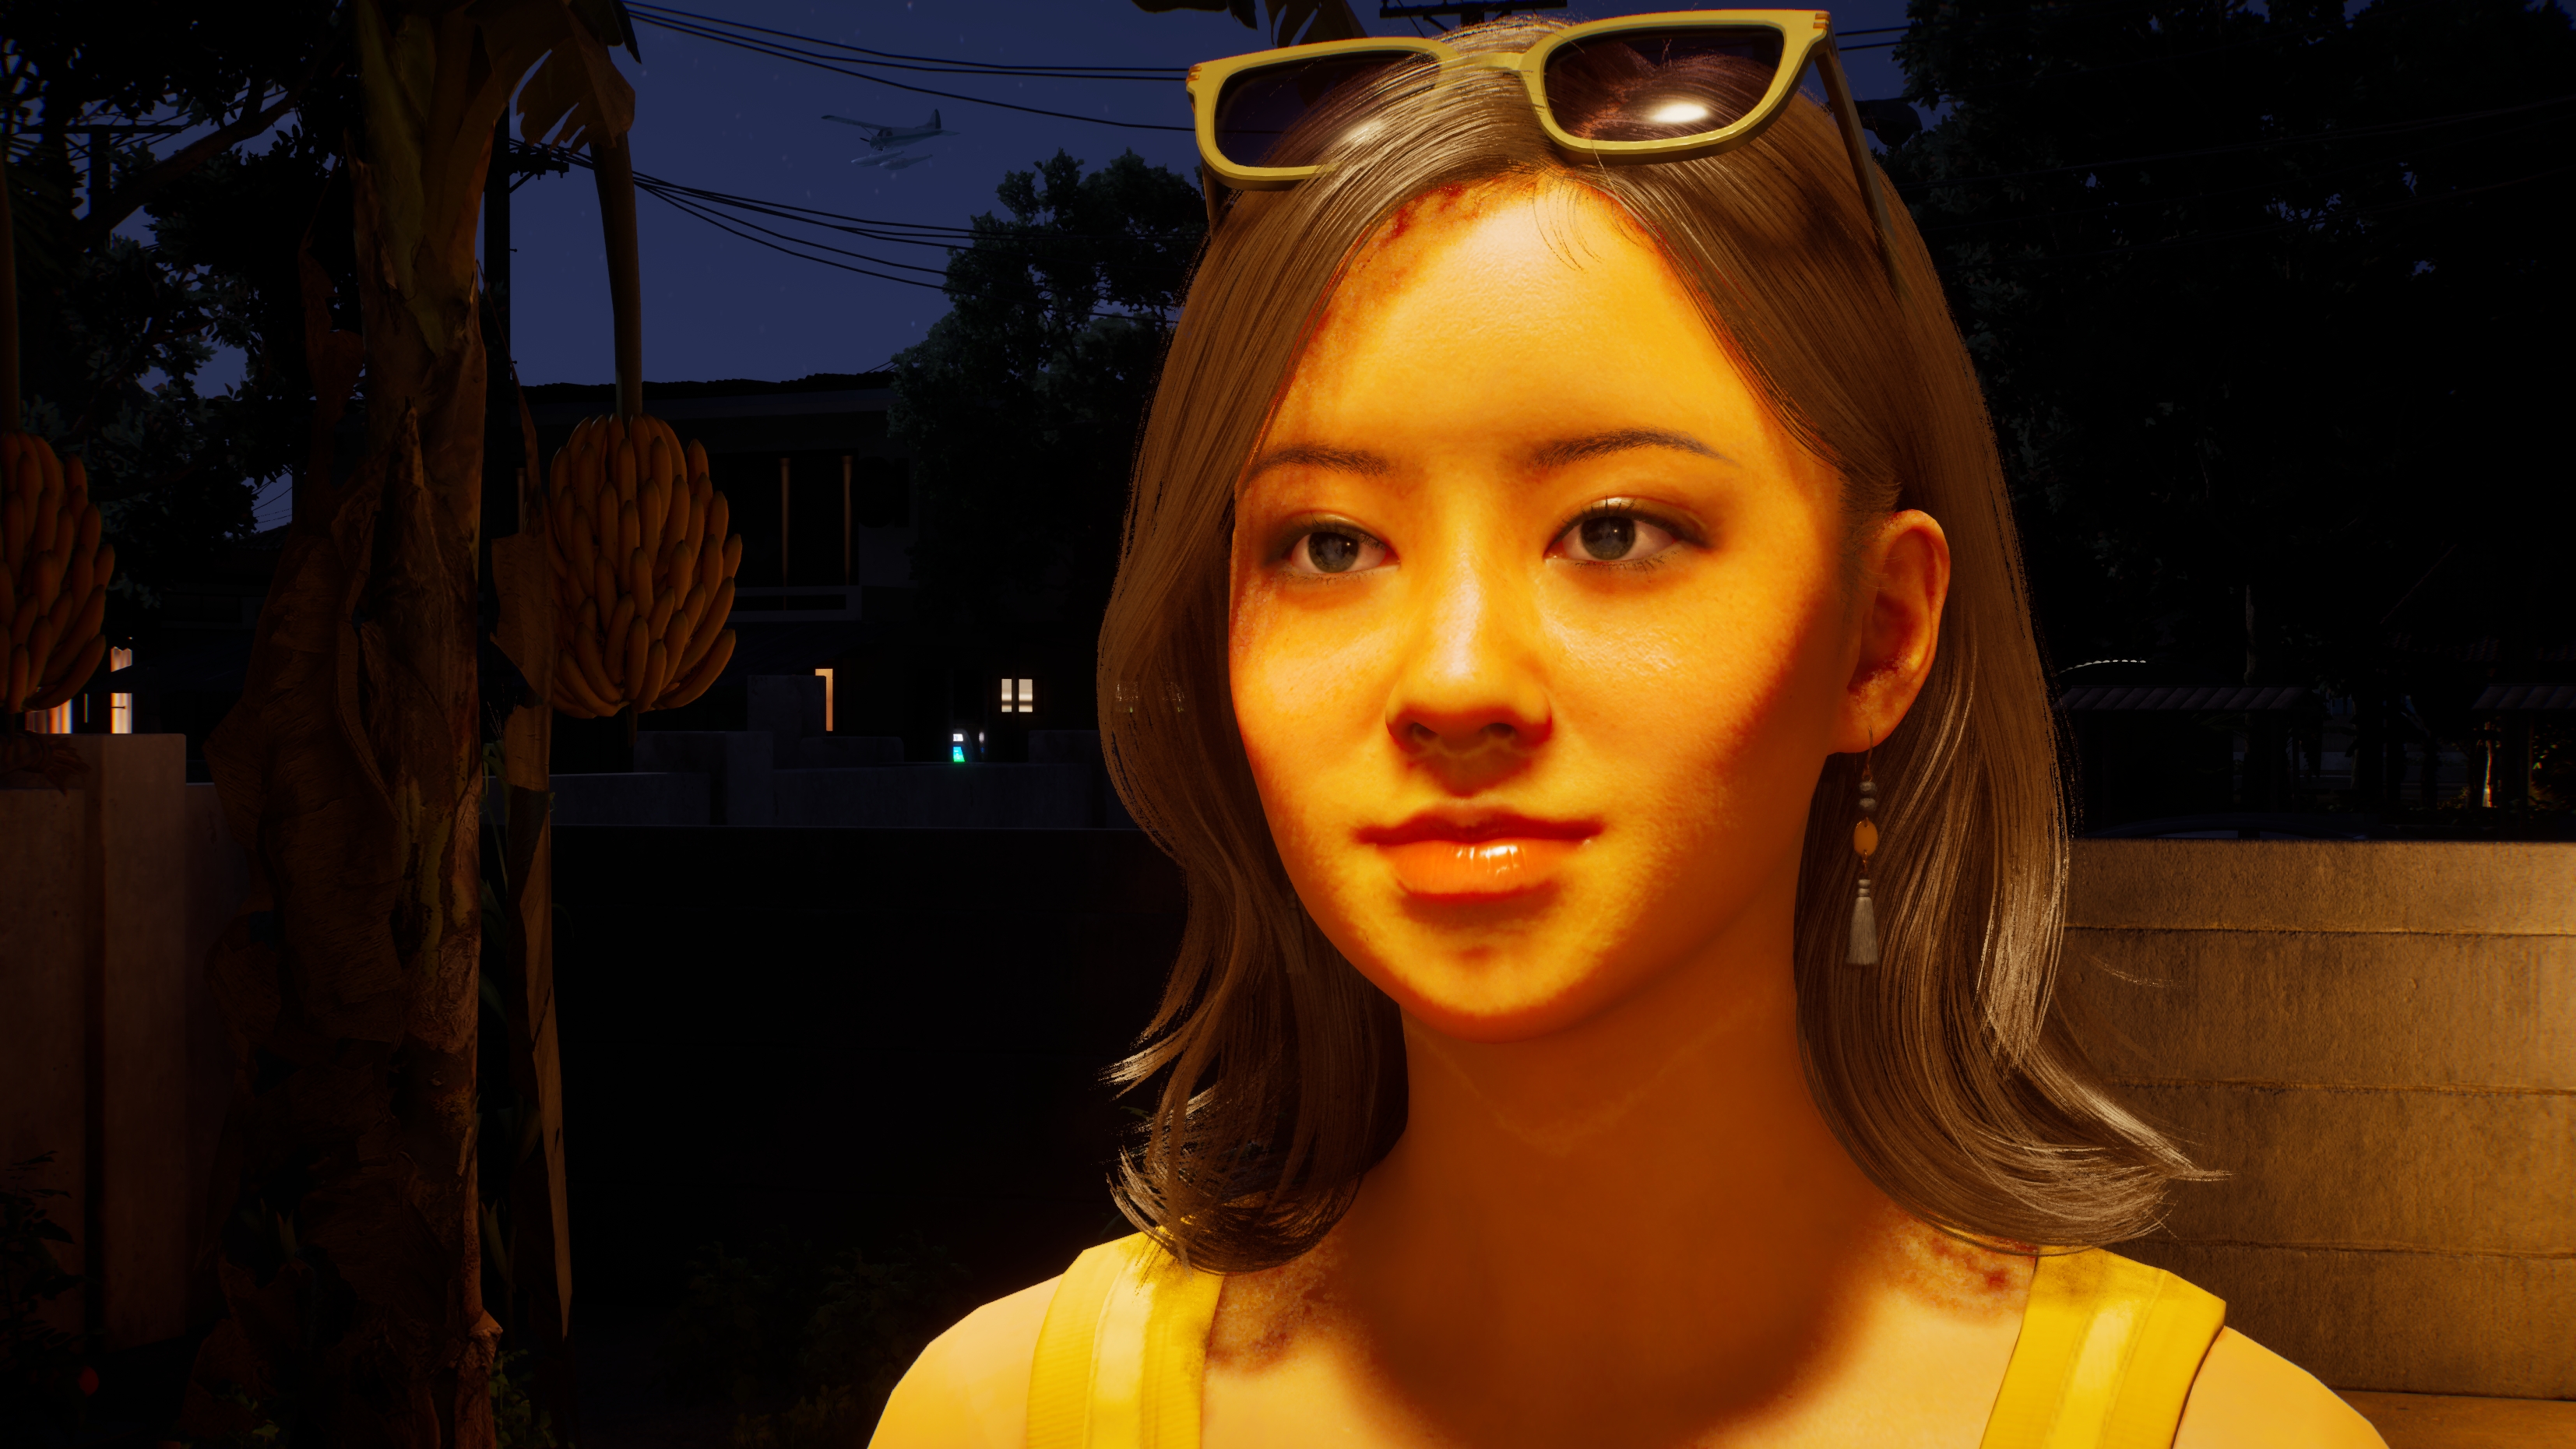
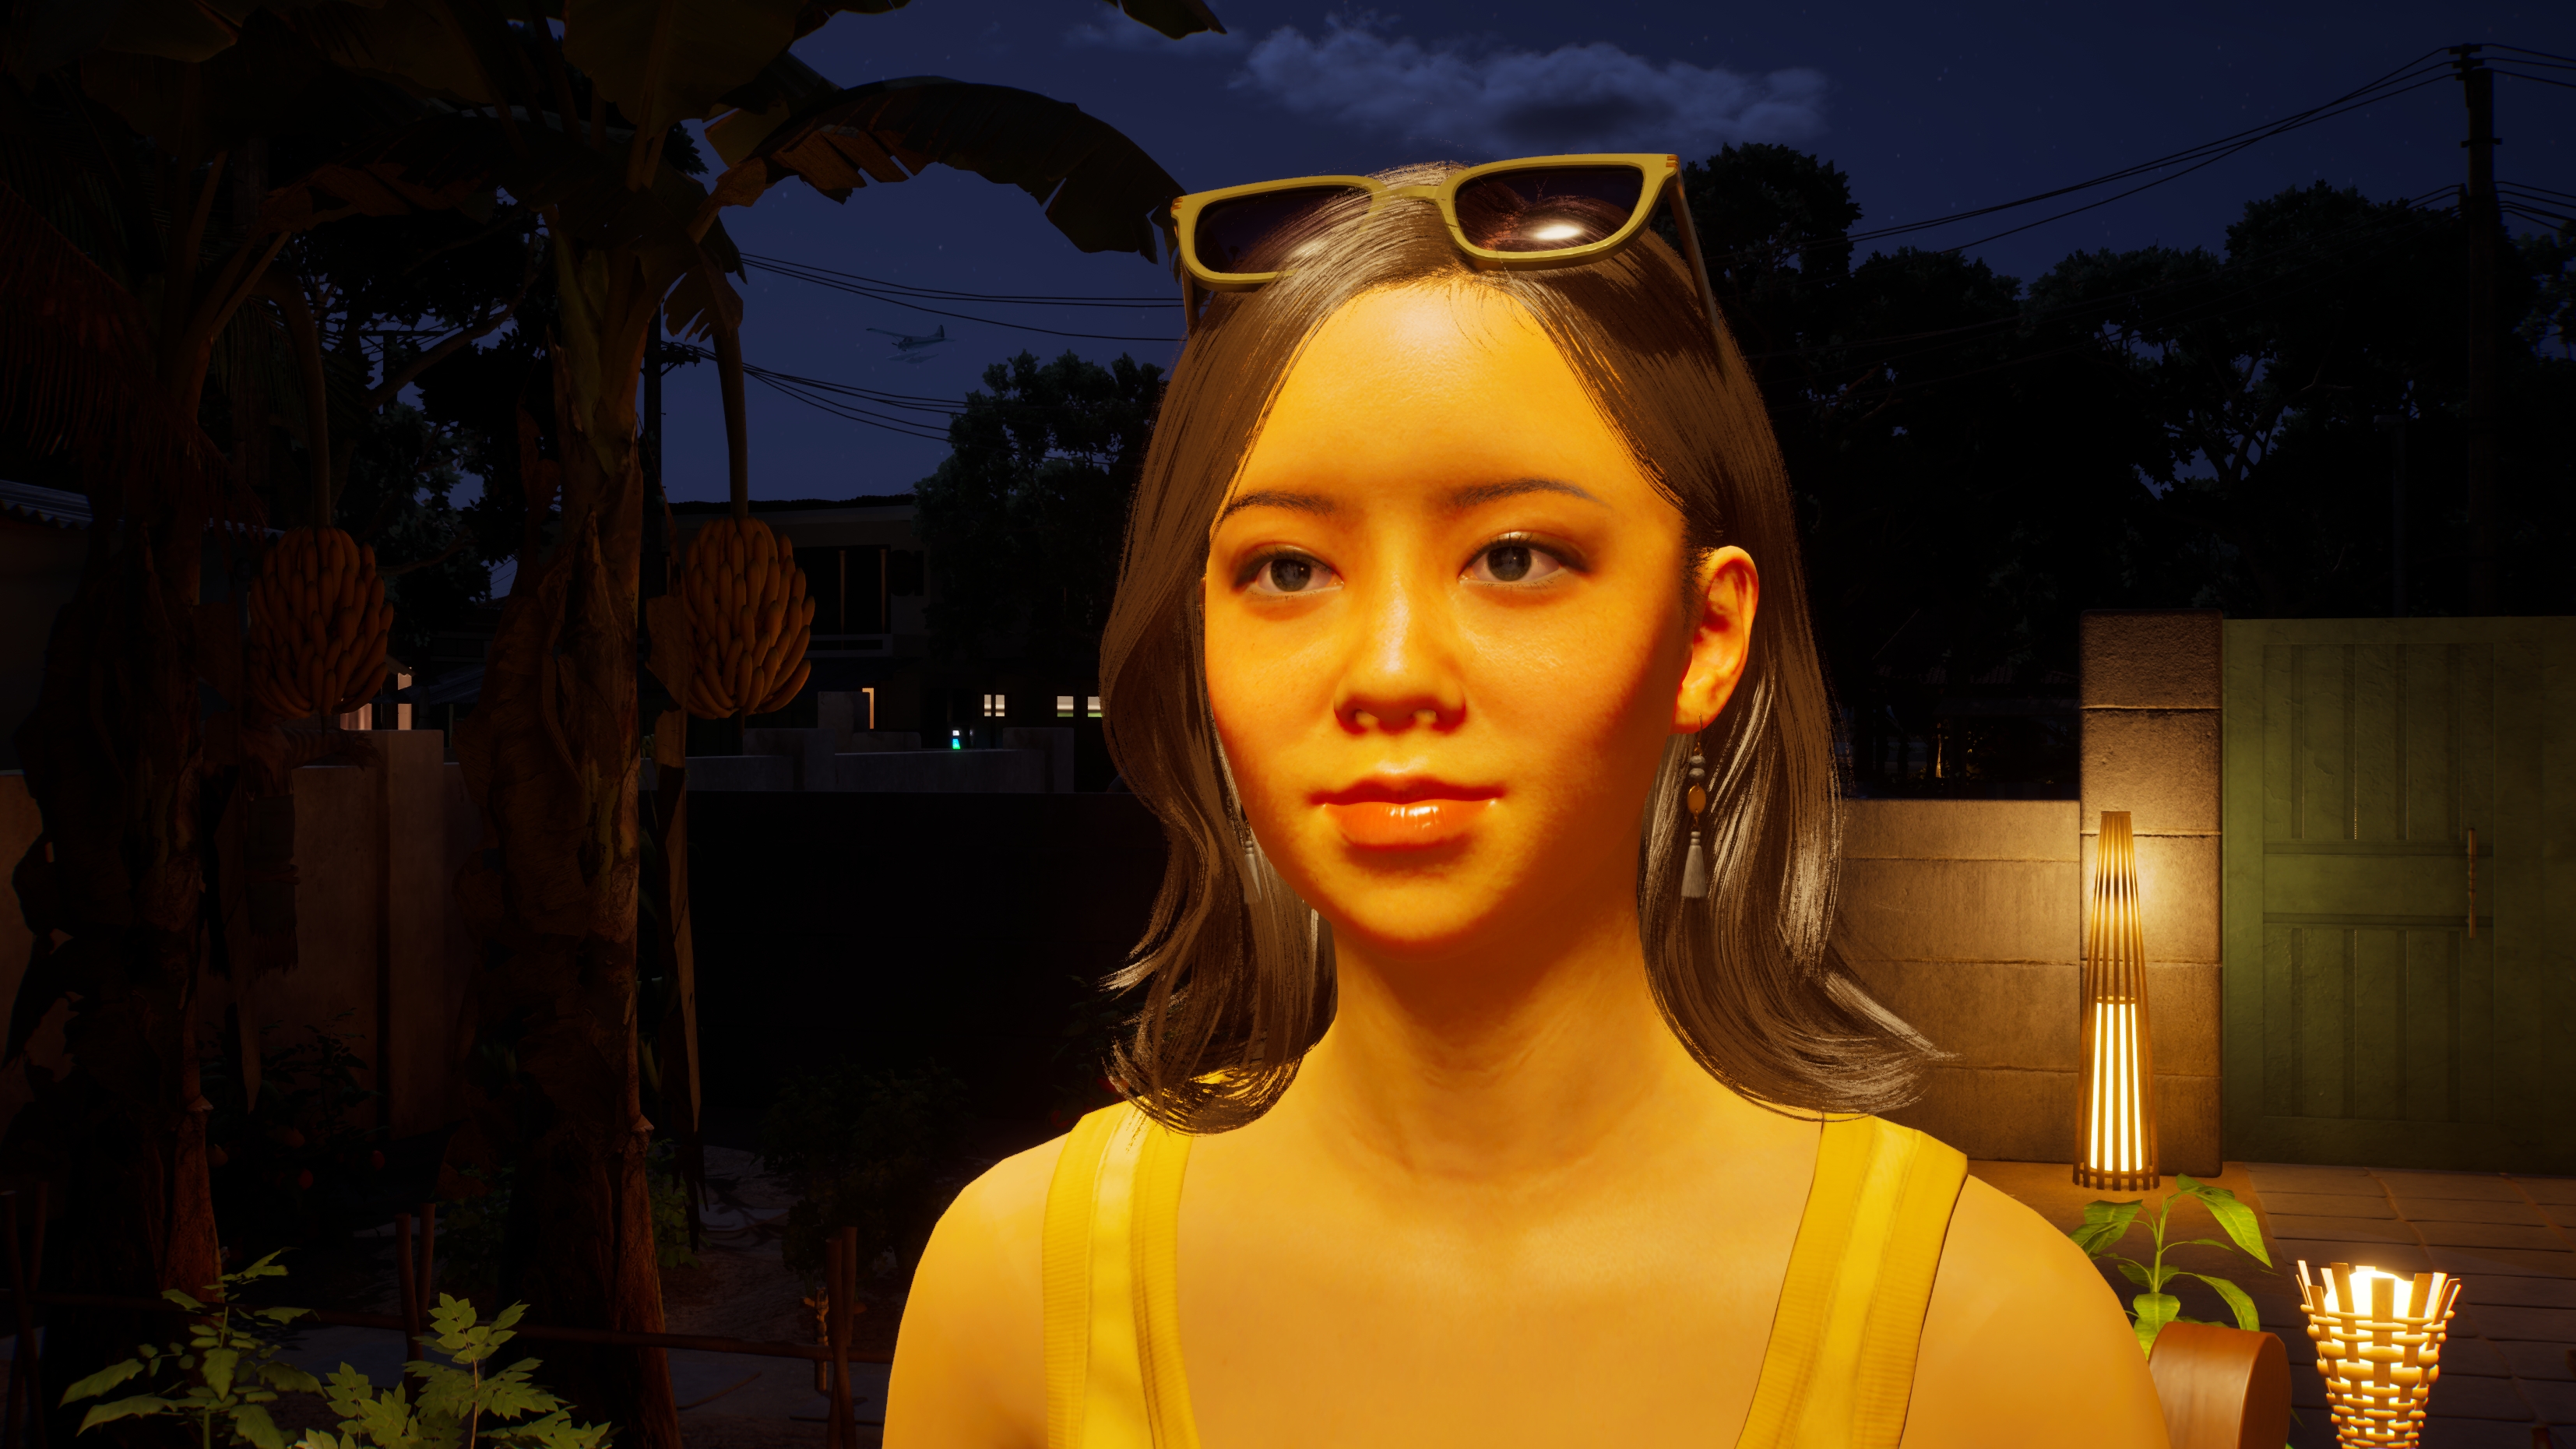
... And even at night it can be interesting! You see how at the first image, she has no moonlight on her face? But on the second one she does?
You really want to find that shine to add on your character's face. Movies/shows do it all the time!
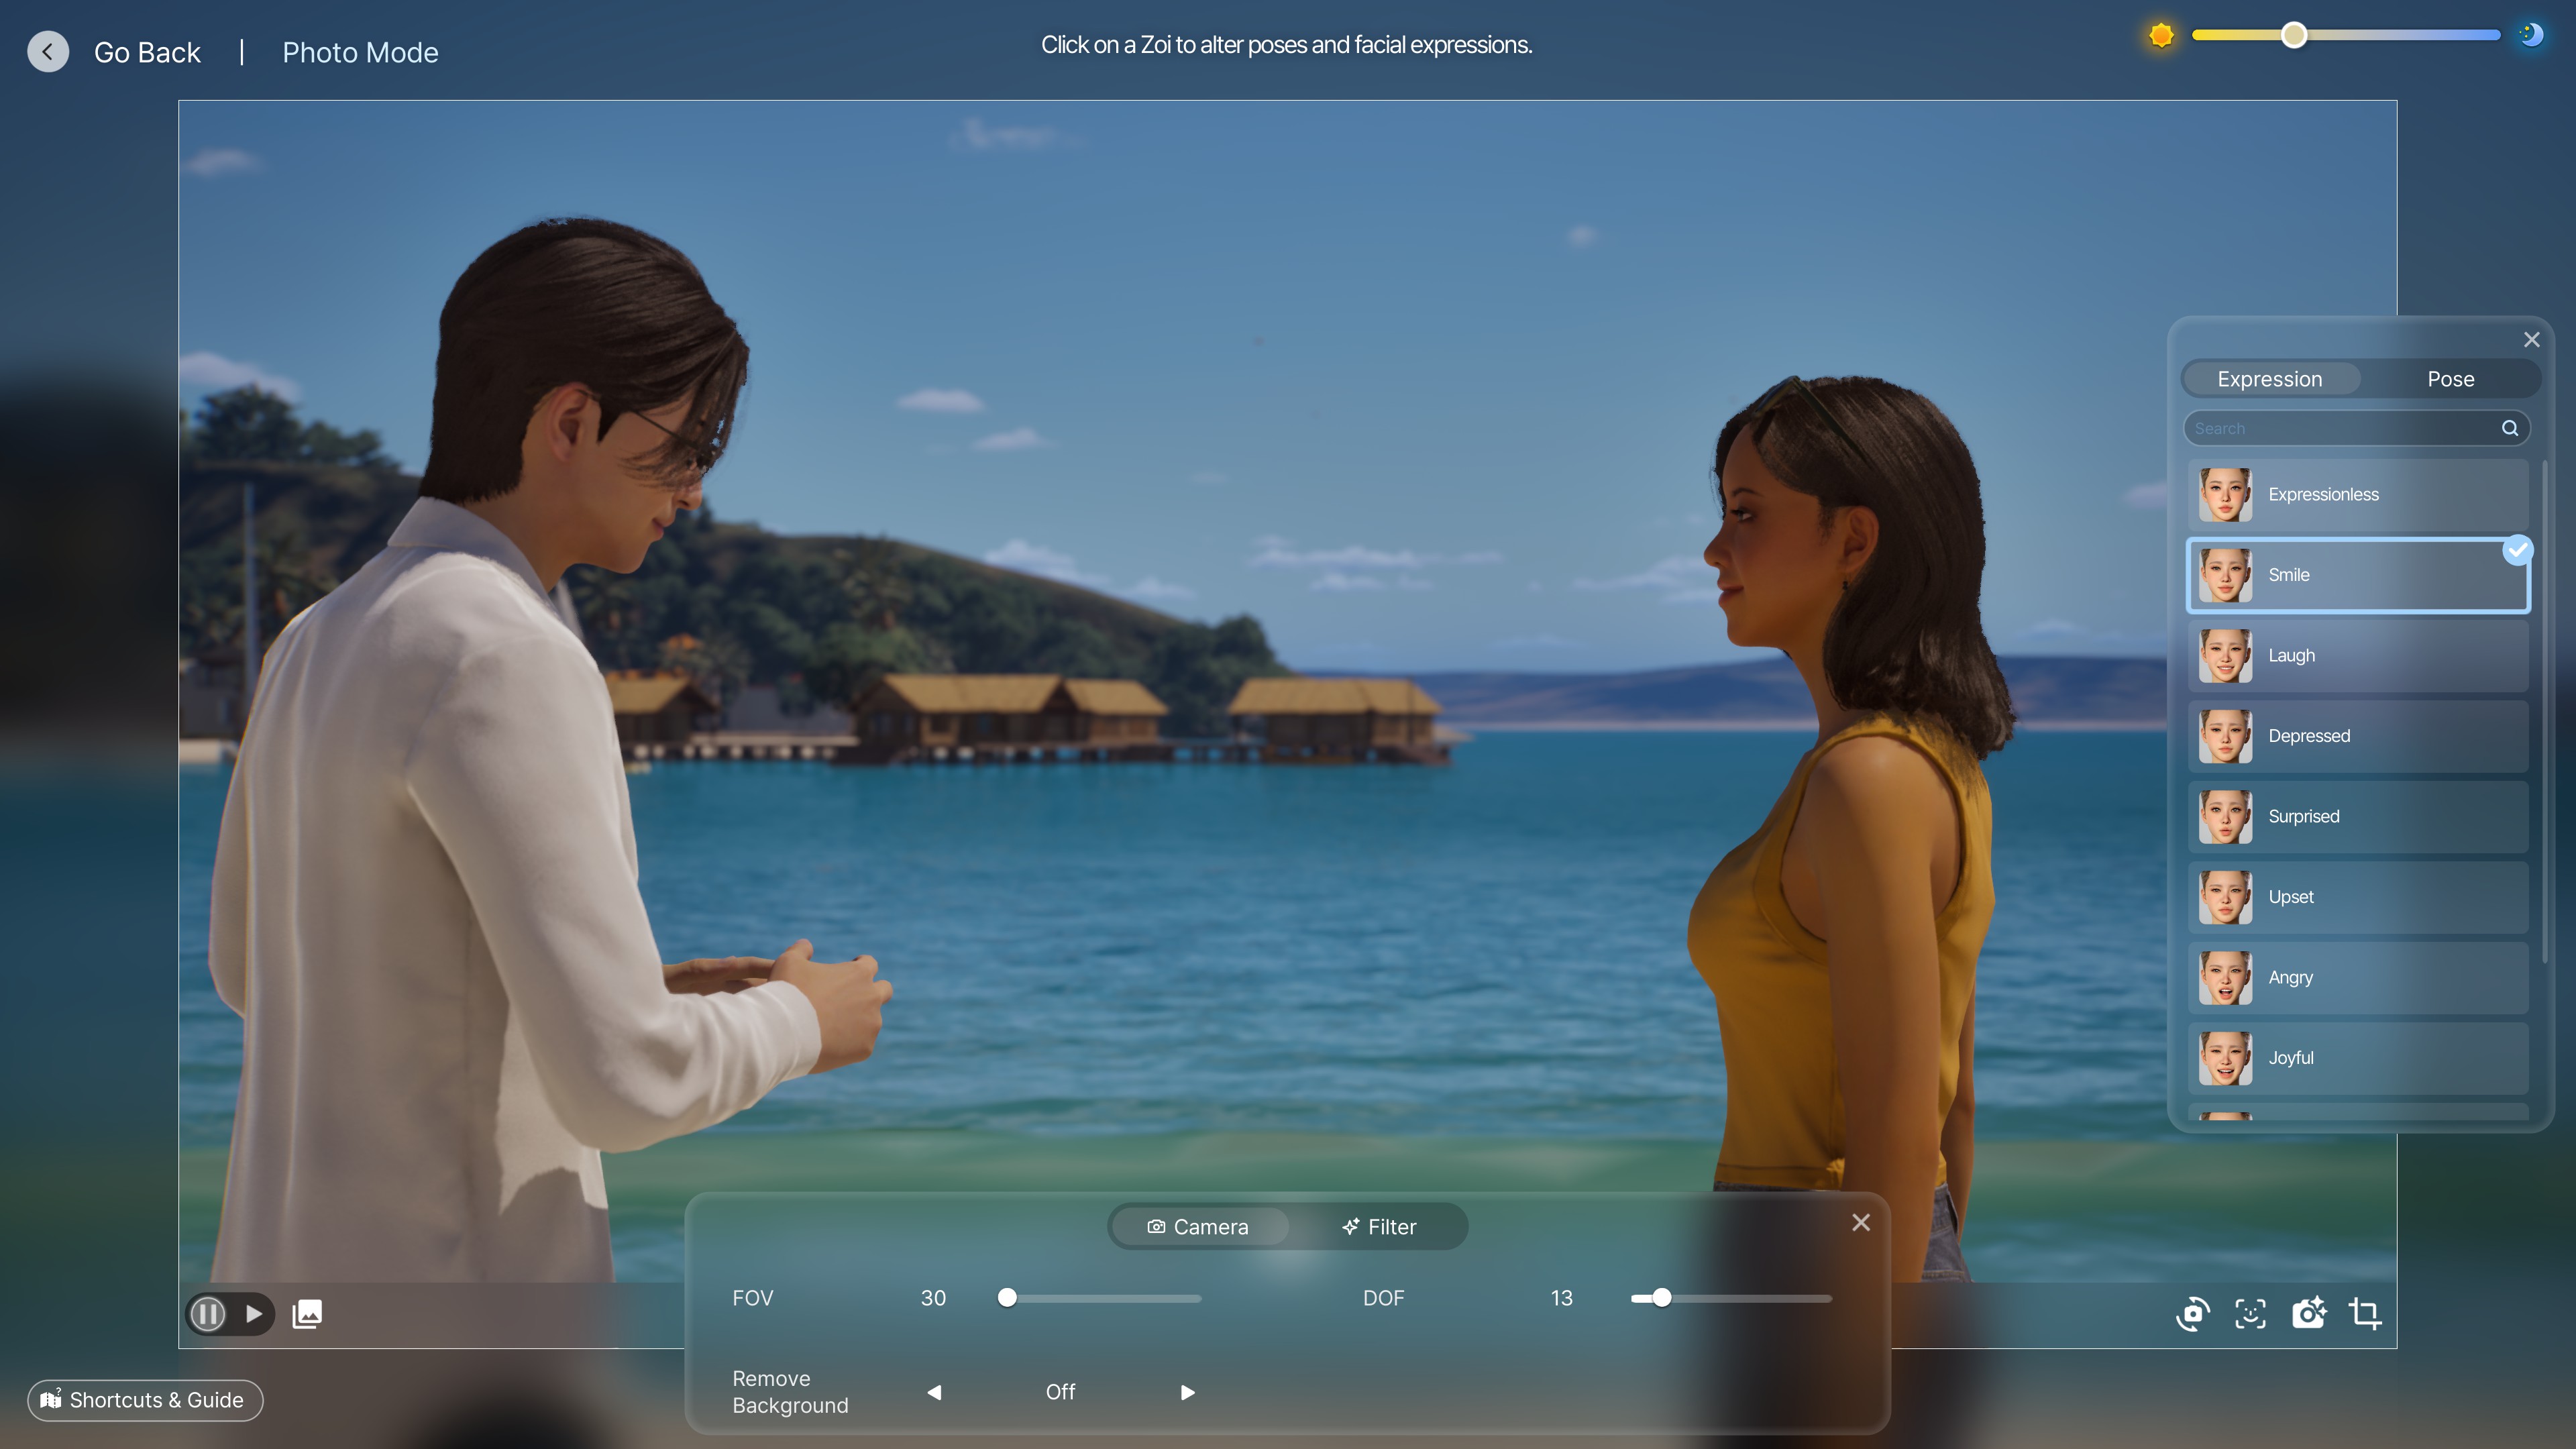
The same counts for conversational images like these. The first one is nice-looking, sure, but right now it's not moving the eye to their faces much, but more the area that has more shadows going on (their bodies).
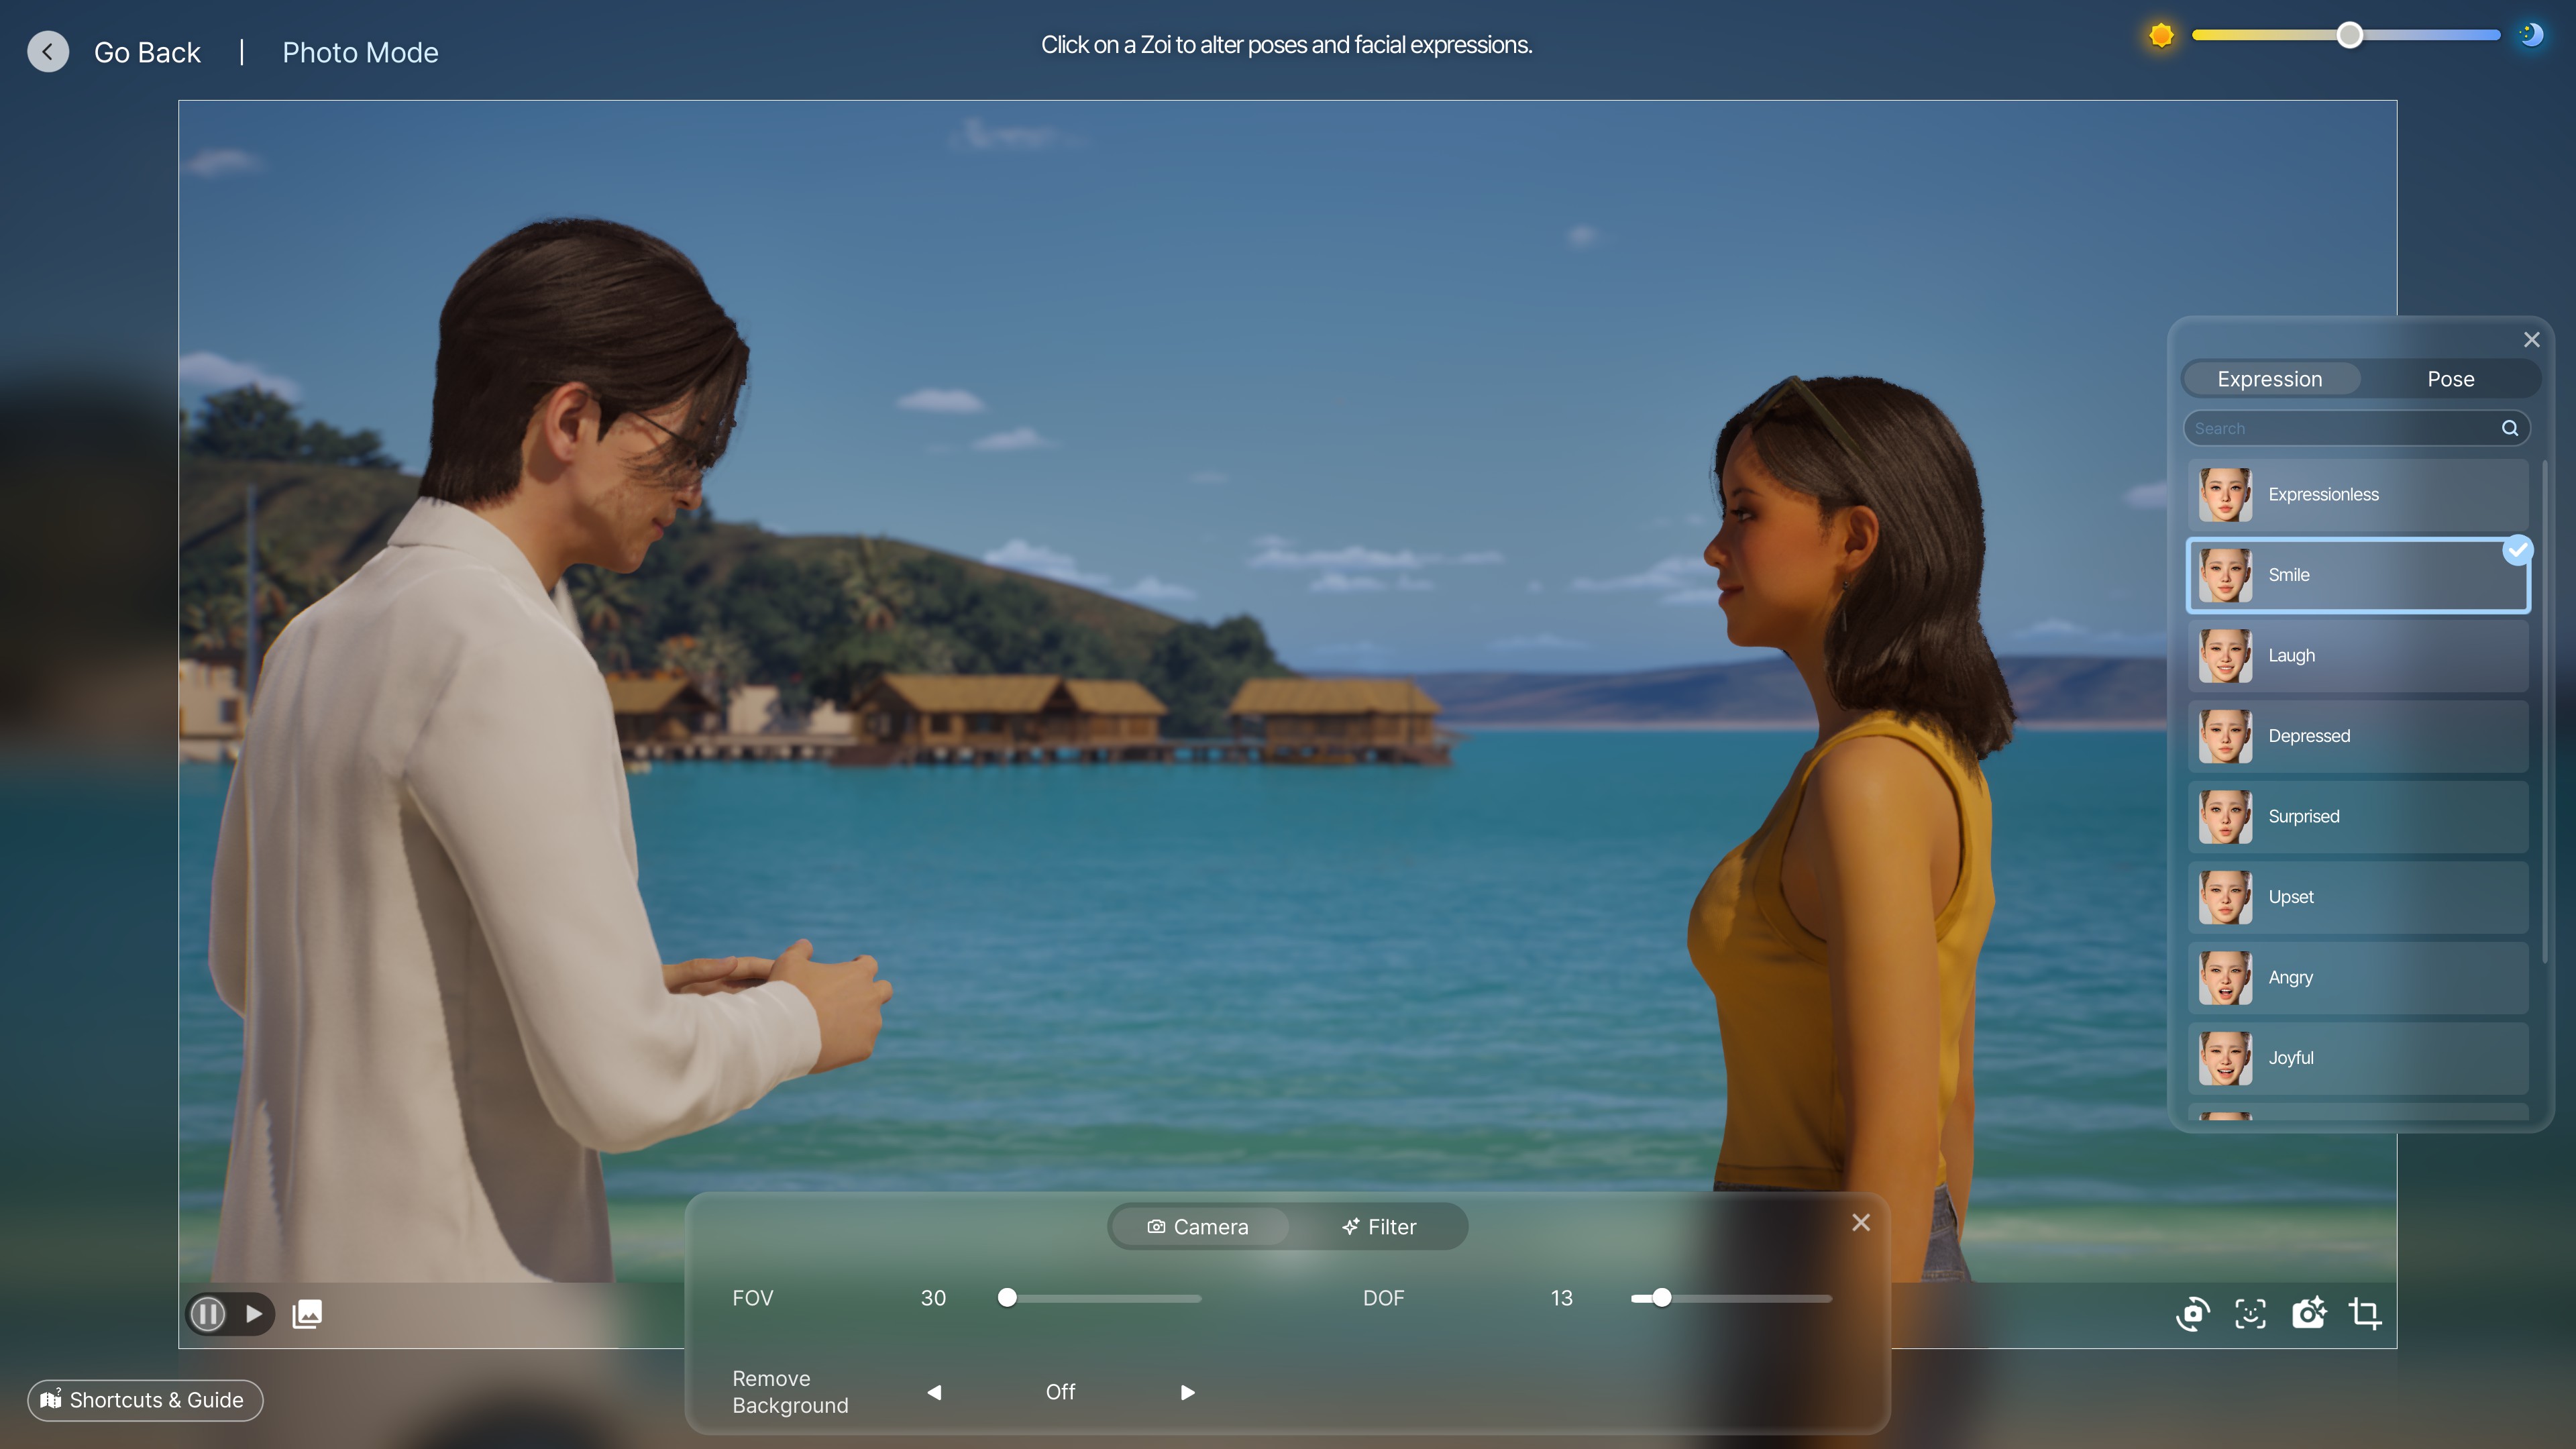
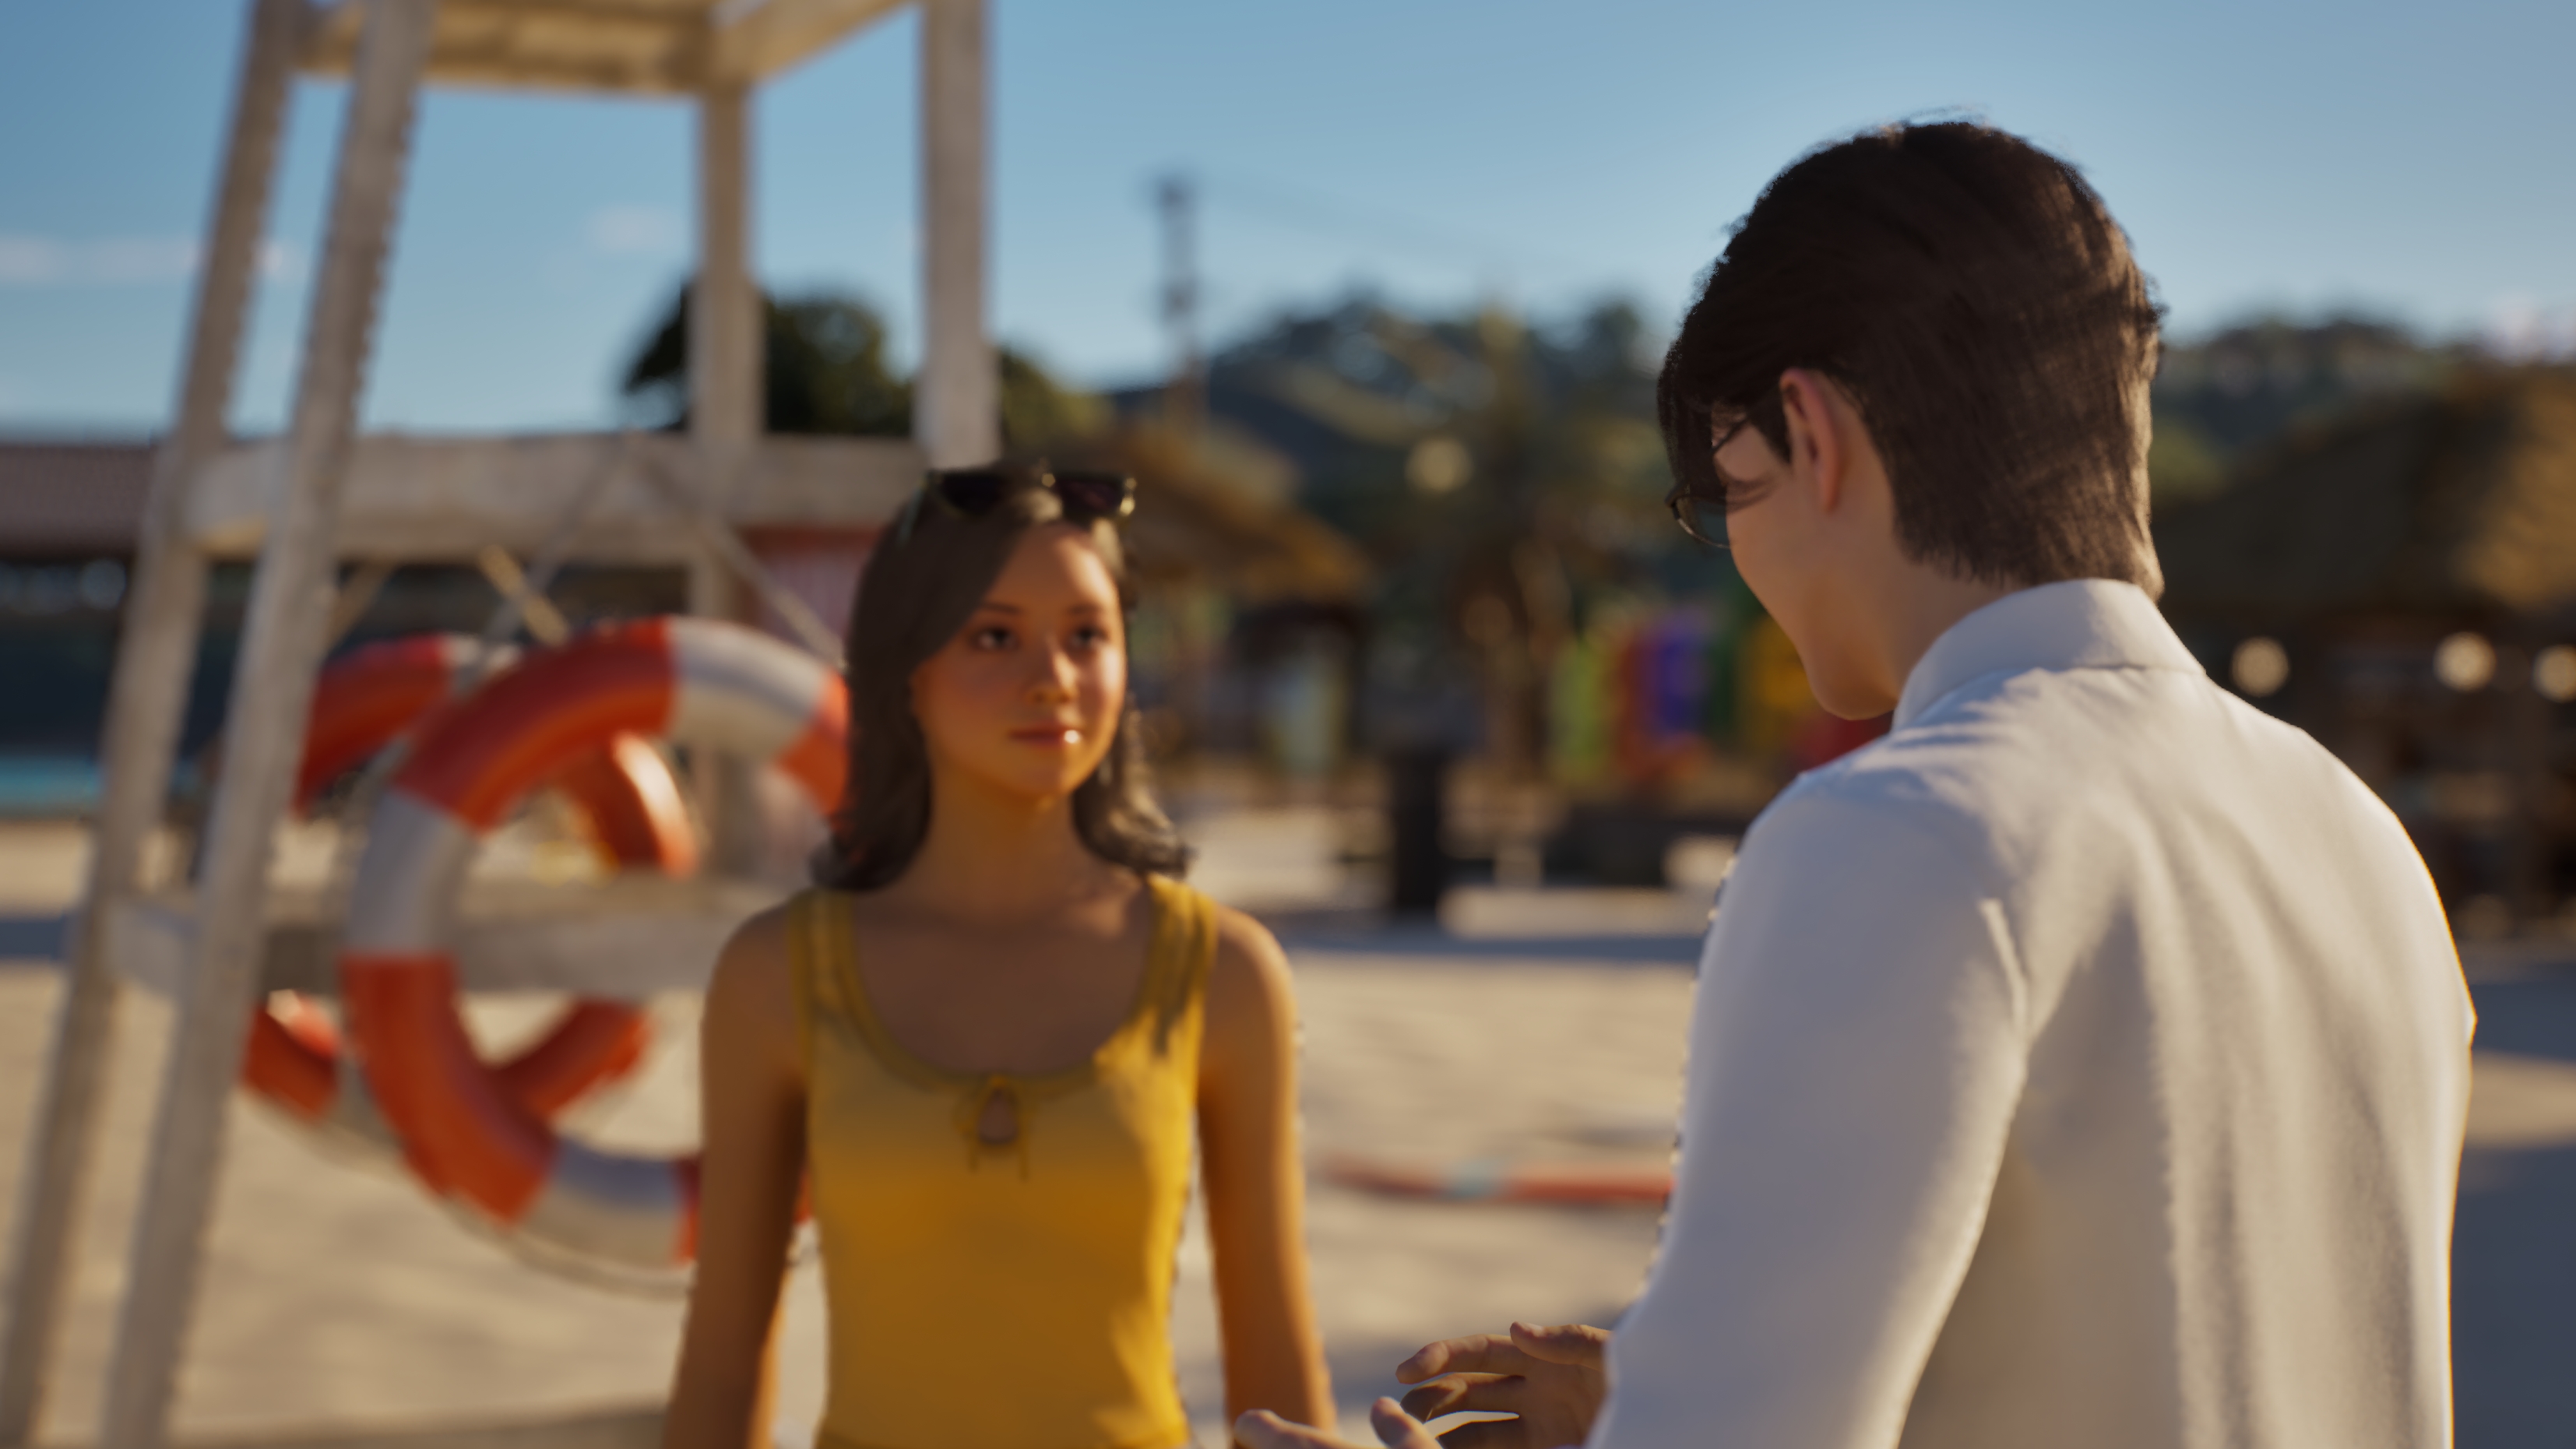
Shifting the time a tad more in time (in my case, but going back in time can help!), they'll now have a bit of lighting happening on their faces, making the picture feel a bit more special.
Mood + Lighting = Storytelling Perfection.
While DOF can already handle a lot of this, the time of day can also REALLY help here too! Even the weather!
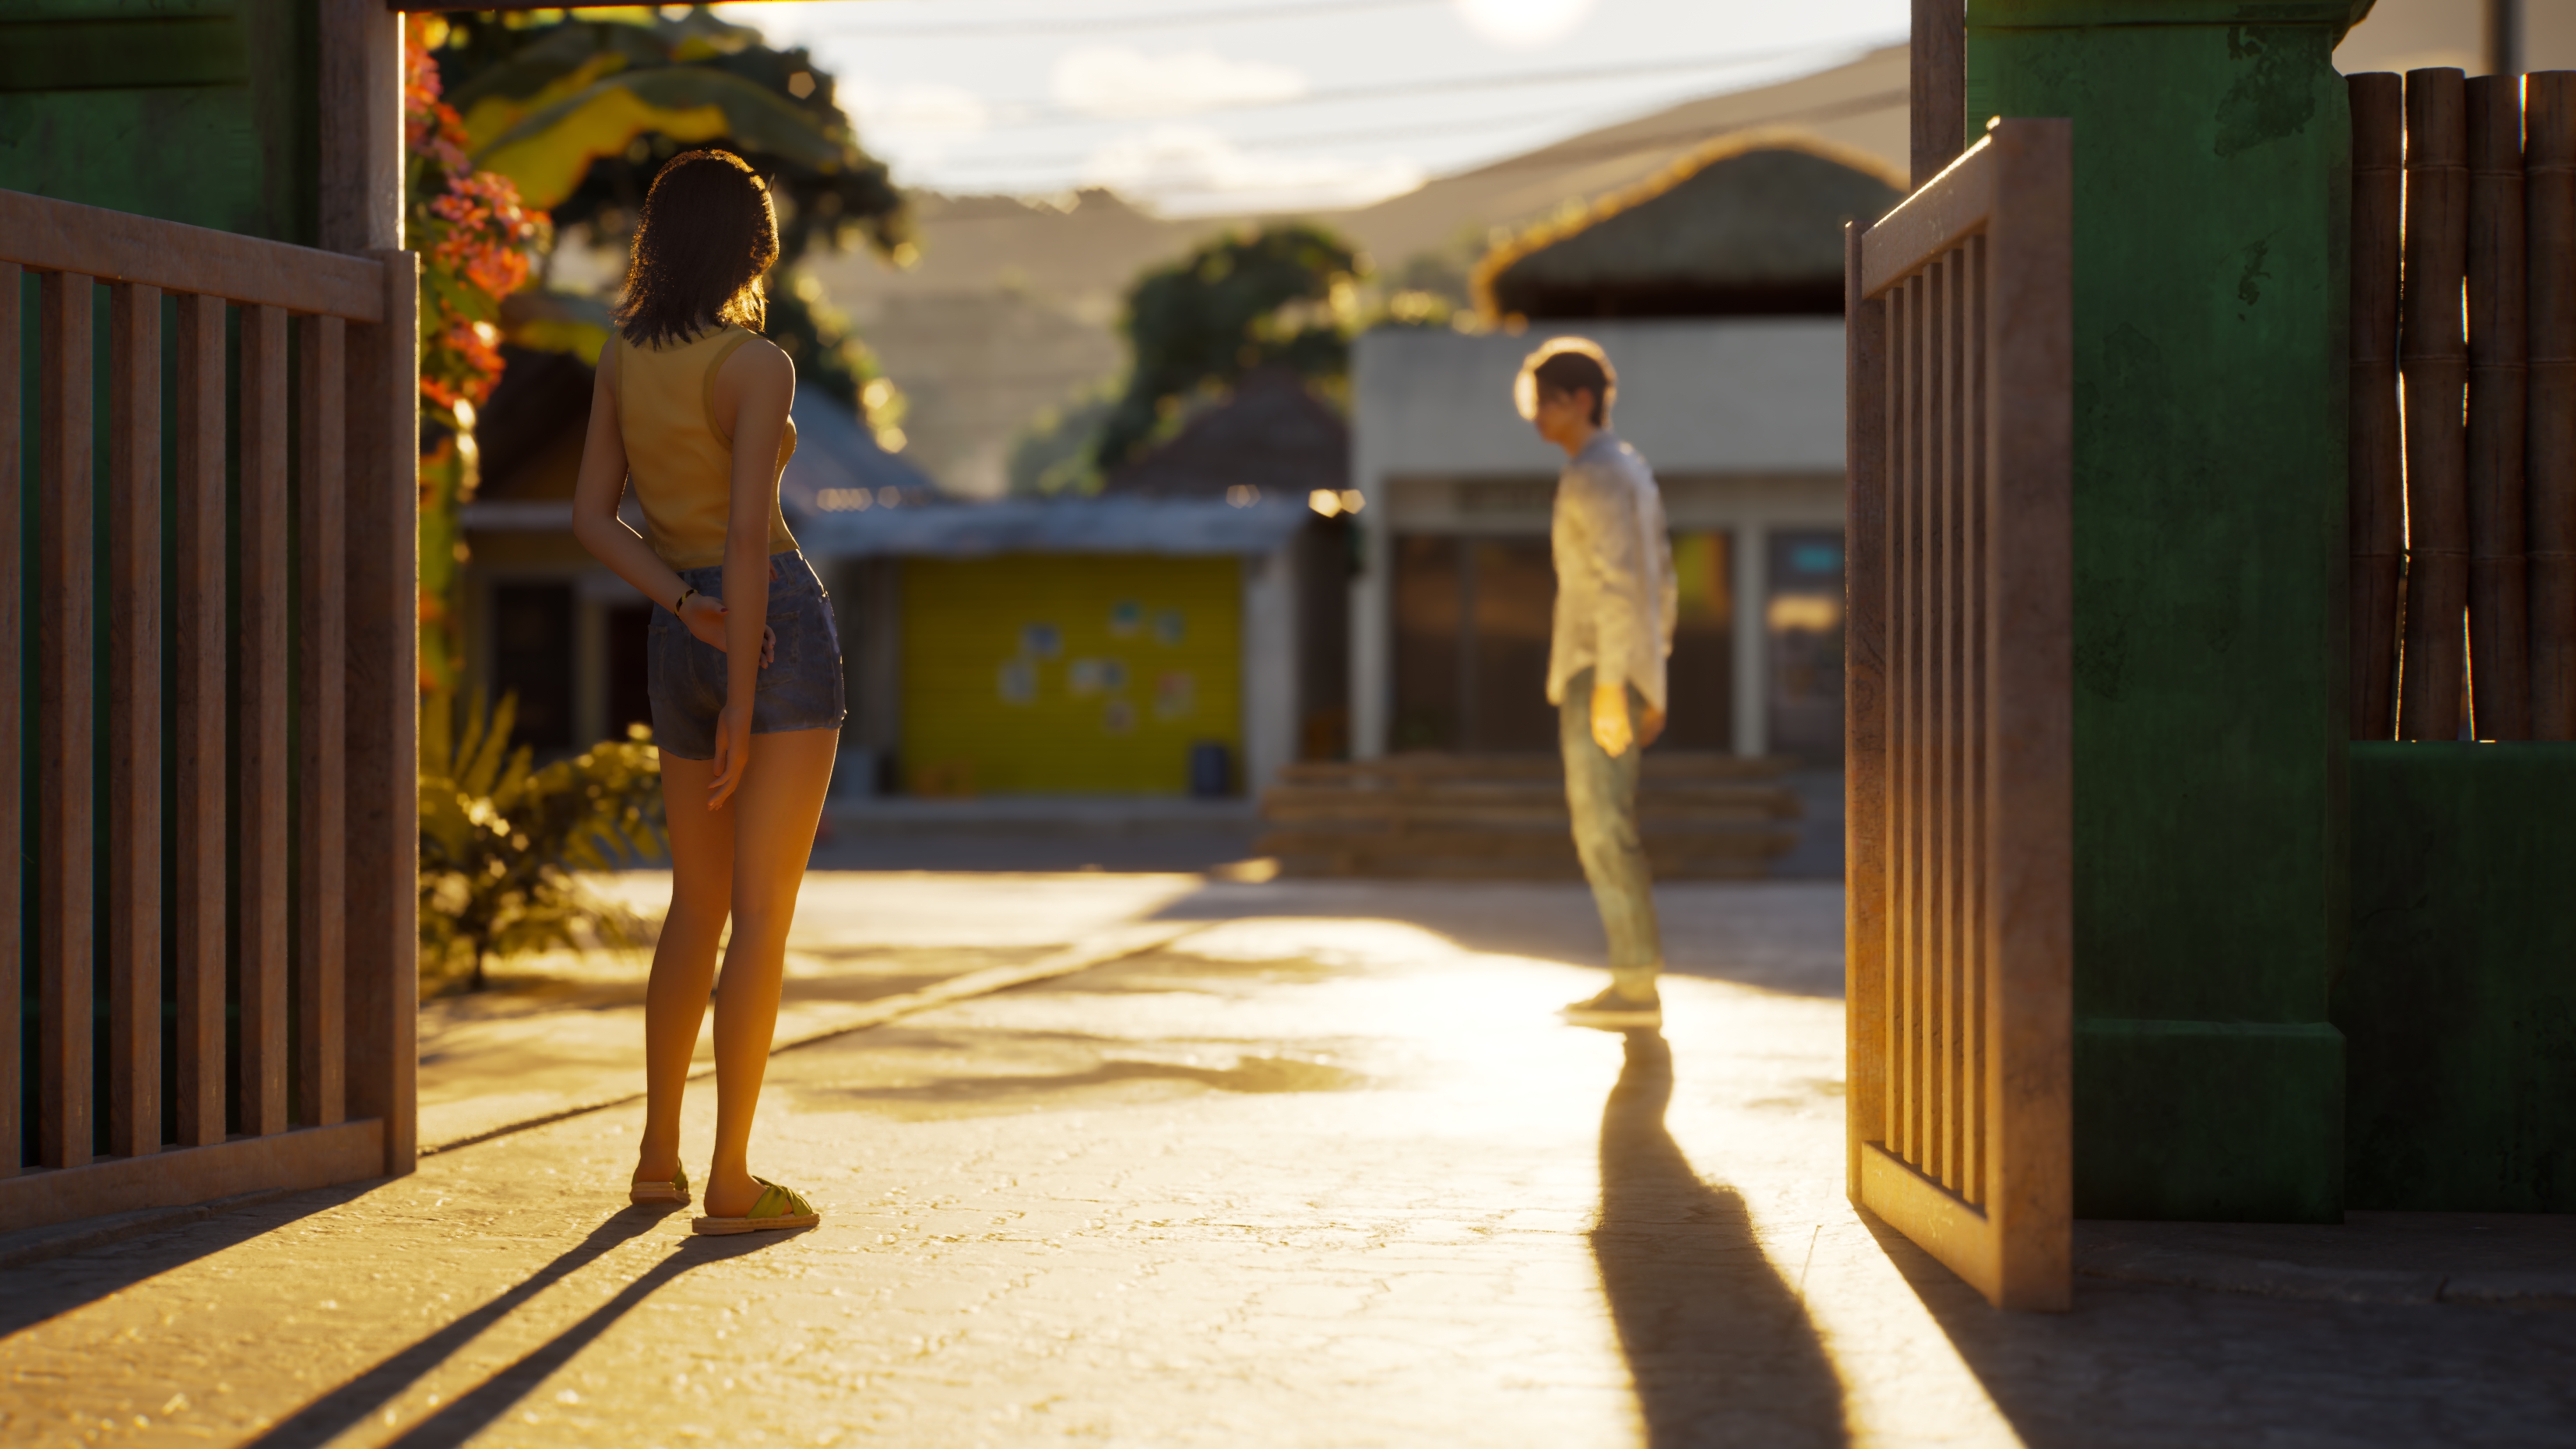
For example, having shadows in the foreground, but a tad of light coming from the background (Therefore having the opposite effect). Adds a sense of "mystery" or even "Letting your guard down" effect.
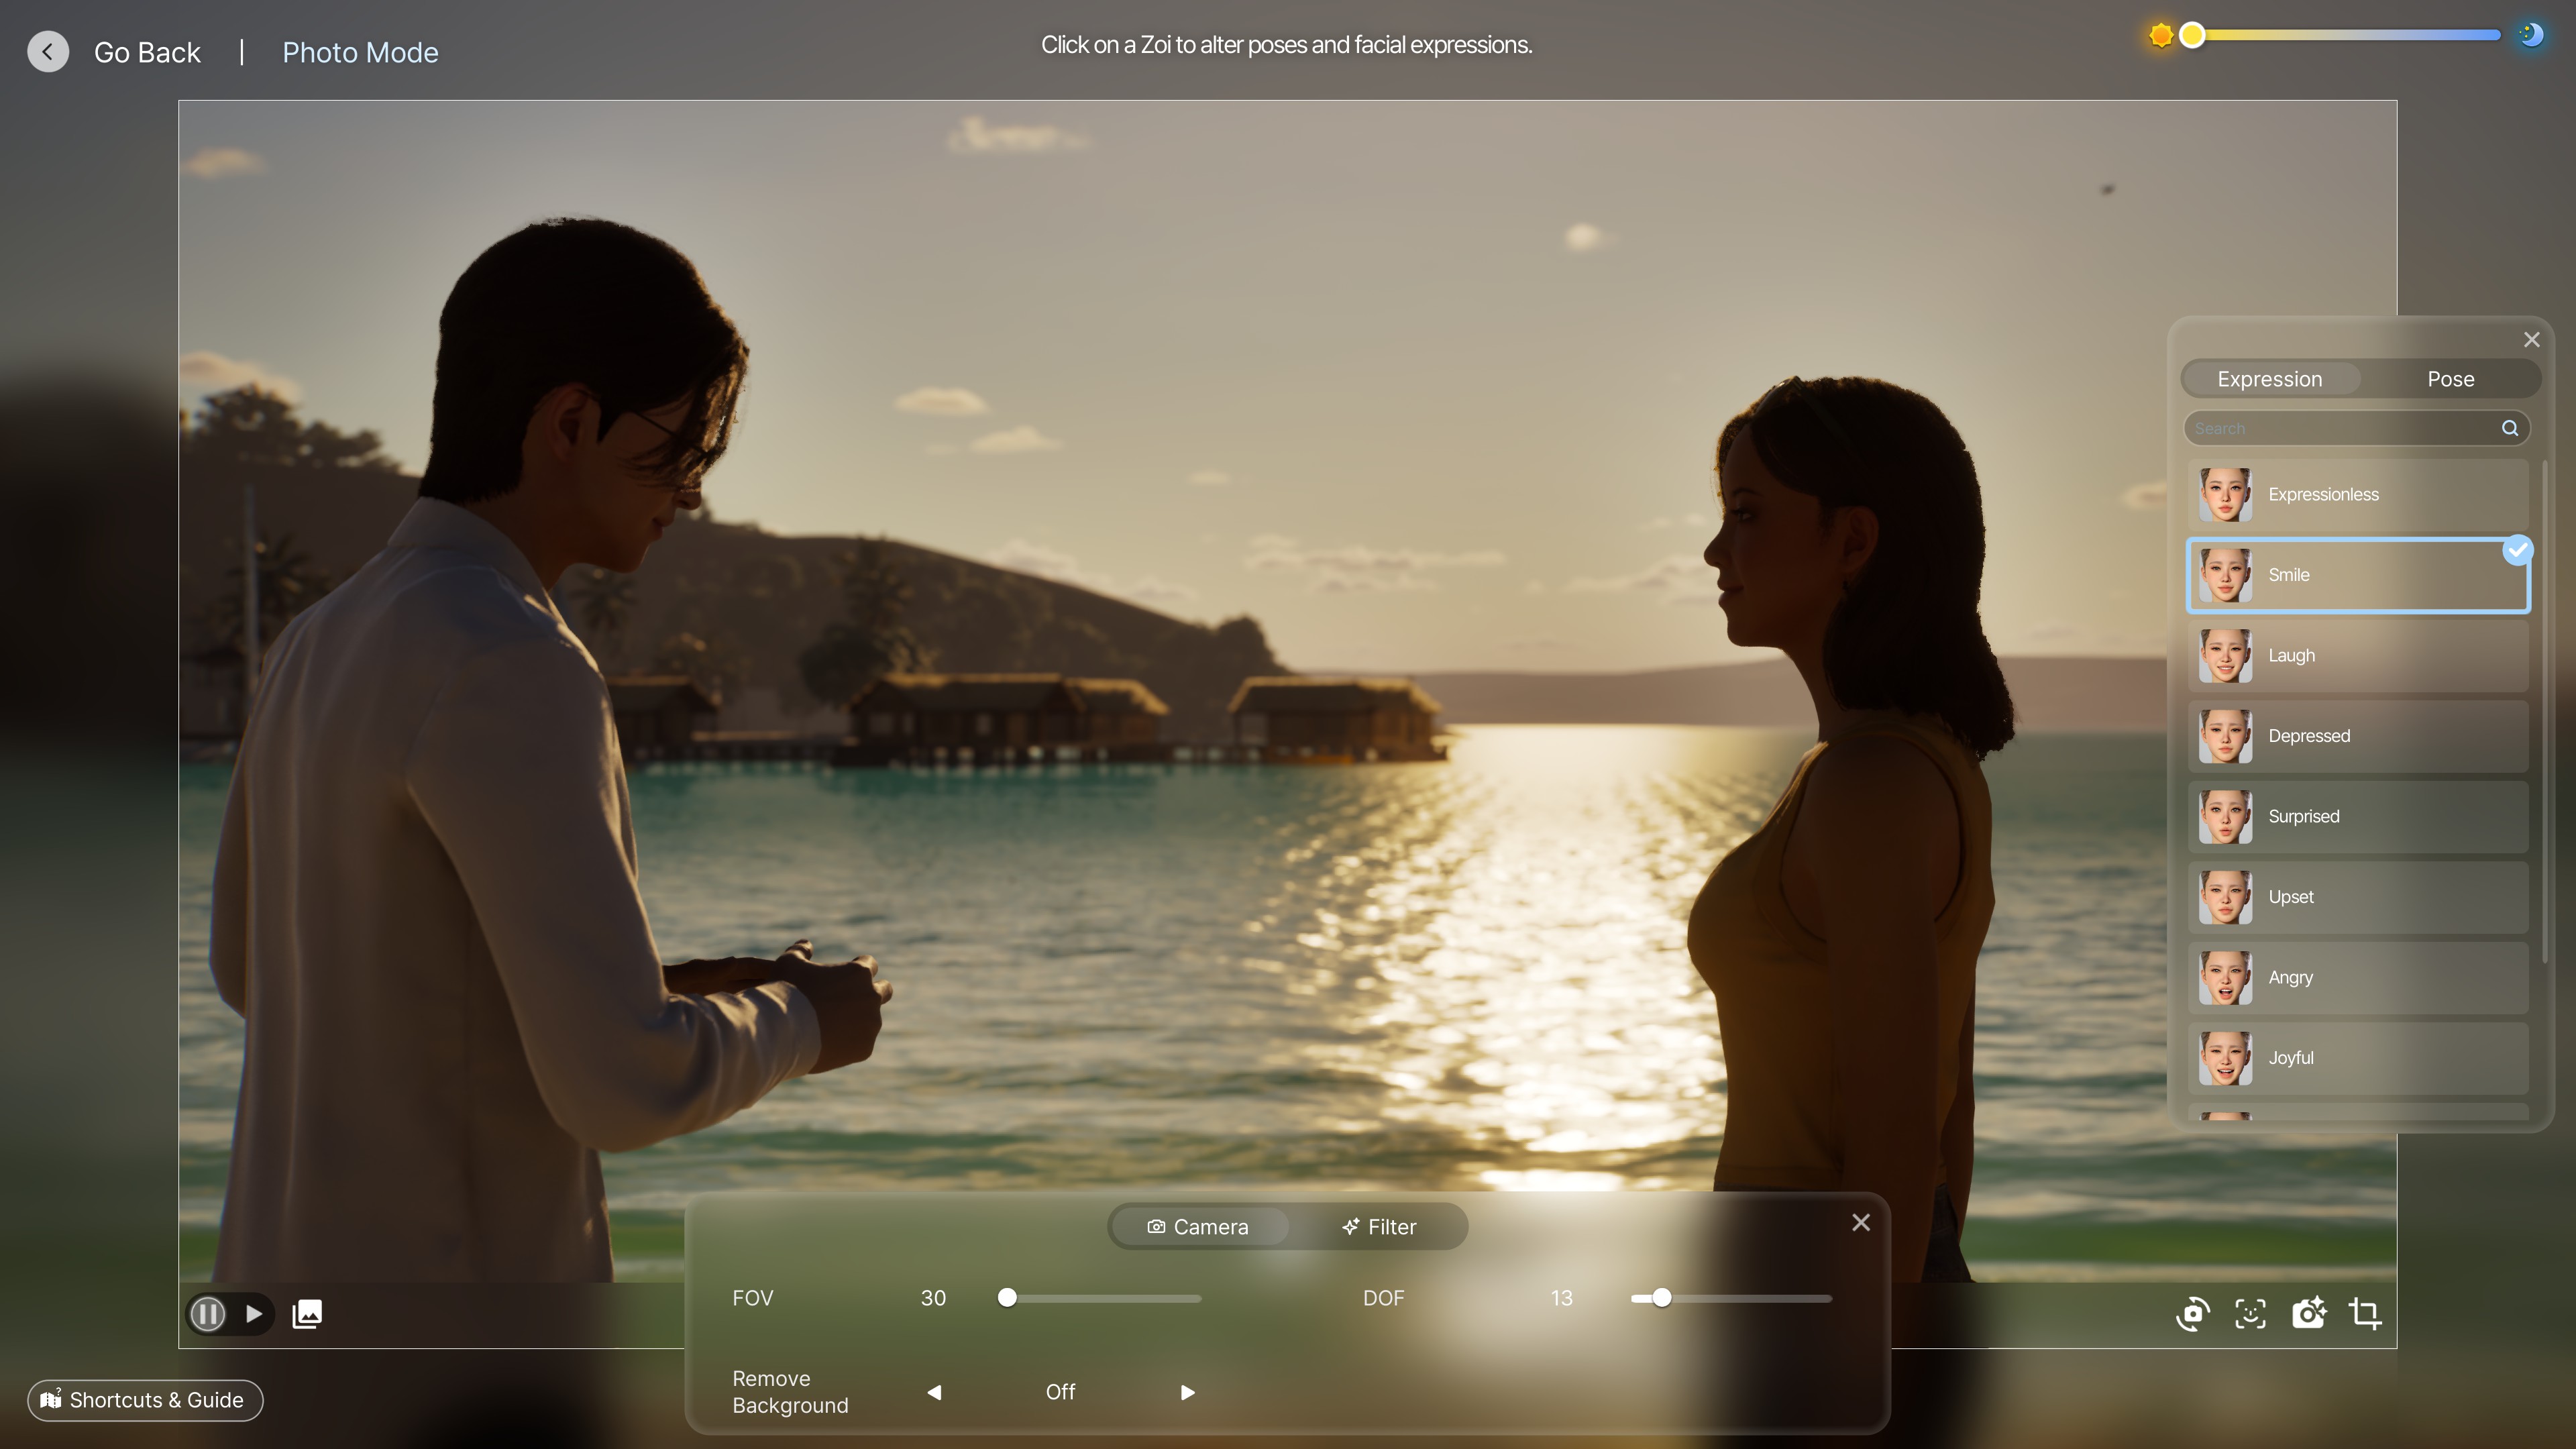
A final goodbye maybe?
Thats also where sunset can be amazing! Your characters are saying goodbye on a good note? Having a sunset at that same point gives it almost that visual emphasis on it. 😉
I mean, if the day ends with the sun setting, then weather-wise it meant it was a good day, saying goodbye till tomorrow.
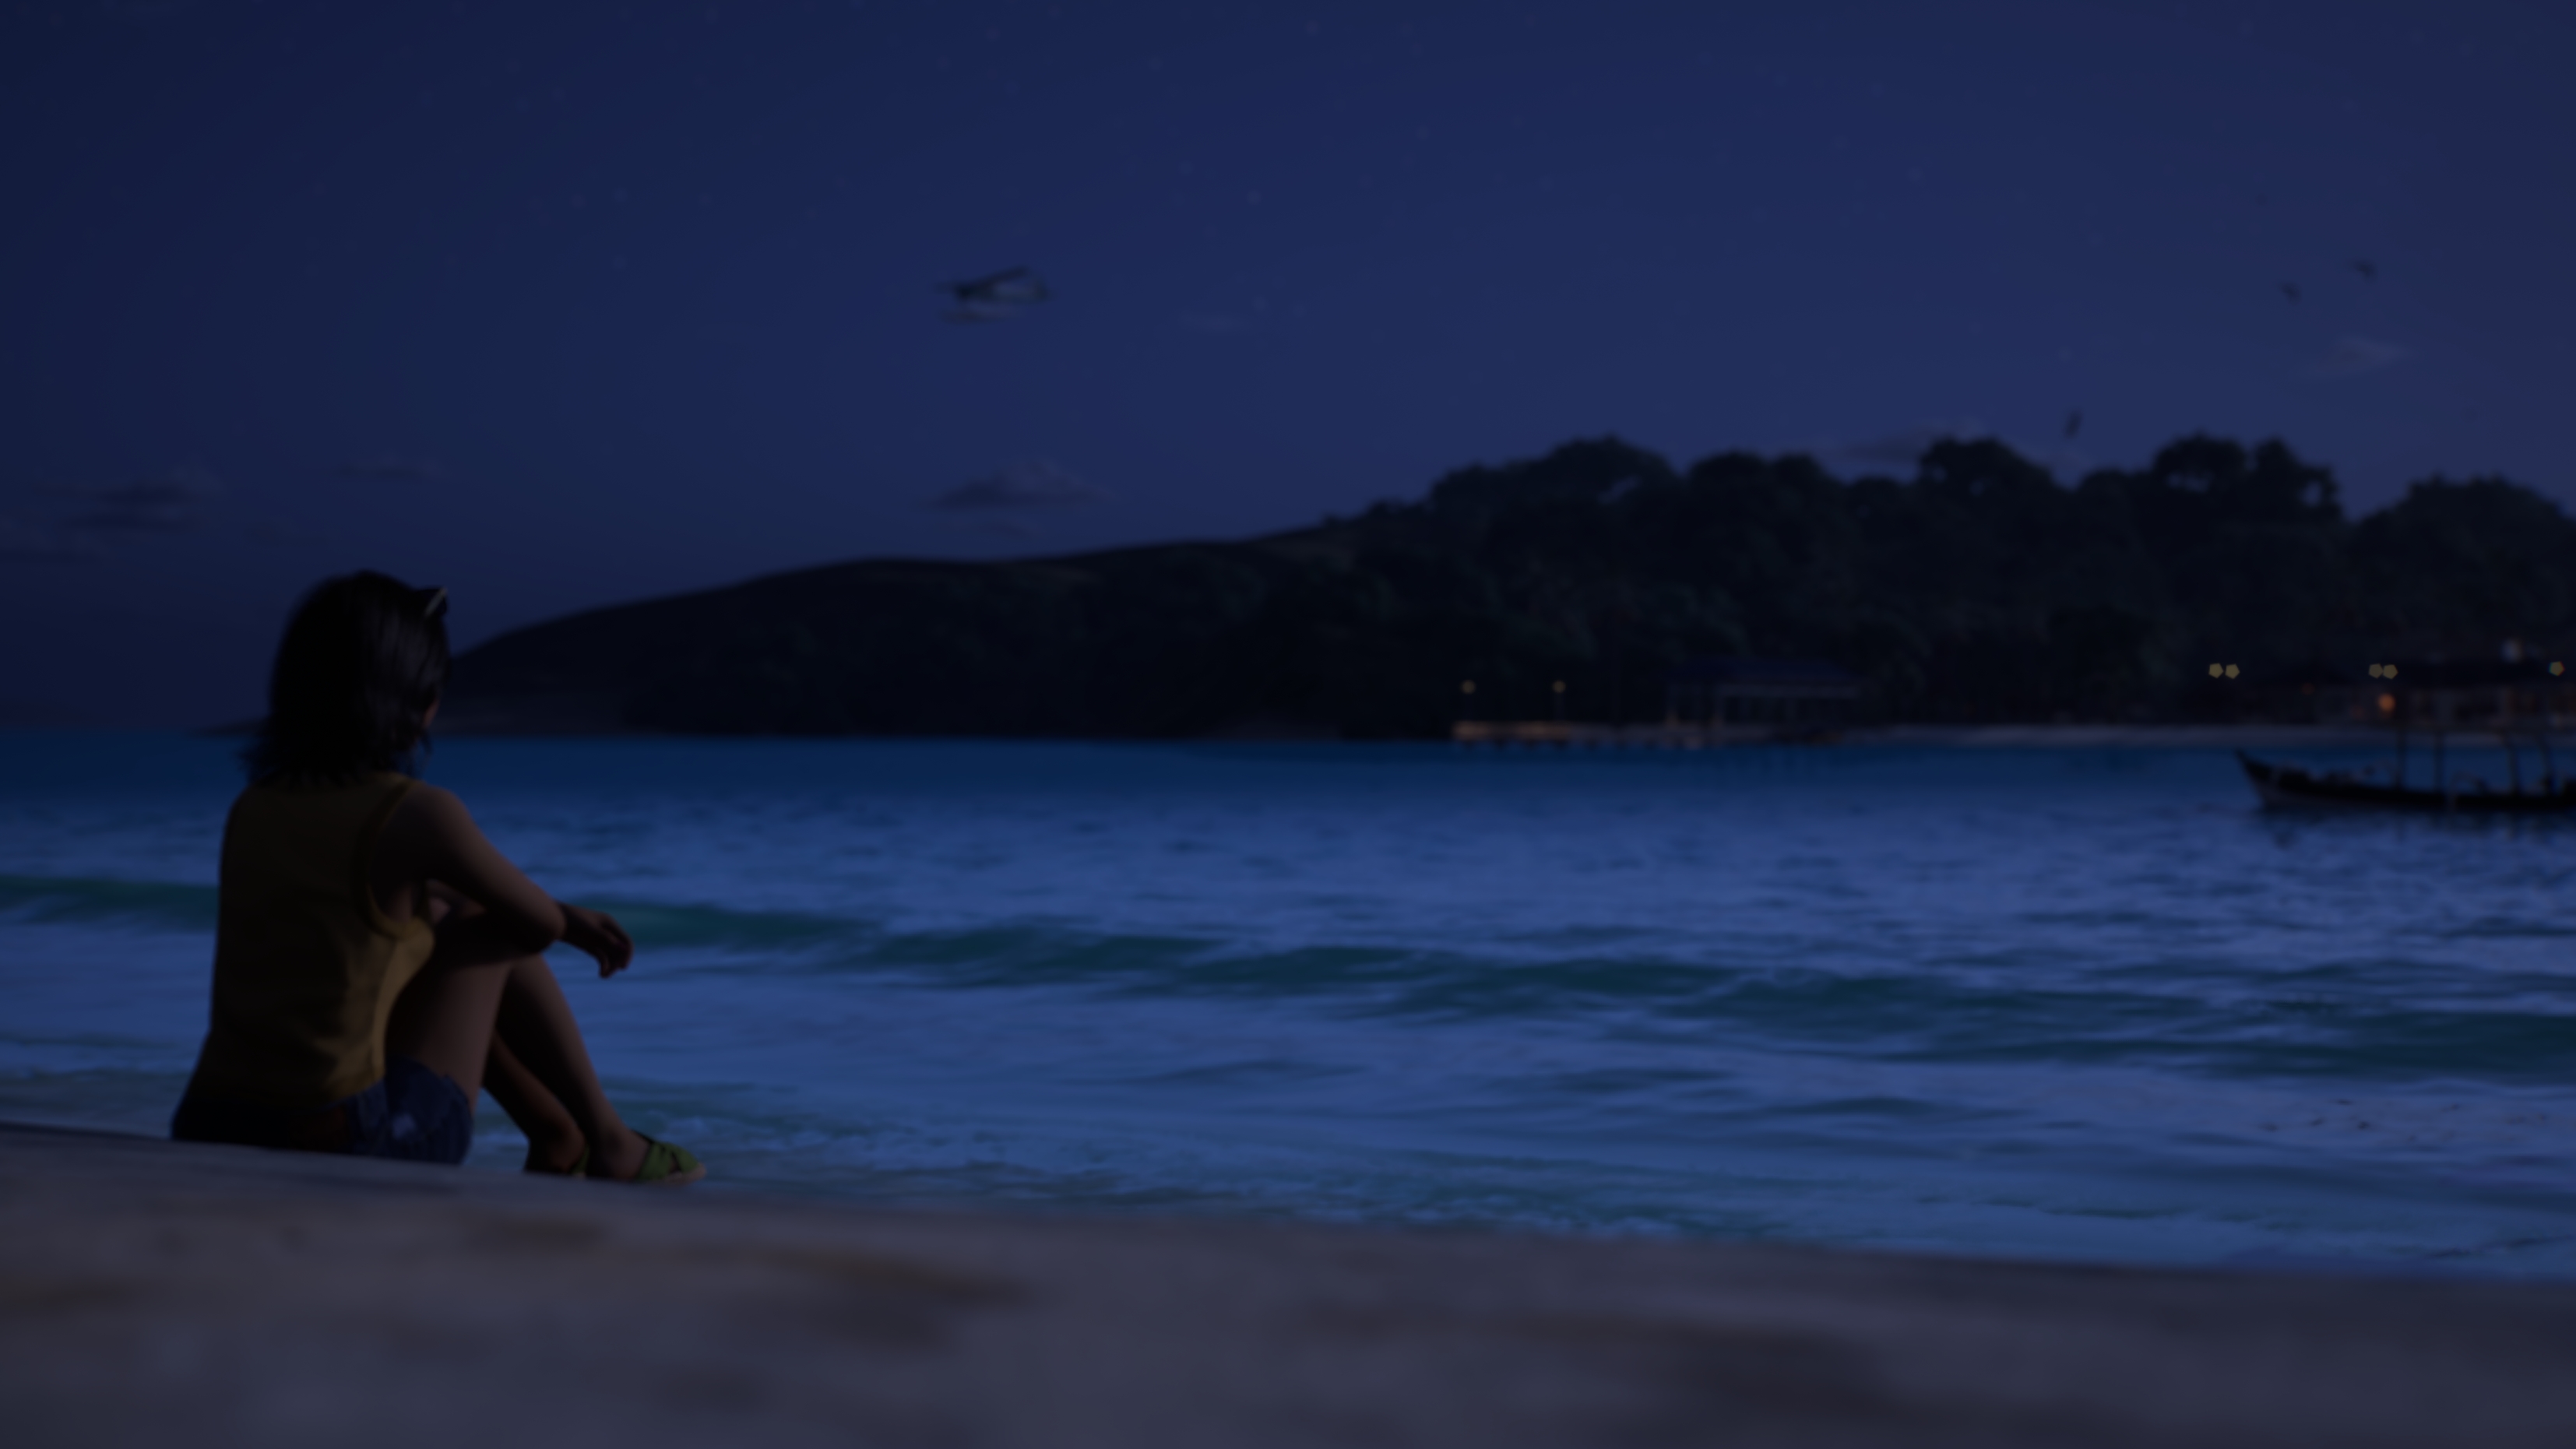

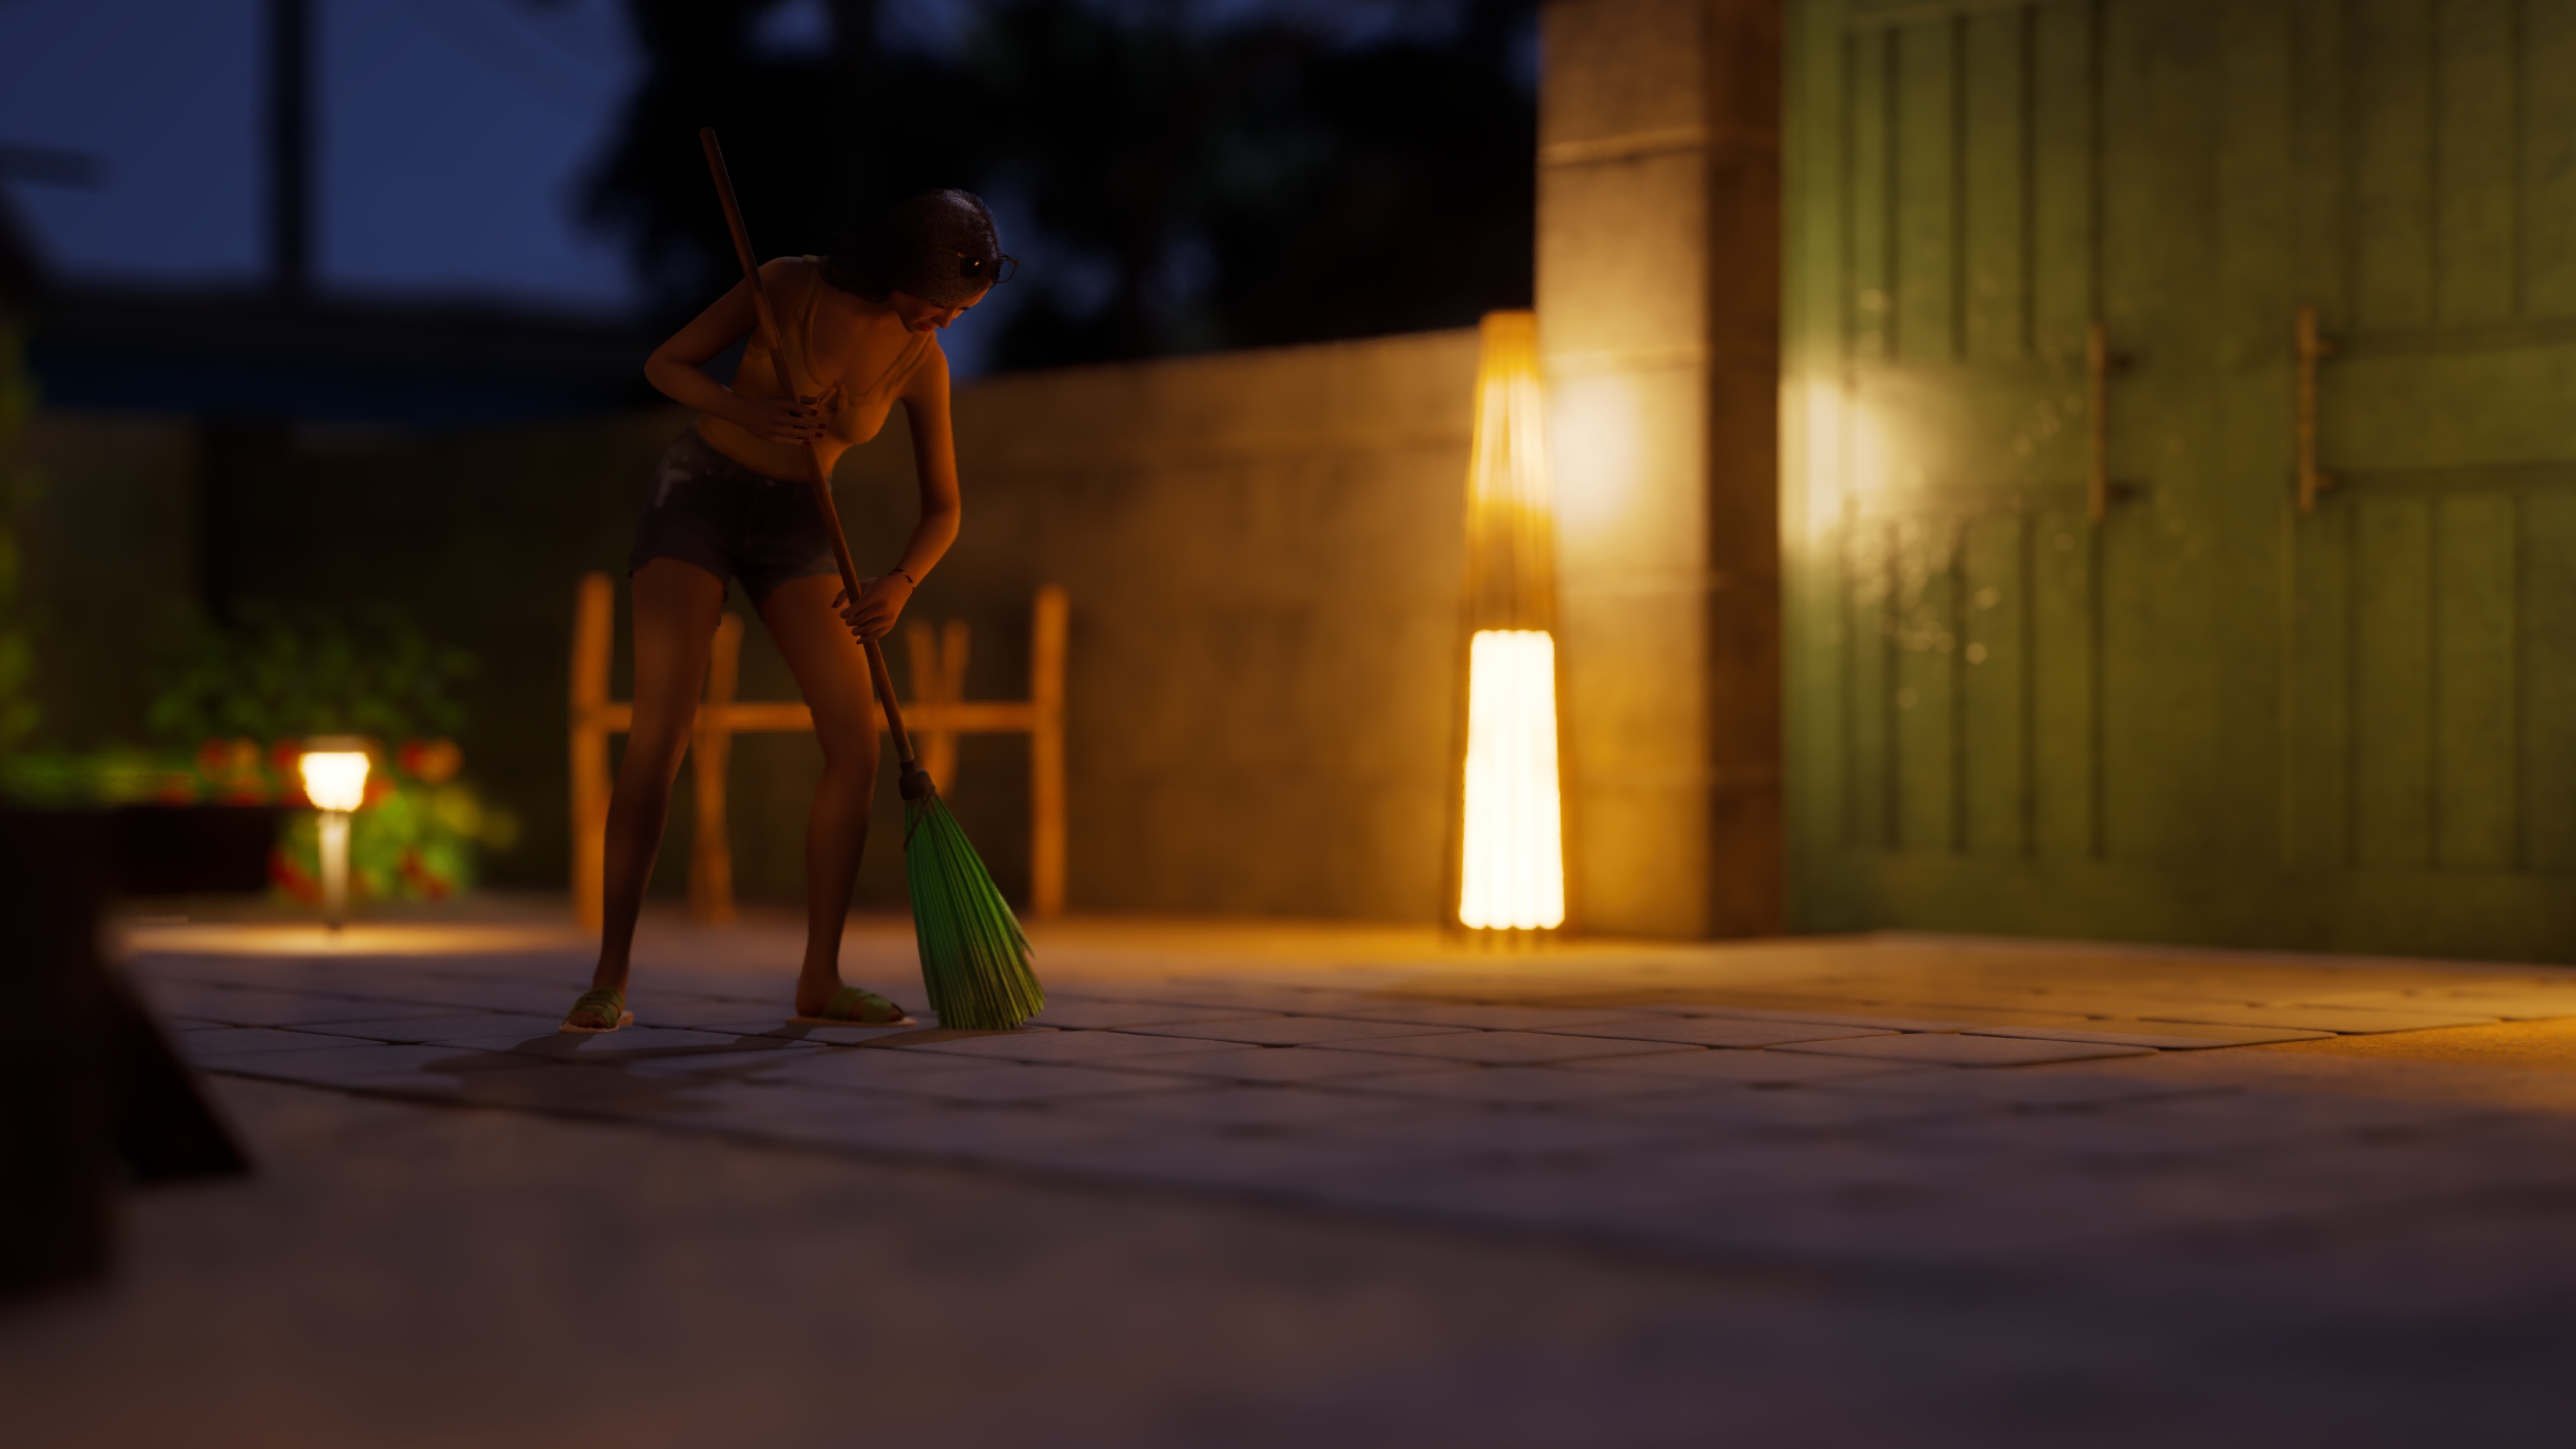
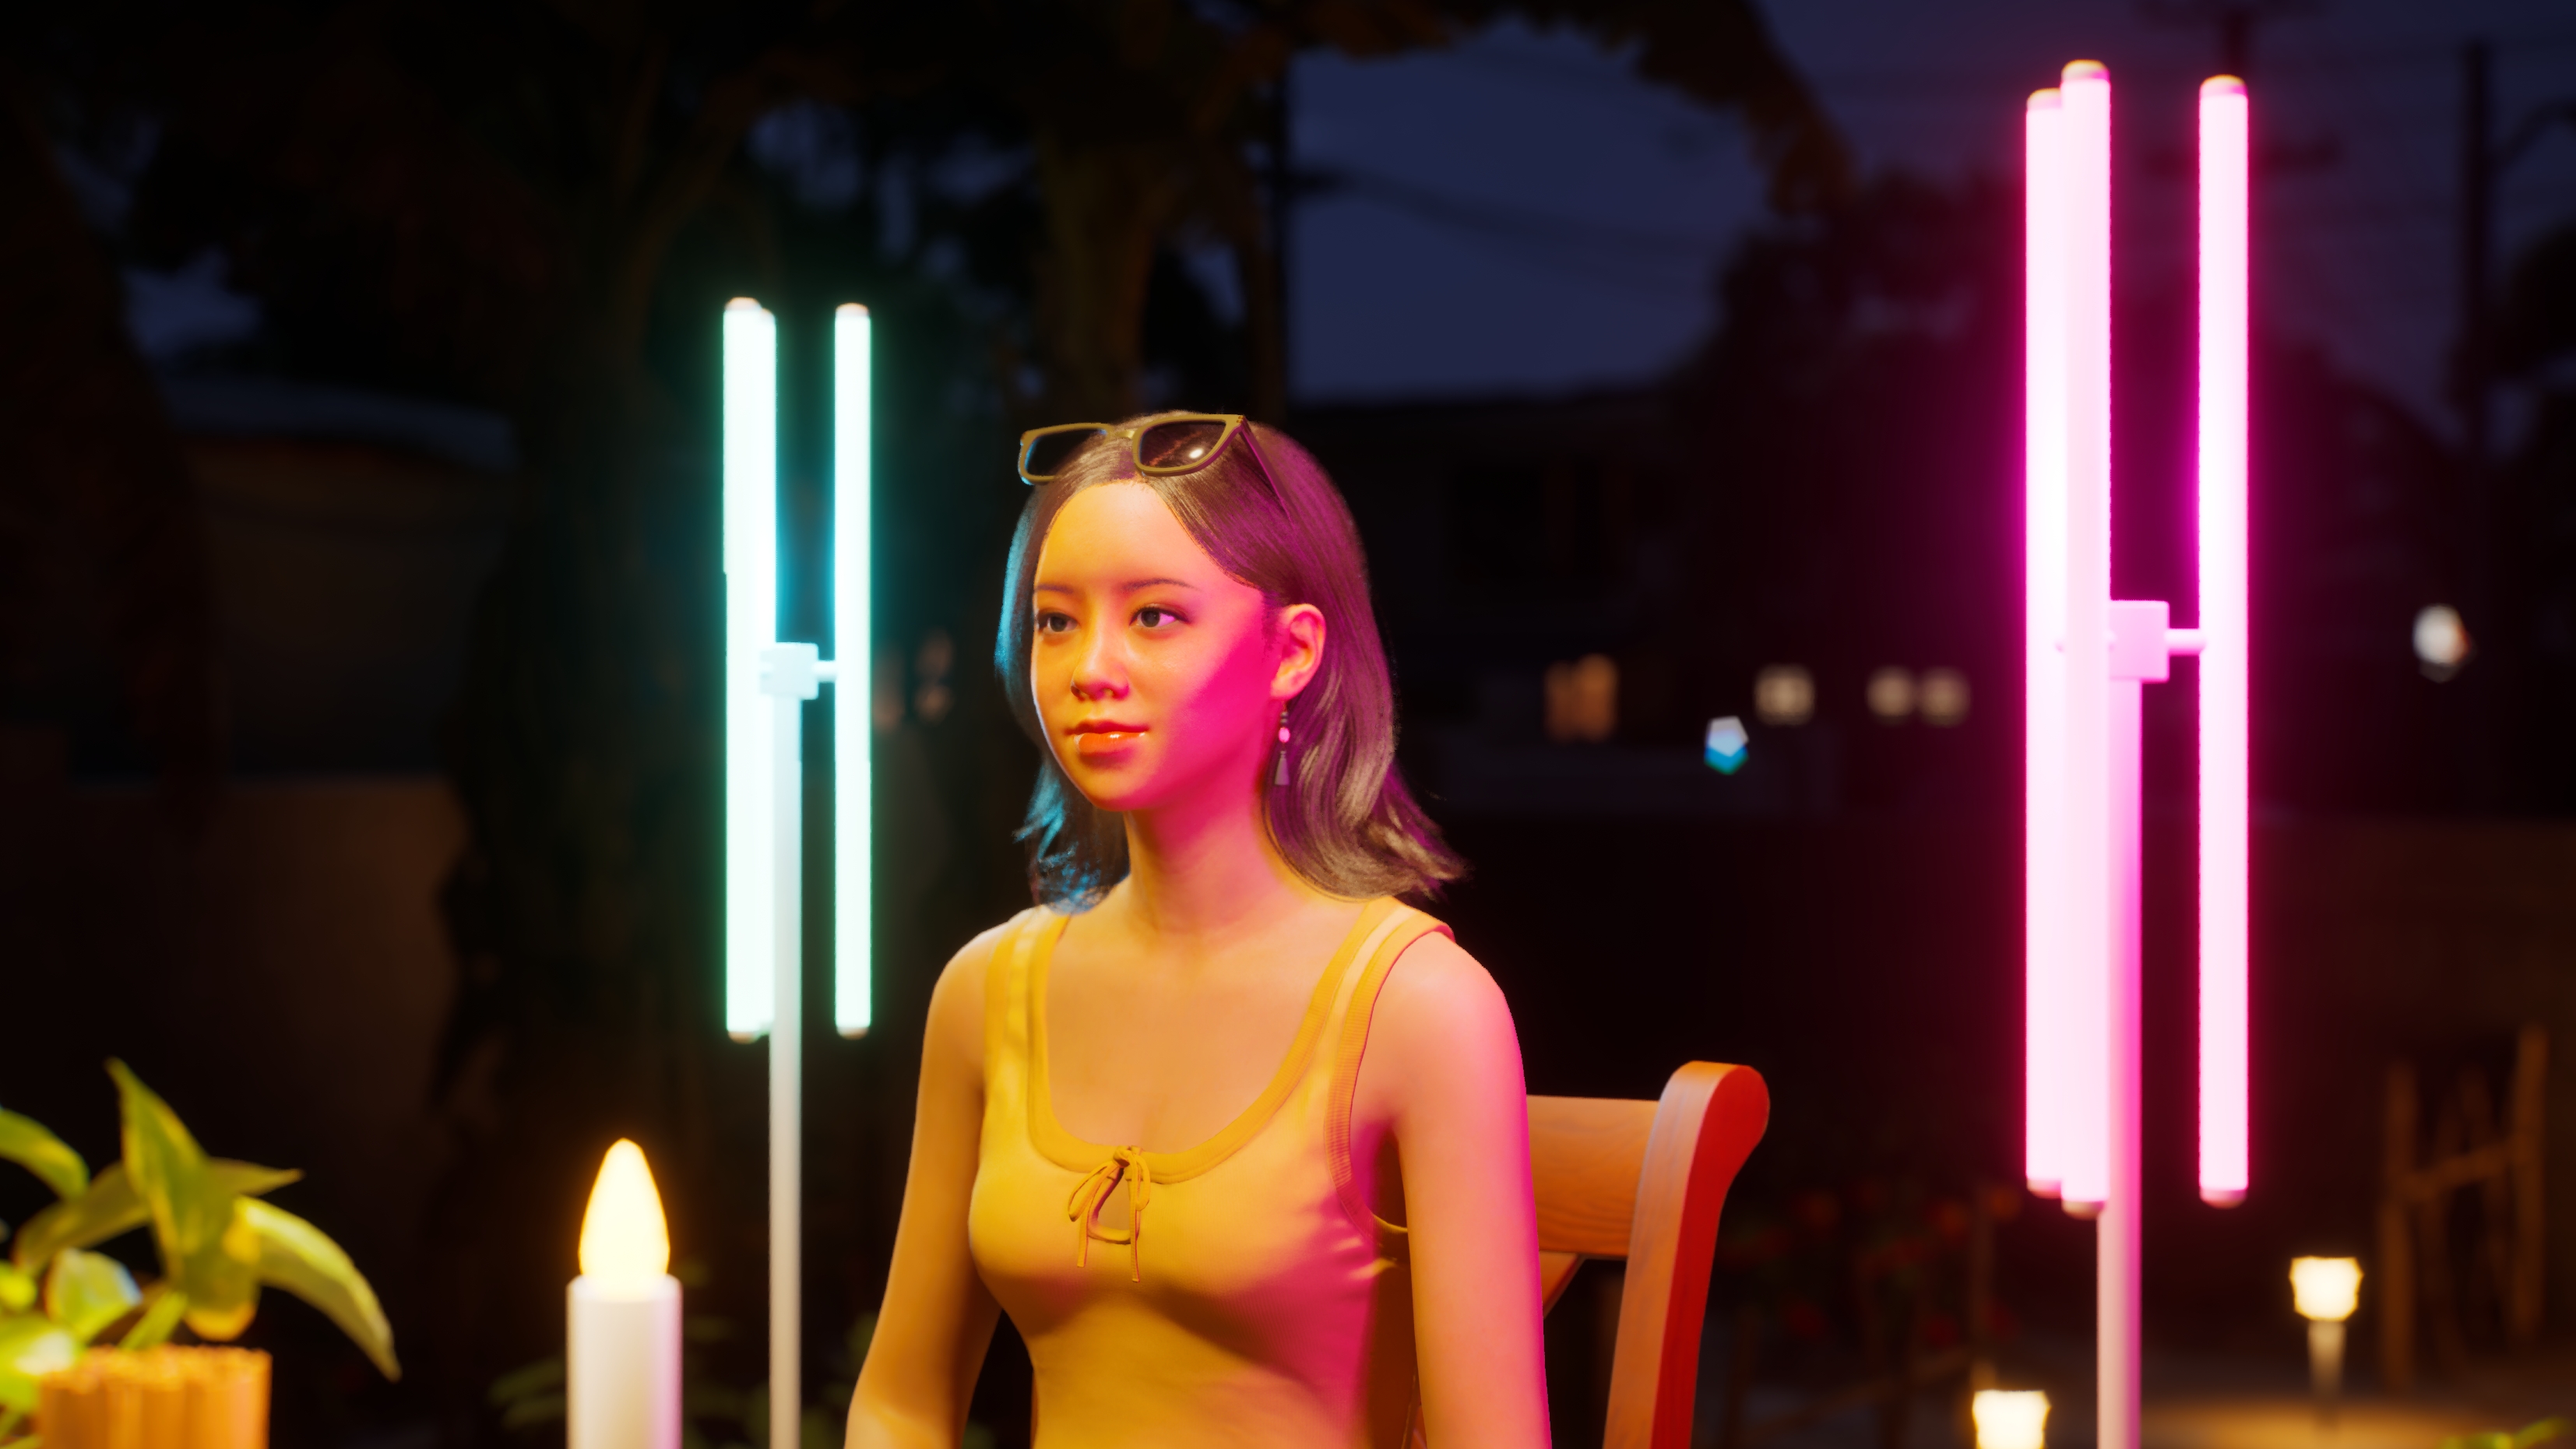
Night shots, like these, can add a sense of mystery in a more negative way. A character deep in thought, the unexpected...
Especially when there isn't much other lights in the scene. Otherwise, it might come across a bit "Candle light and dinner" like. 😉
Rain or even lightning can also add that sense of depth you're looking for! However, that is often used for anger, or truth that just came out.
Generally, it's good to think "What light equates to what mood?" And you're good! 😊
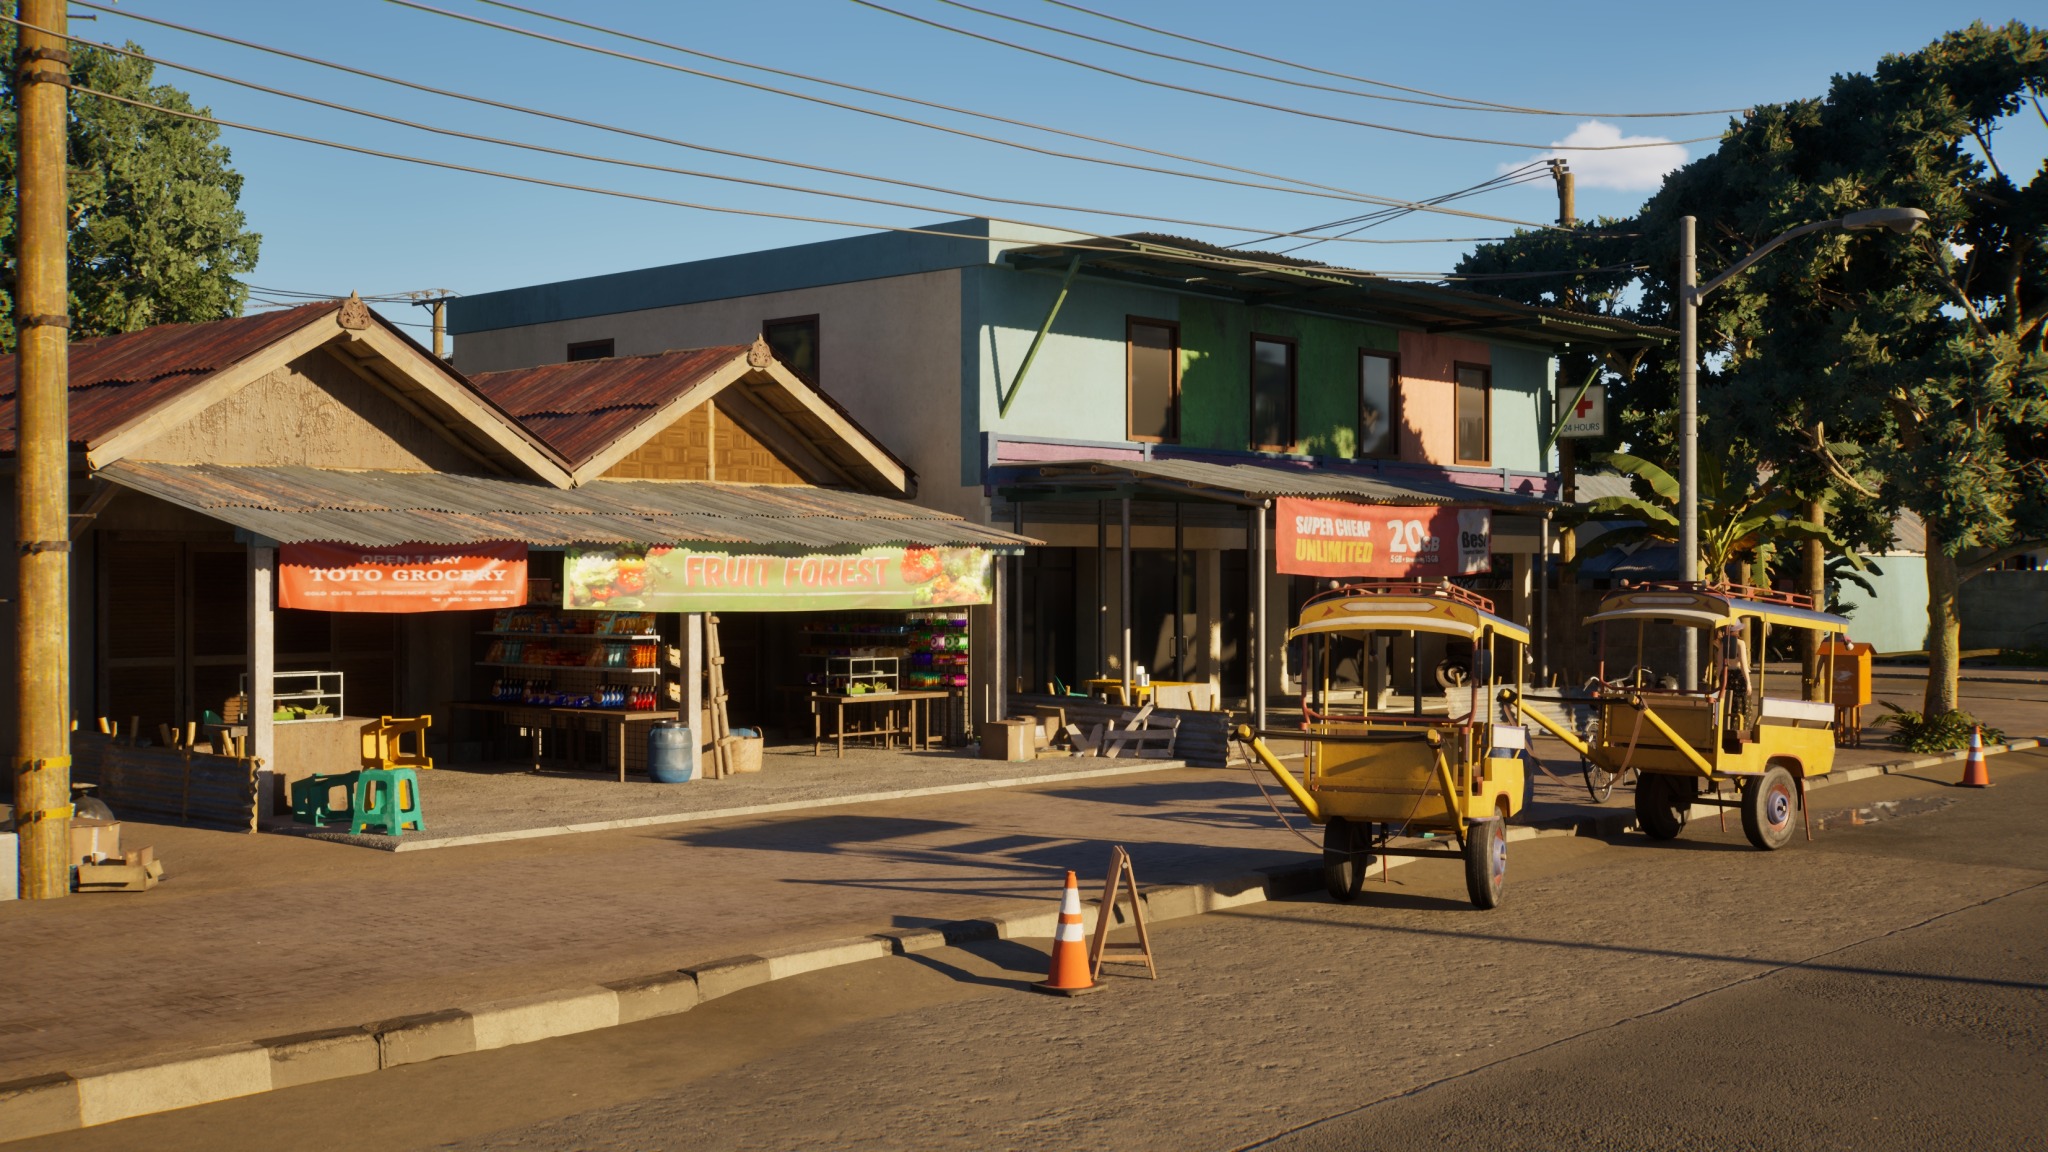
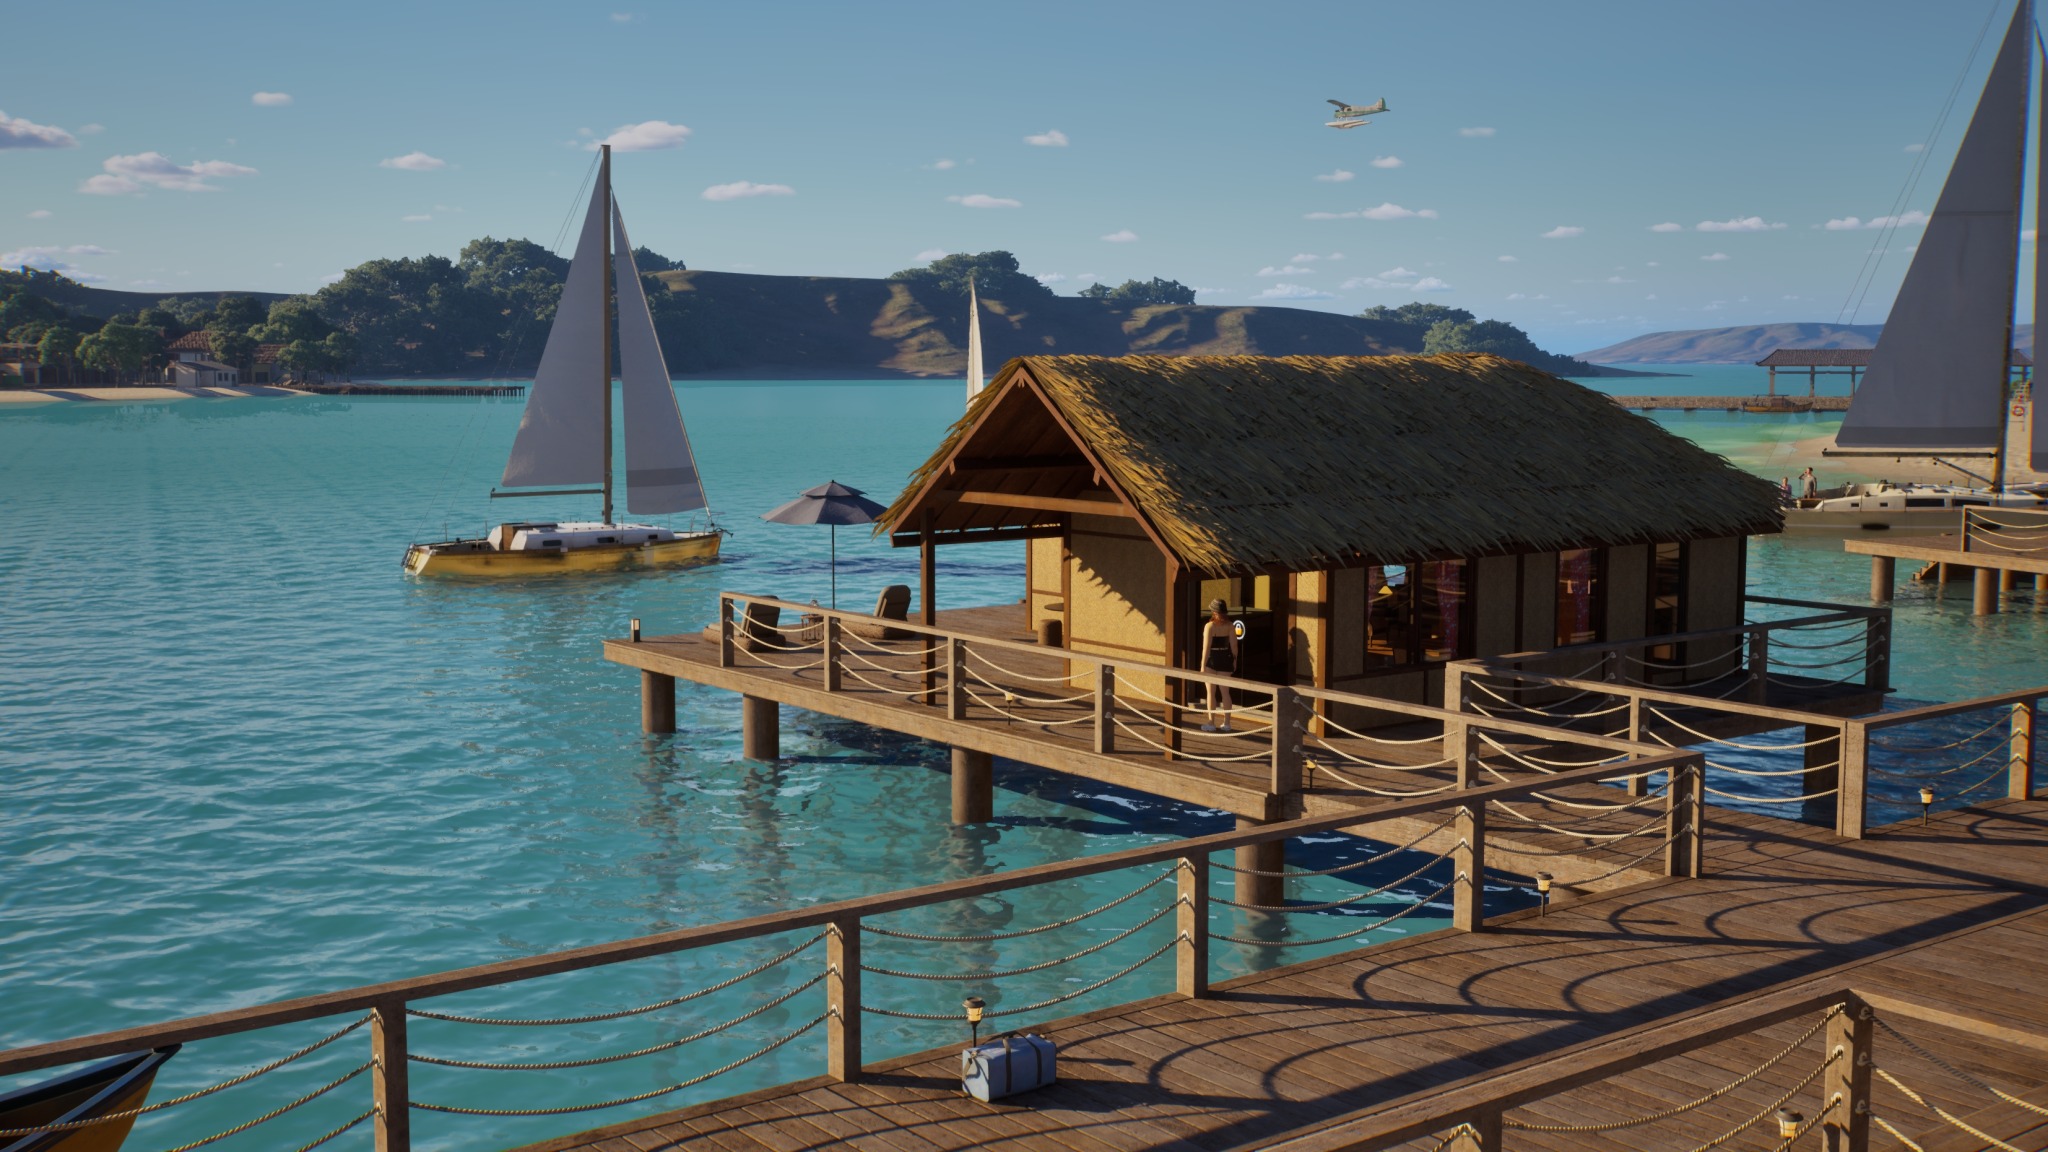
🏞 Lighting in Landscape pictures
Here I'd say it's a bit less strict, but the same rules apply. You really want to go deep onto the shadows.
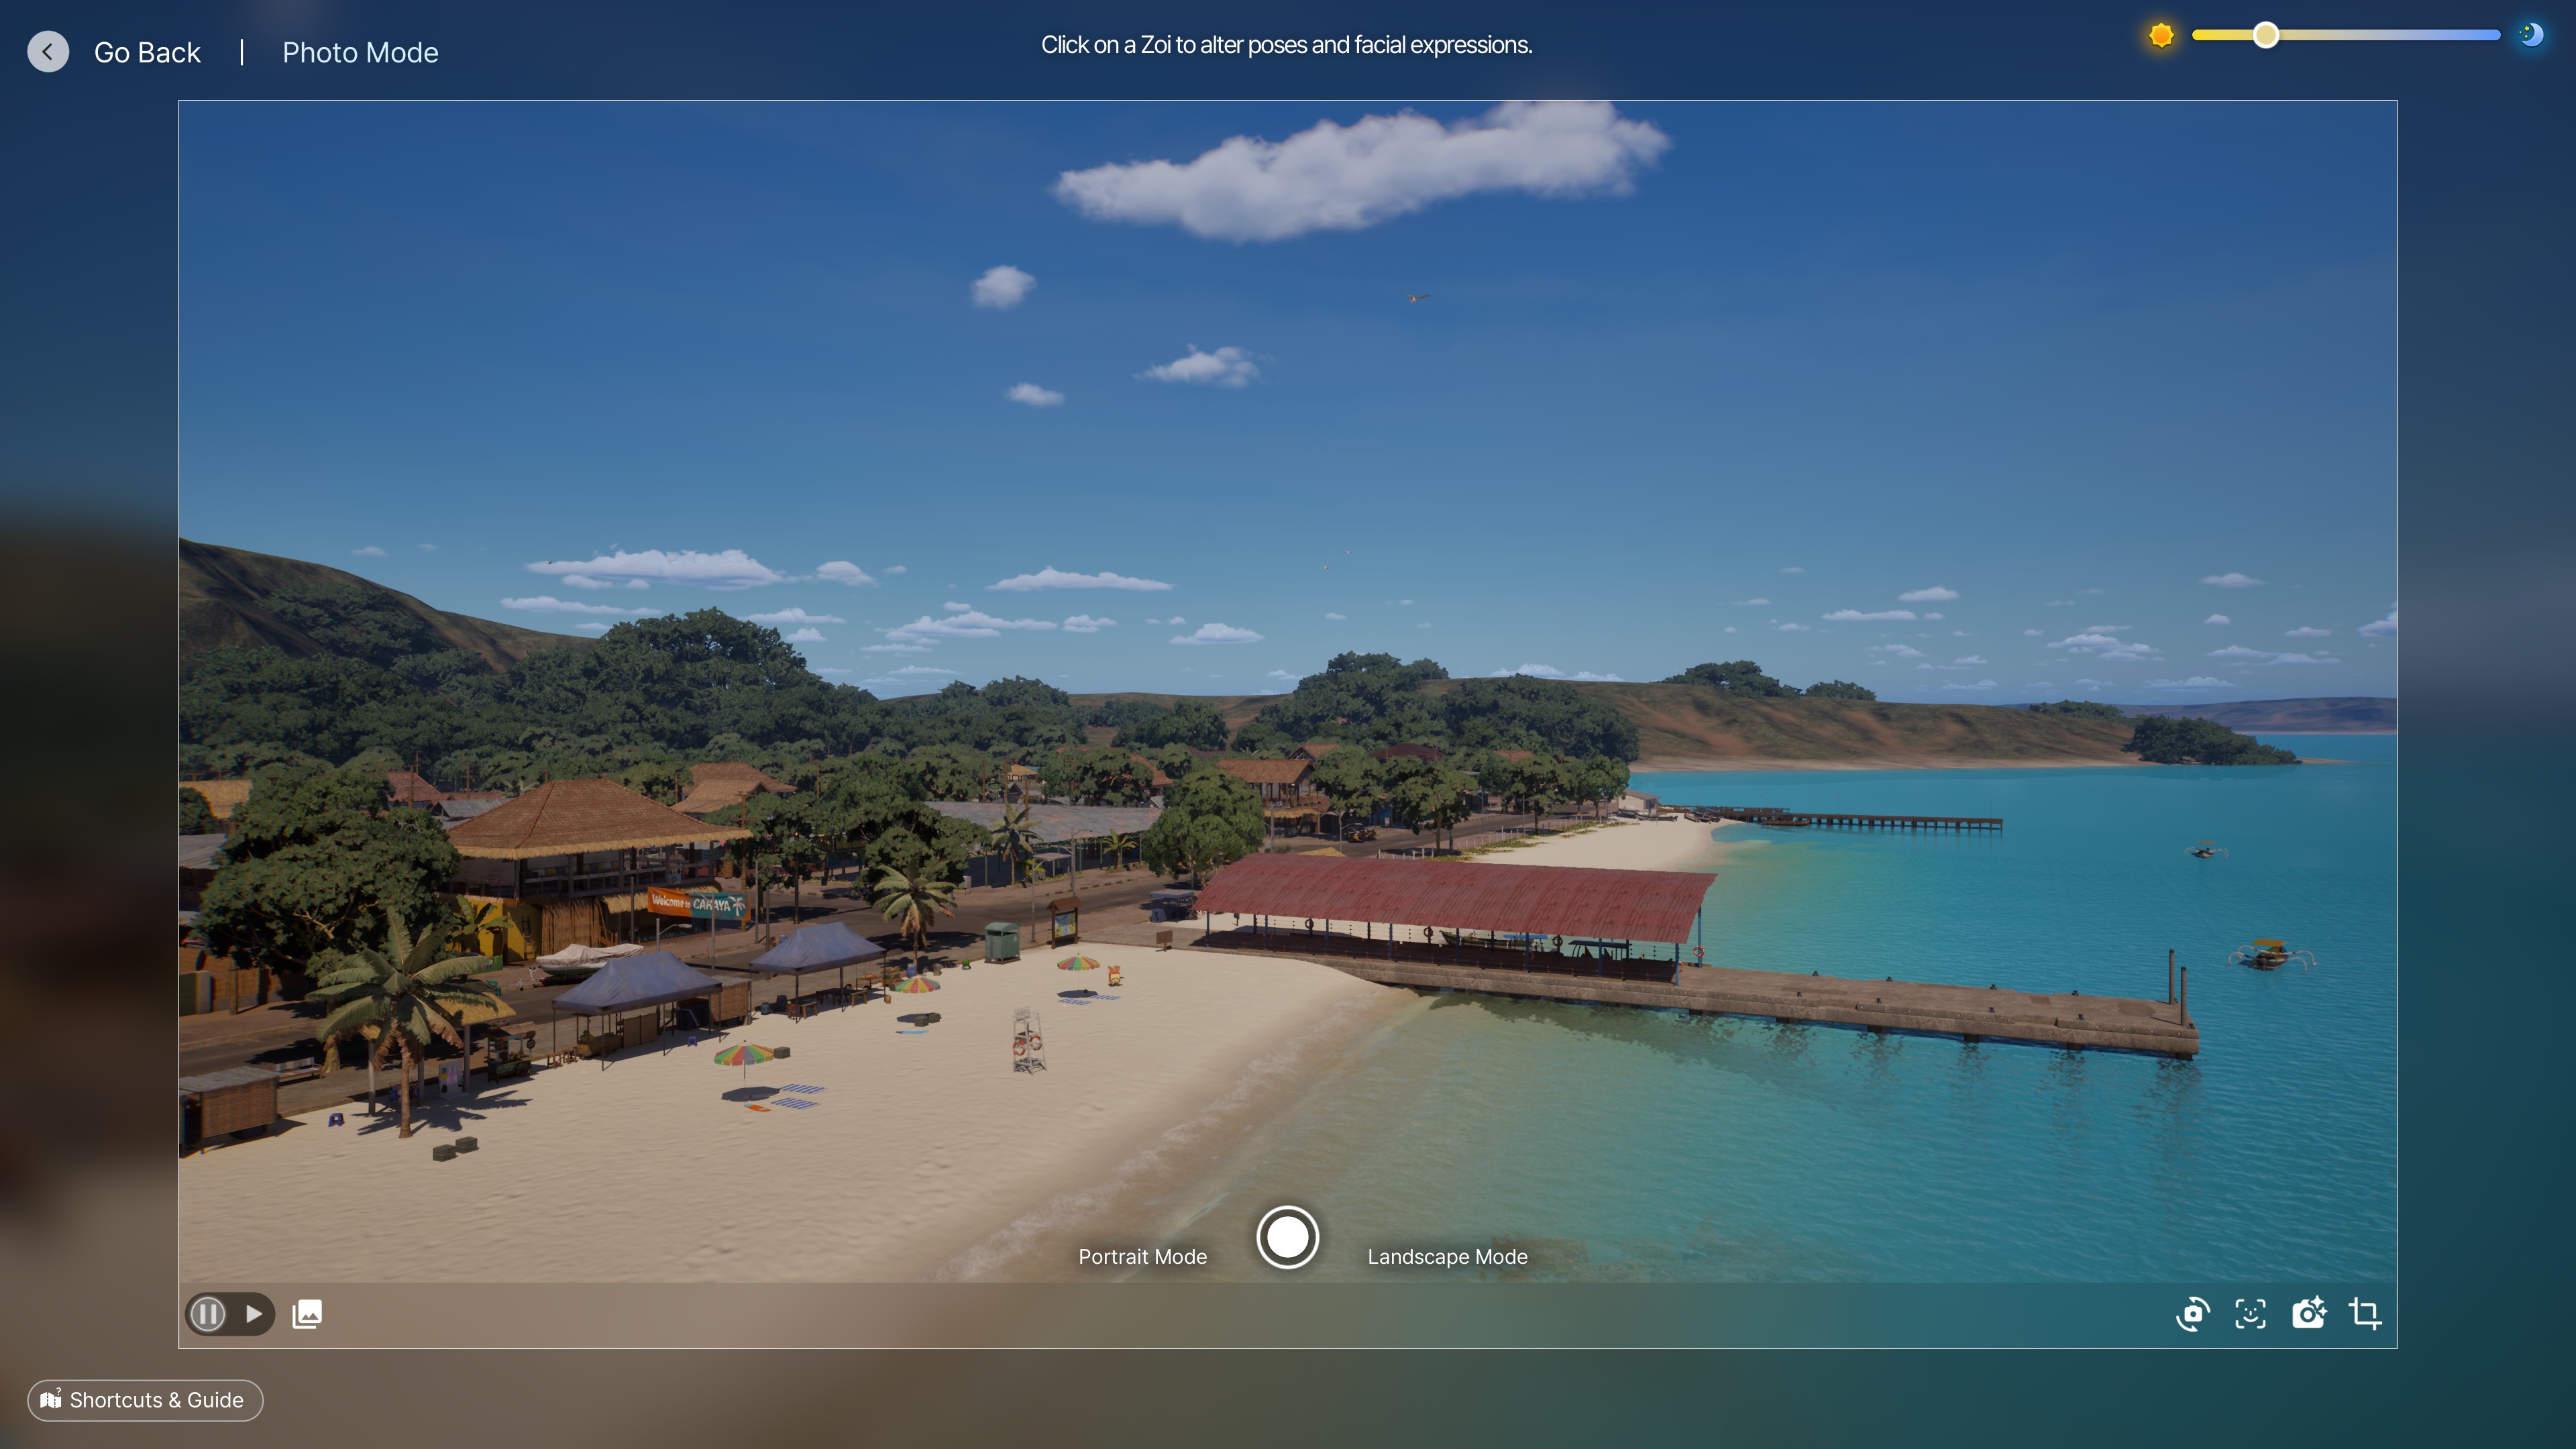
While this is a perfectly okay picture...
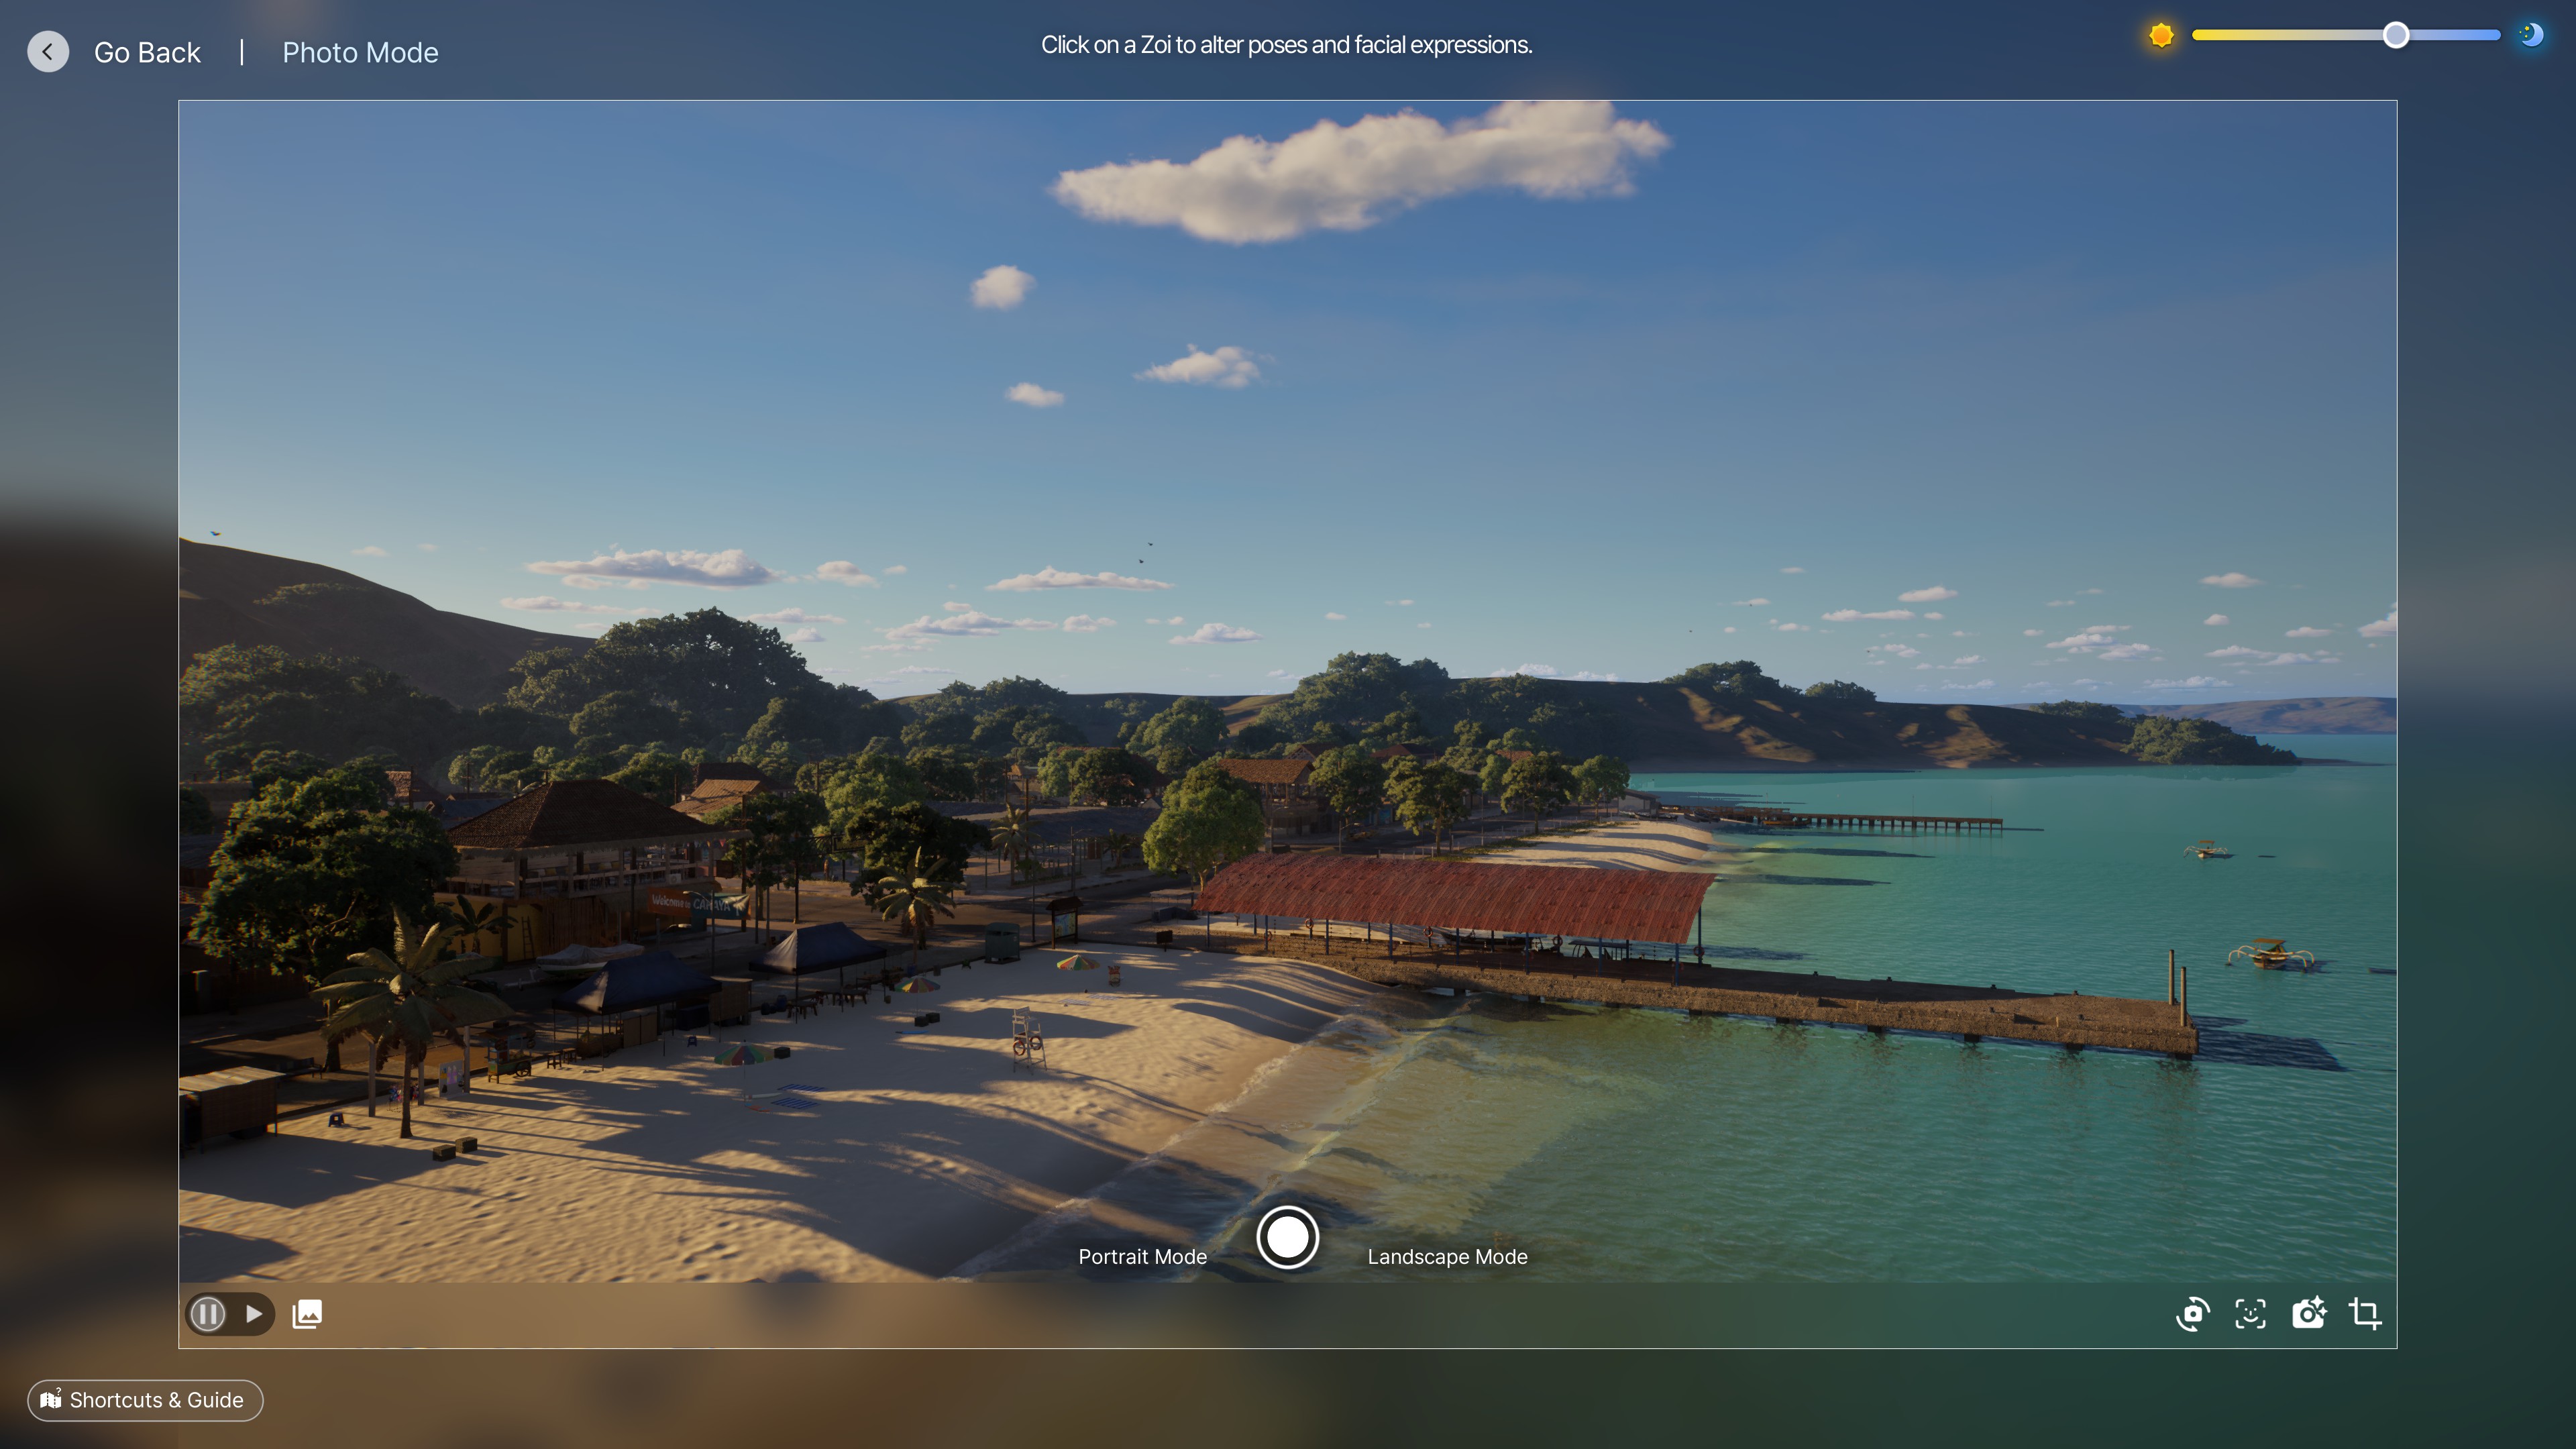
By adding that extra shadows from the trees and other structures really creates that missing spice it needed!
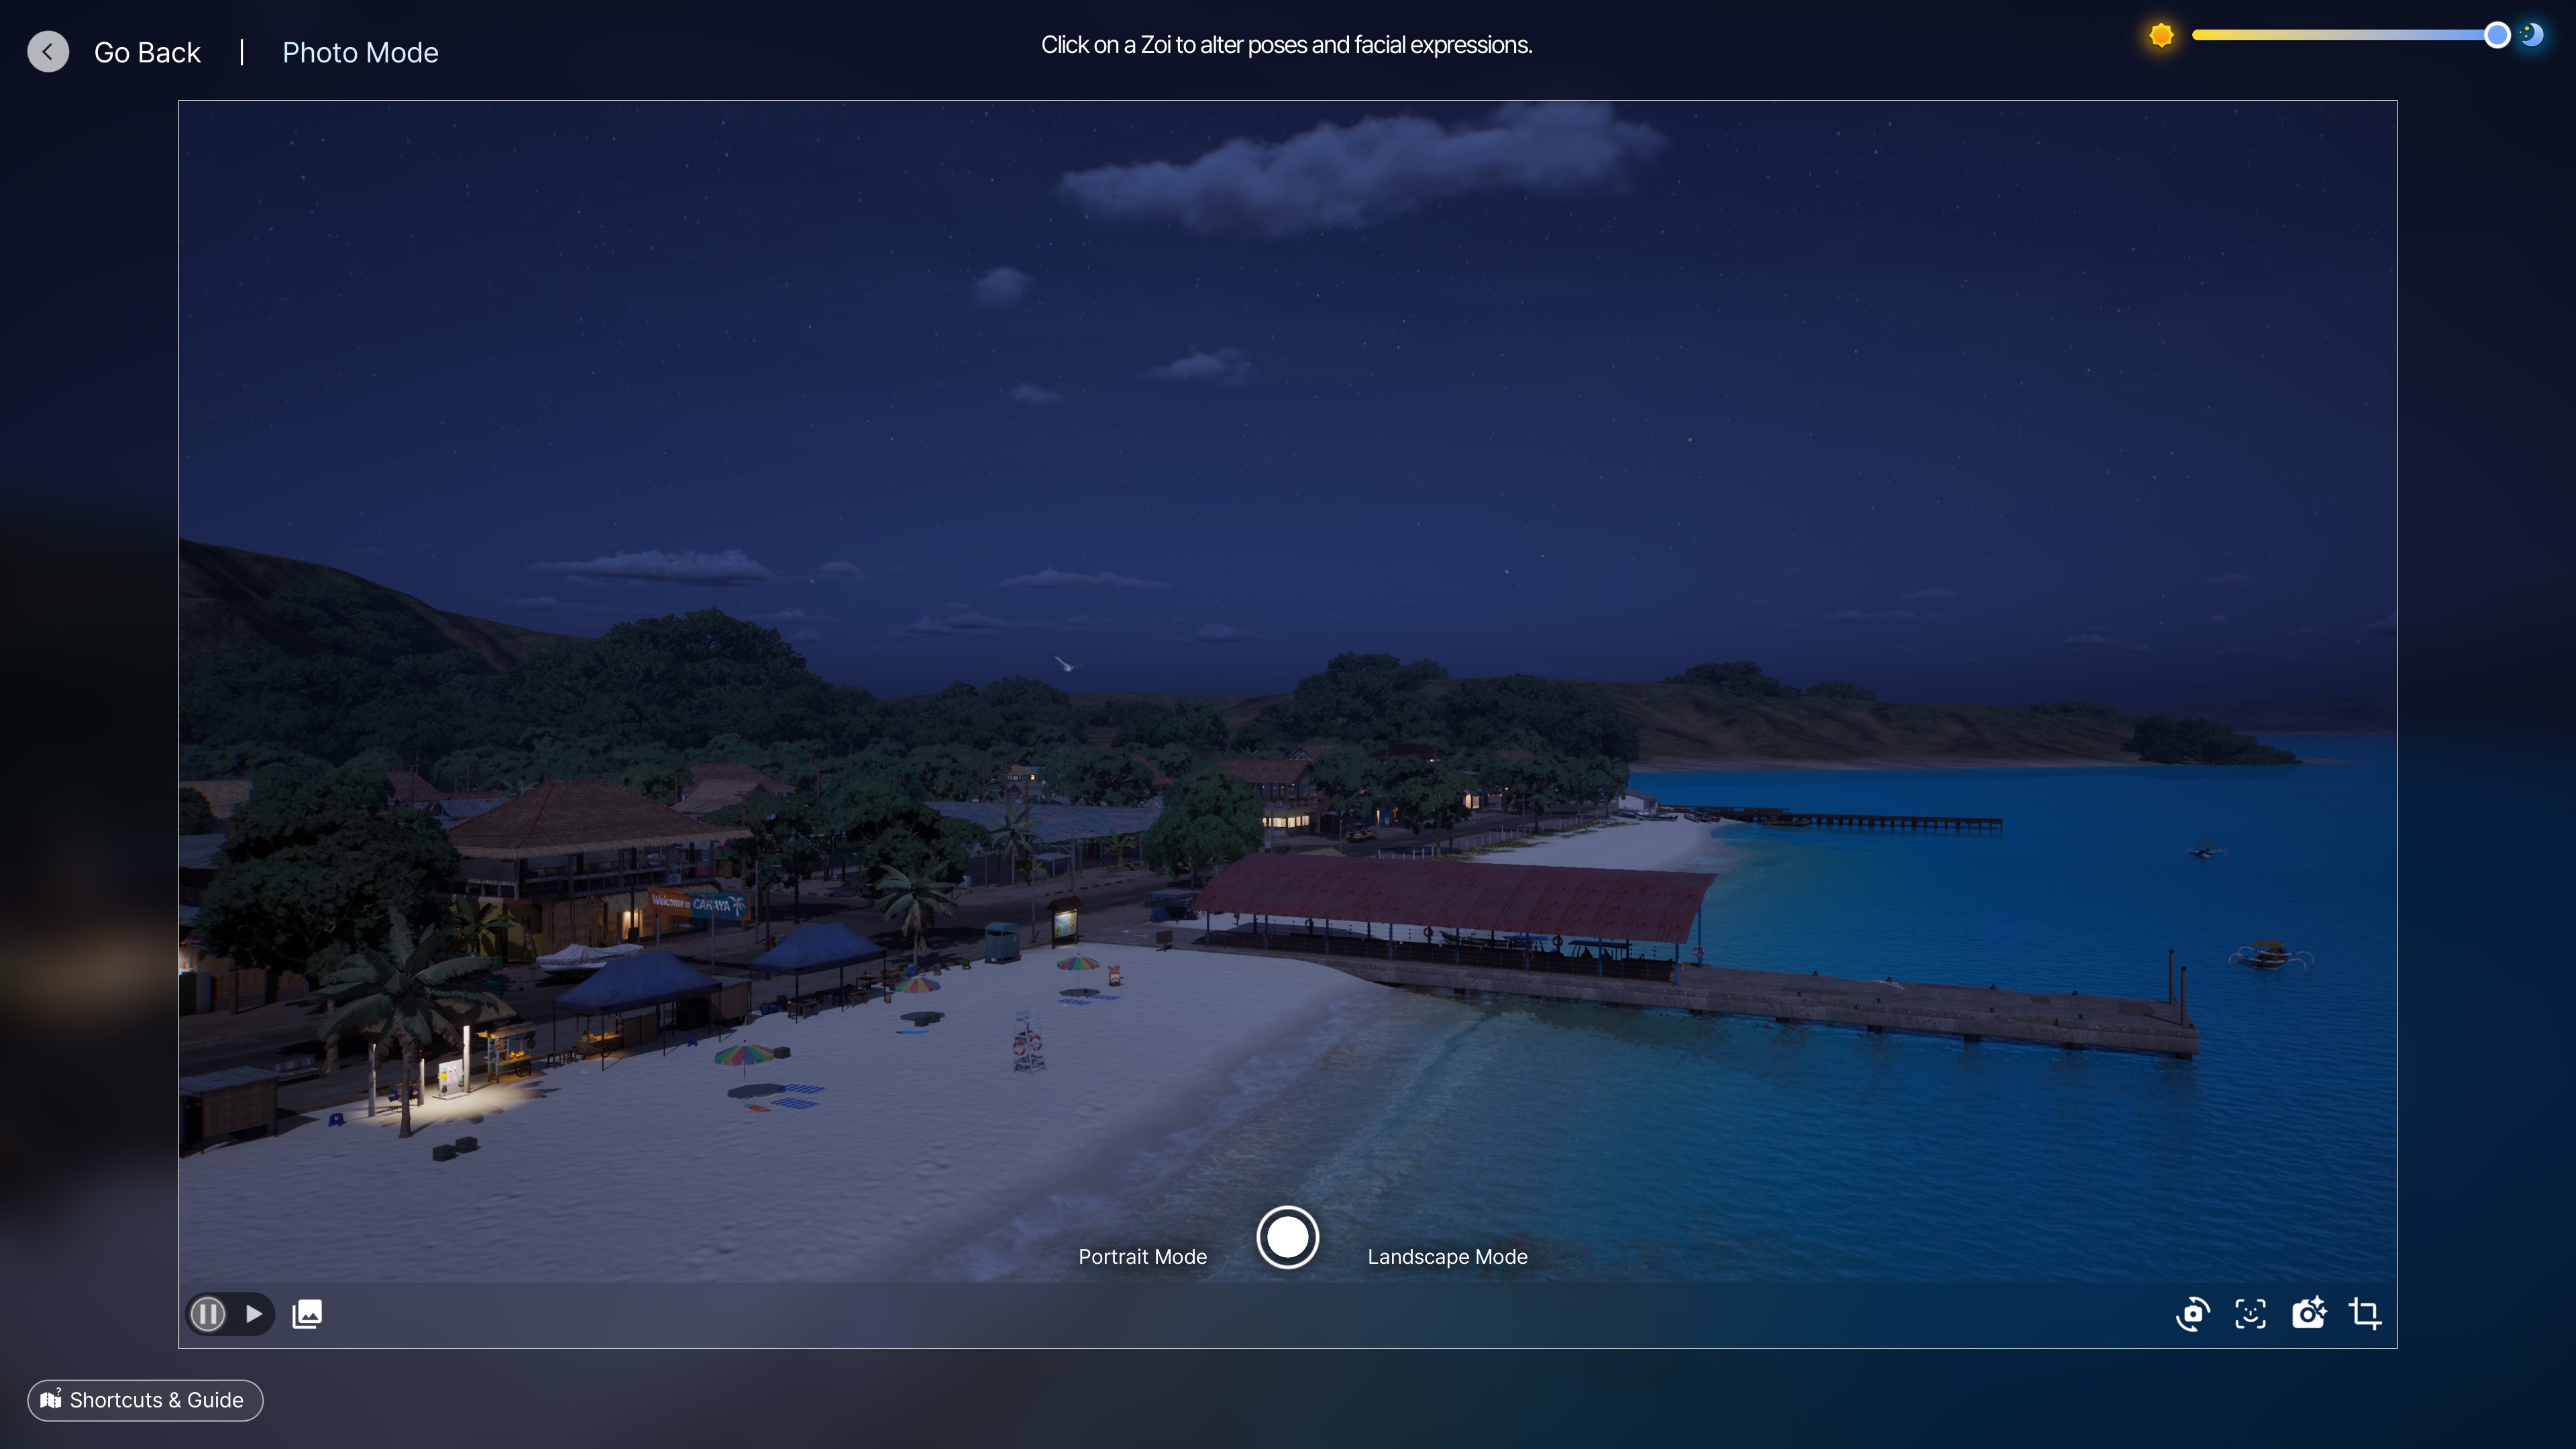
The same applies at night. Though here it's a bit harder to get that done. While the difference is not huge, the second image has much more depth in the sand and bits that could use some real contrast.
Indoor Lighting
InZOI came out with a really cool patch to make this better, and I've been using it ever since!
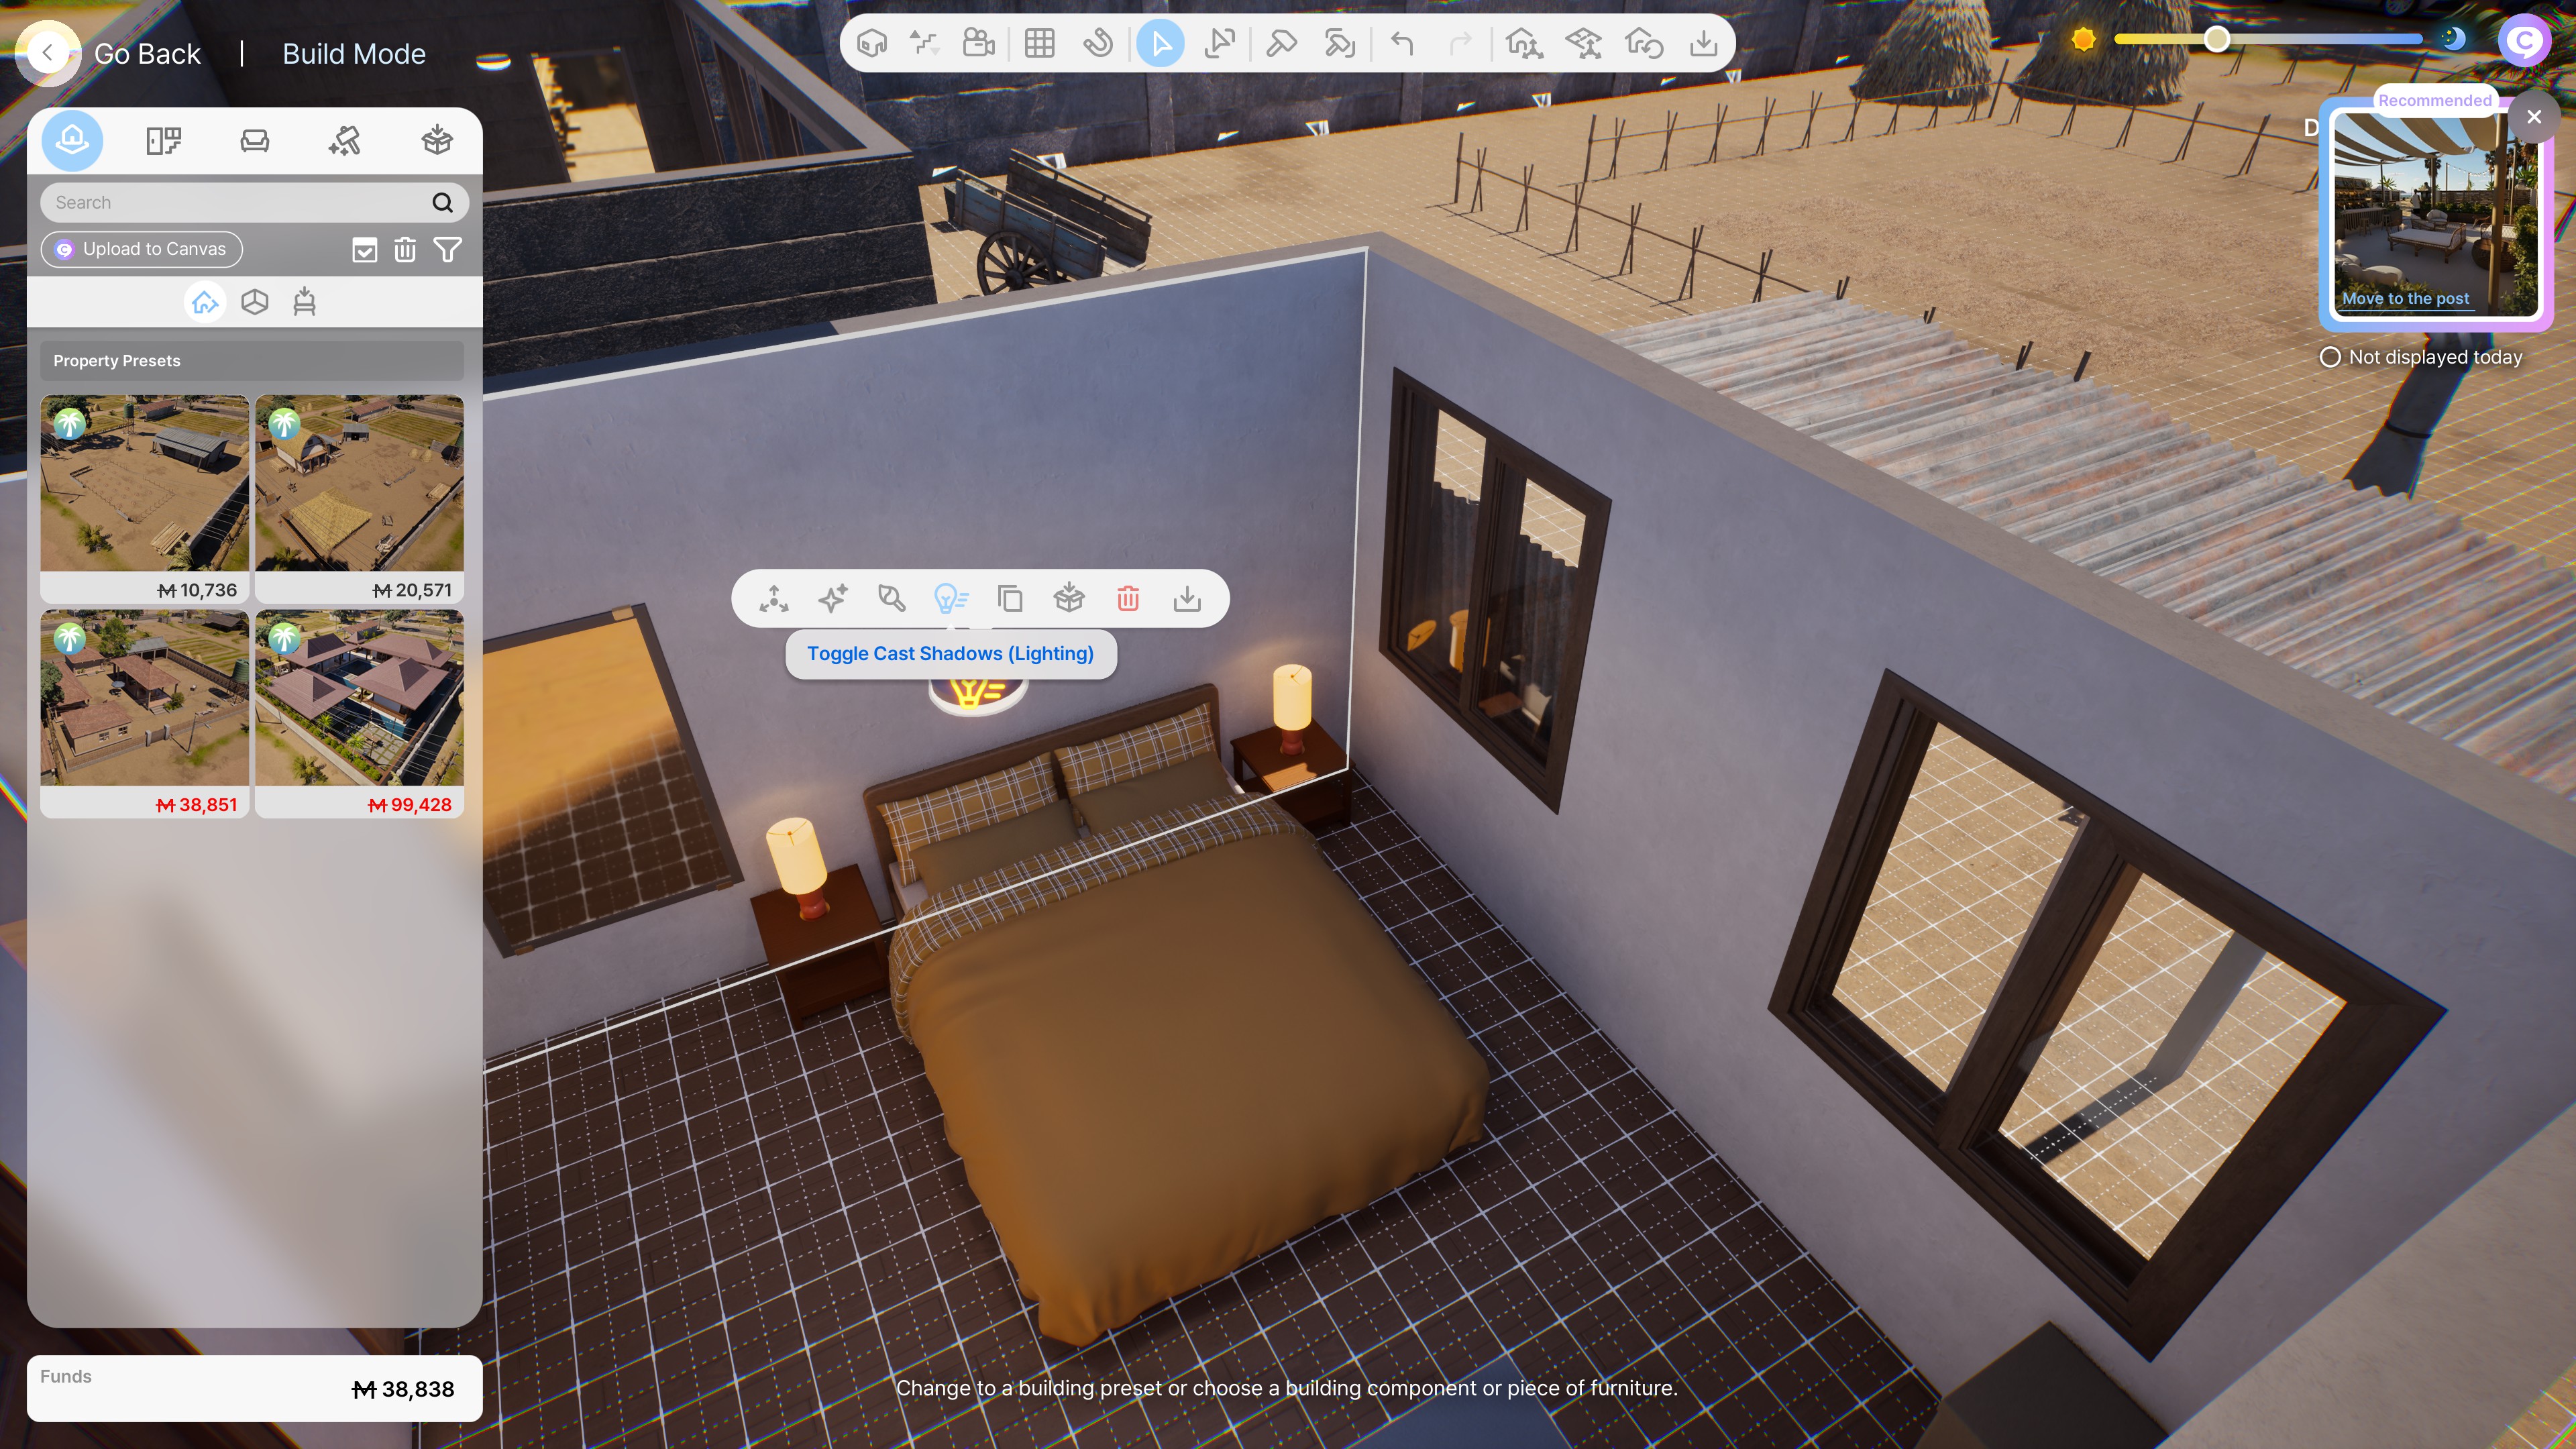
First, a thing I always do is turn on “Cast Shadows”. For this part, you obviously need to have a better graphics card, or really deal with the lag. (I know, it's not great... I've been there before.)
(The top is with complexer shadows and lighting on, the bottom is without it)
Lighting for Modeling Your ZOI:
Sometimes your scene requires even more spice with being more light-dependant. Or maybe you want to make those modeling images much better... Well, that's where more lights will help!
Because hidden lights are not a thing (yet), it does mean you have to be creative and strategic about it.
While I don't know too much of this technique (what colors are better, etc), looking at some popular ZOI creators on Canvas might help!
And that's all I know about taking pictures for InZOI! (as of yet). I will update it if something changes or if I know more about it, but for now I hope it's at least insightful to take your own pretty pictures! 😉
