Making Skins for The Sims 1 - A Retexture Tutorial
Uploaded April 4, 2024, 11:29 p.m.
Updated April 4, 2024, 11:48 p.m.
What you'll need:
- The Sims 1! I recommend Osab's starter pack which comes with all EPs, all the fixes you need to get the game running, as well as some bonus content
- TheSimsCreator
- A photo editing program that can switch between RGB and Indexed mode, I use Photoshop
- Optional: CC & TSO conversions. Conversions from Sims Online are here. Be careful because there's a LOT of outfits in there, I do not recommend just dumping them all in your Skins folder. You should already have all the meshes that these outfits require, so just go ahead and find some outfits you like or that have textures you like or may want to use and put the BMPs in your Skins folder.
First, think about what kind of outfit you want to make. This is imporant for selecing the mesh you work on. I want to make a male outfit today, a sweater and some jeans.
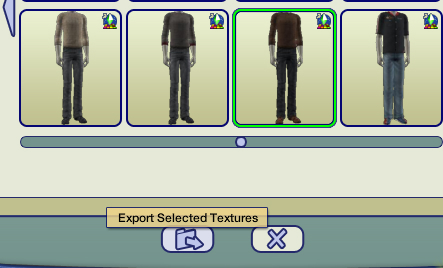
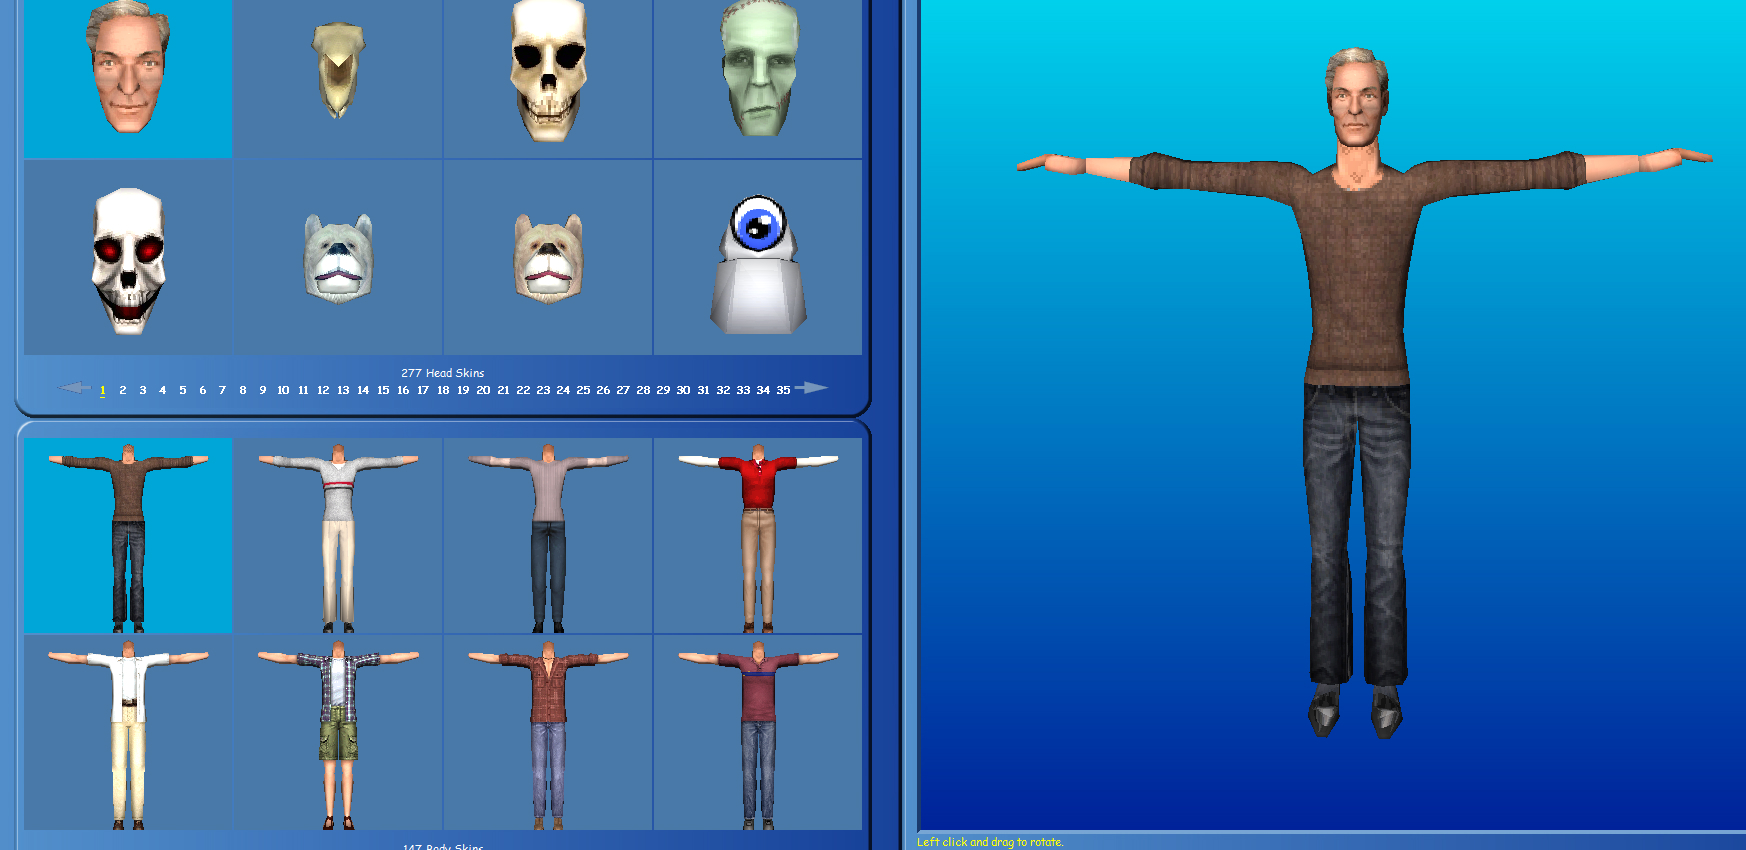
Since I like to create clothes based on Sims 2 outfits, I start by going into Bodyshop and picking out an outfit I like. If you already have other textures you want to use or paint your own, you can skip this part. Select Create Parts, Start New Project, and Create Clothing.

Once you find an outfit you like, select Export Selected Textures at the bottom. You can close Bodyshop now, all we needed it for was grabbing some textures.
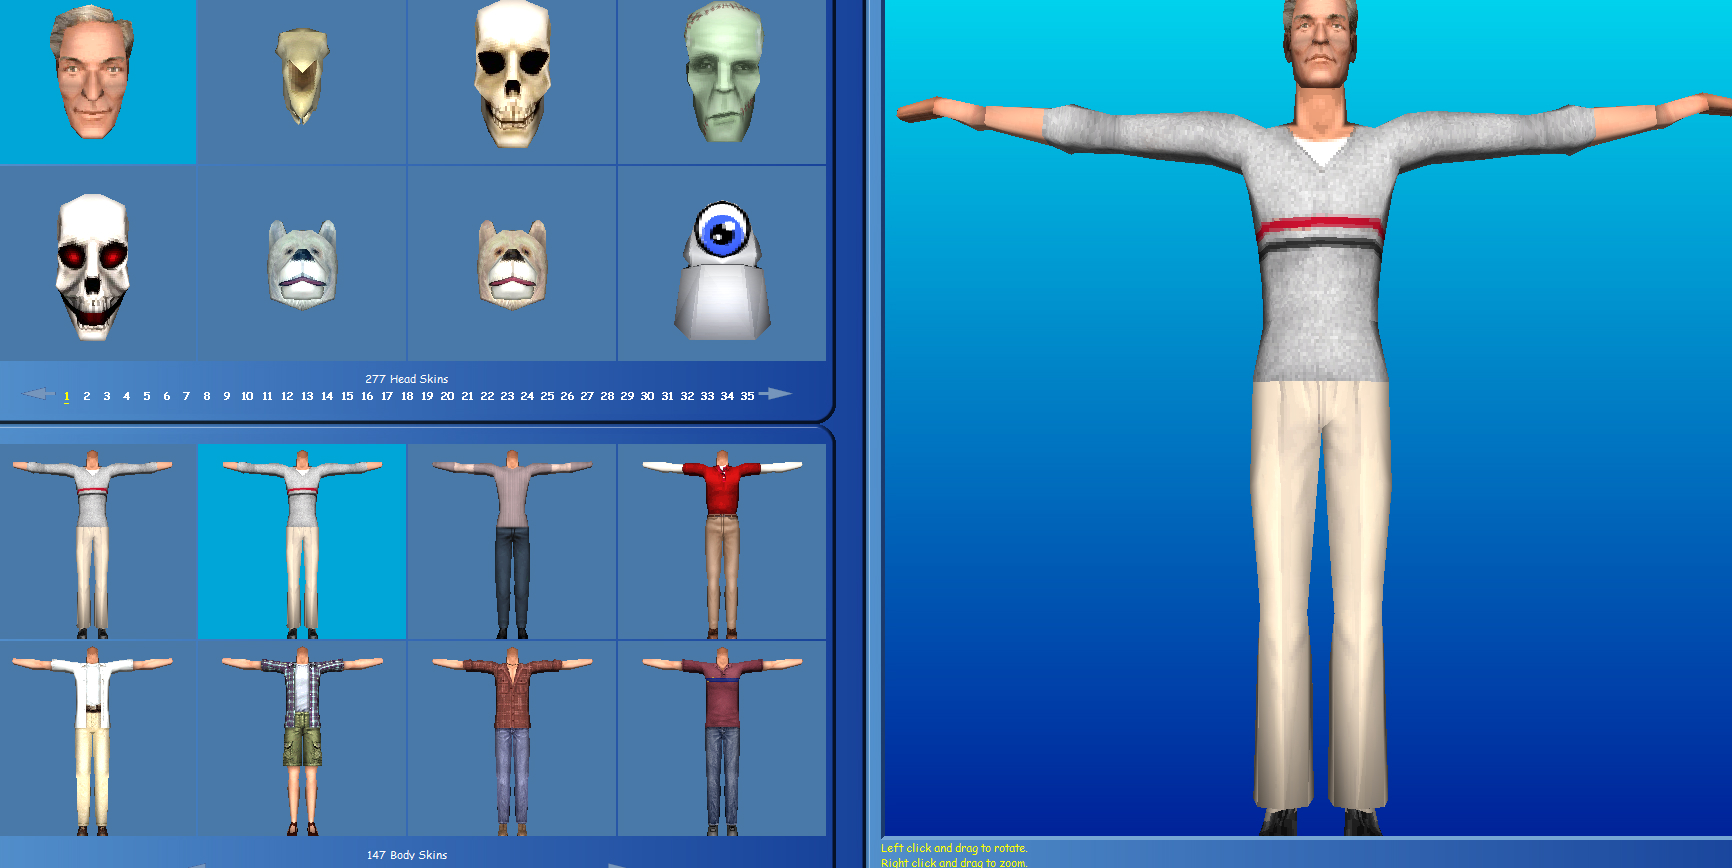
Now I'm going to open TheSimsCreator. You'll find a body mesh that you want to add your textures to. Make sure to pay attention to the sleeves, body type, and the way the pants are shaped. I want this to be for fit Sims (remember, Sims 1 Sims can't just change their body type by changing clothes! They only have clothes in their dresser that fit their body!) and I like the way the sleeves are shaped, so I'll pick this to put my textures on.
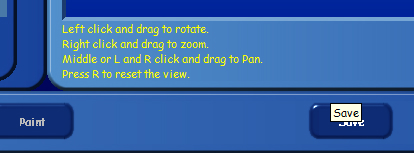
At the bottom here, we have a couple of buttons: Paint, and Save. Click on Save.
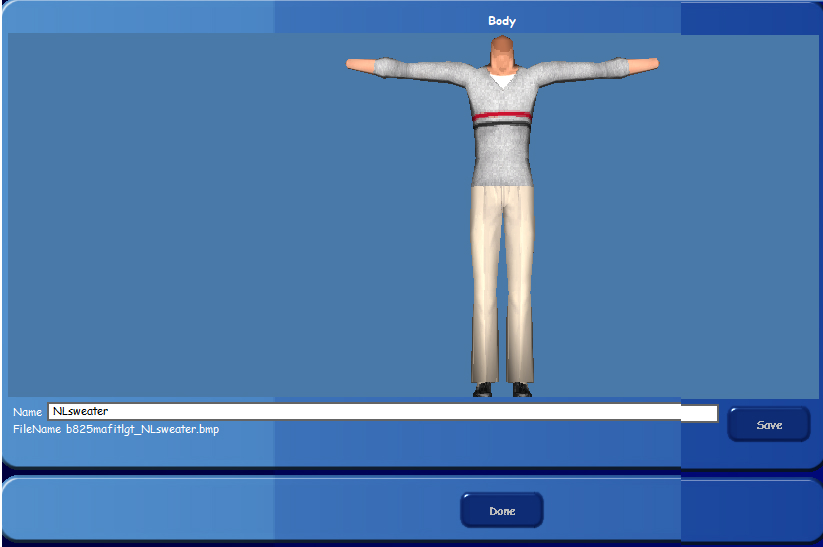
On one side of the screen here, you have a box to put the name of your outfit. Name it, then press Save, then press Done. You'll now have this outfit cloned and you'll be able to edit the textures to make your own skin. I also recommend cloning this same outfit for Medium and Dark skintones so you can make them available for the other skintones while you're at it. Some outfits are not available for every skintone but I'm not exactly sure how to add outfits to the other categories if you can't clone them there. (Perhaps you can just rename the file to Med and Drk? Not sure! Will update when I know).
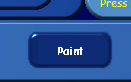
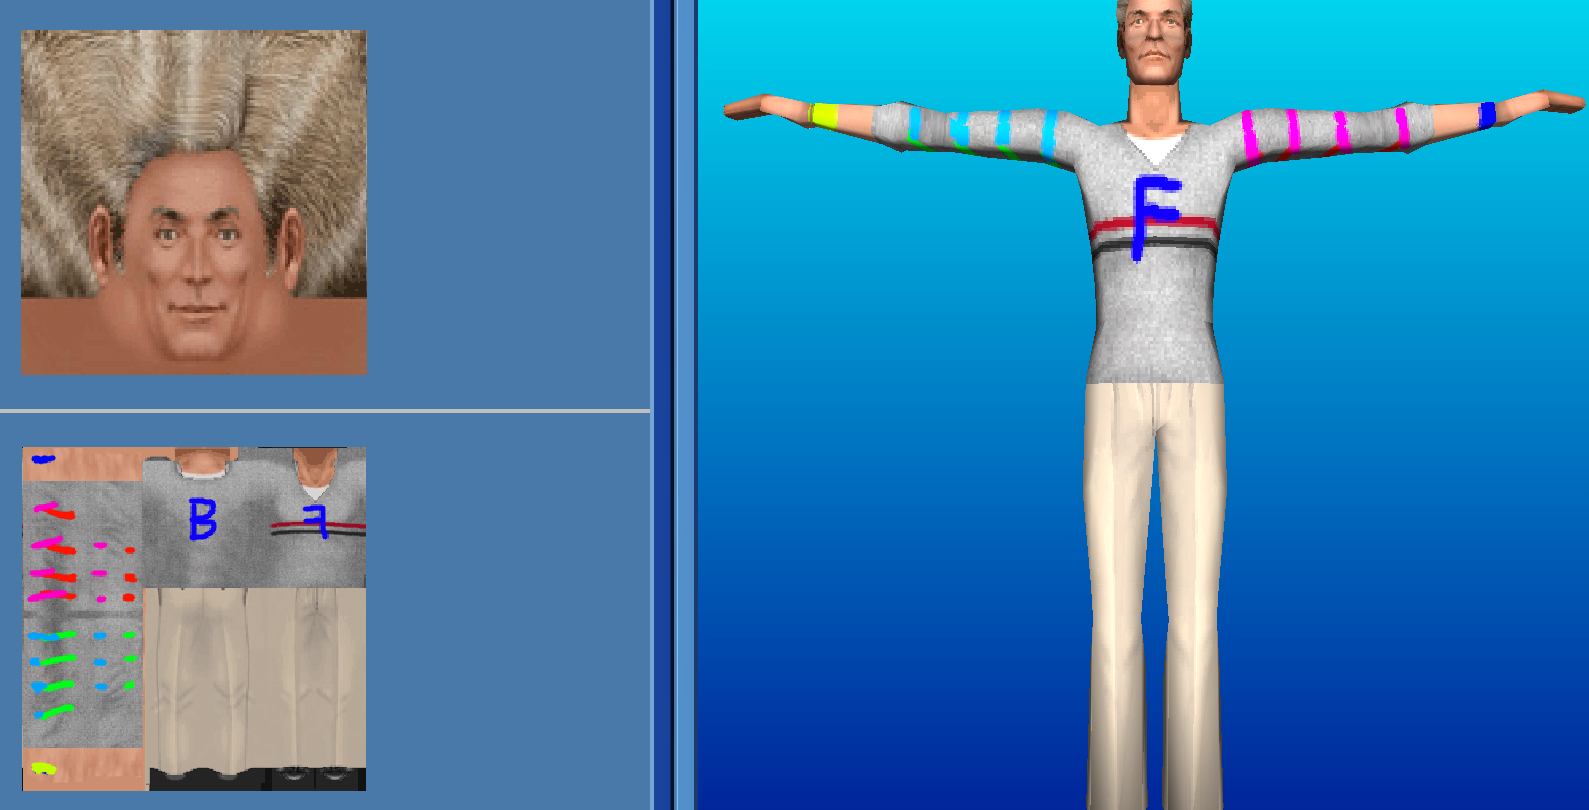
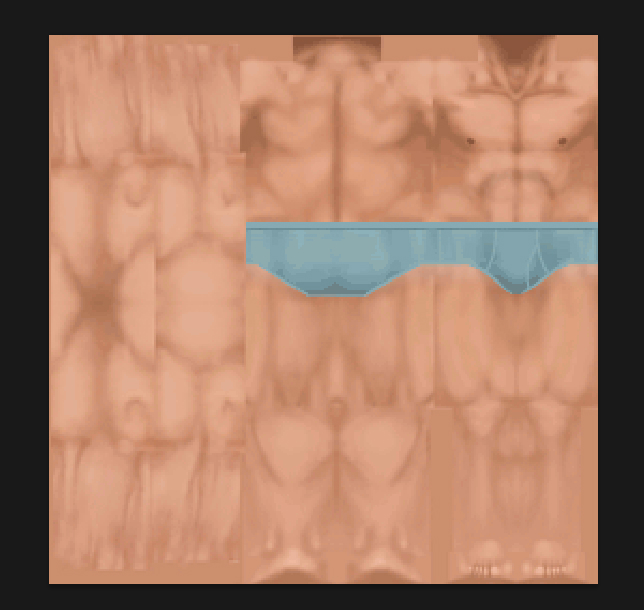
While we're at it, let's take a look inside the Paint option. Maxis gave us a neat little paint program to play with to create our own CC. Here I want to point out to you the way the bodies in Sims 1 are mapped.
As you can see in my beautiful paint job here, the mapping is a little weird. The red and green stripes are the back of the arms and the pink and light blue are the fronts. I've marked the wrists in yellow and dark blue as well.
Now that we've seen how the textures will need to go on, let's open up Photoshop. If you cloned from Bodyshop, your textures will be in EA Games/Sims 2/Projects/whatever you called the project. The Sims 1 skin you'll need to work on is in your save location/The Sims/GameData/Skins. Sort by Date.
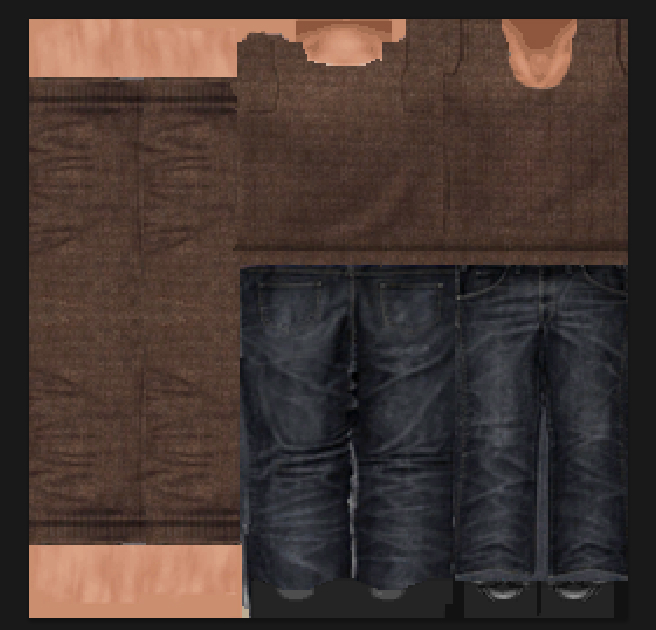
Now we've got our Sims 1 skin open and the Sims 2 textures we're going to use to retexture it.

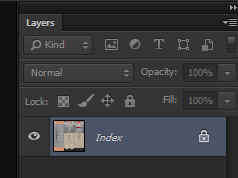
You'll notice in the Layers panel on your Sims 1 texture that your layer says Index, and you can't really do much with it. These Sims 1 textures need to be Index Bitmaps.
For now, we will copy the texture to a new canvas.
Hit Ctrl A, Ctrl C, and open a new canvas, then Ctrl V to paste the texture.
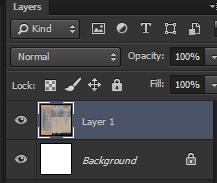
Notice that we actually have layers that we can work with now. Now I start pasting the Sims 2 textures over onto our Sims 1 body. What I do is select the part of the clothing I want to retexture, fill it in in a new layer, and then use that to paste the textures over.

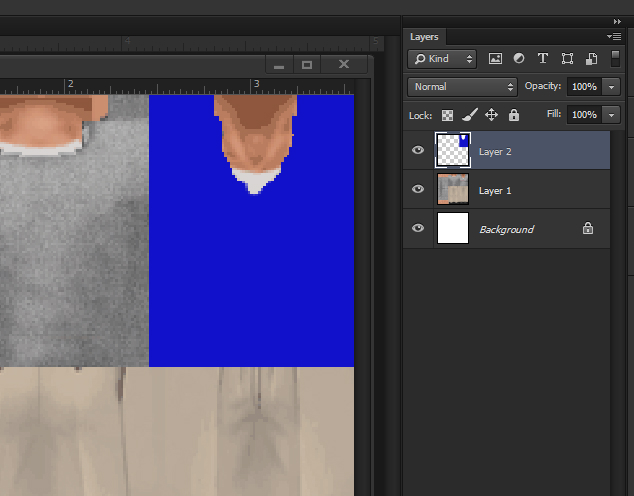
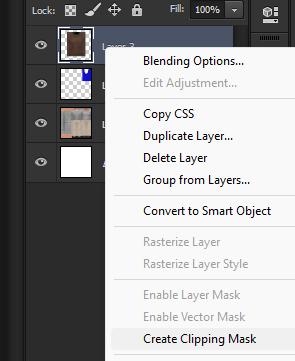
Back at our Sims 2 textures, I'm going to copy the front of the sweater and paste it into our working canvas. Right-click and Create Clipping Mask. Now your texture will only appear on the part you blocked out. Now I fit the texture onto the Sims 1 body. You can hit Ctrl T to transform and if you right-click and select Warp you can adjust it even further.
(Much copying, pasting, and transforming later) - Ok, now here's my rough retexure job.
Save your project with all your layers intact, and go to Layer/Flatten Image. Now Ctrl A and C like before to copy this new texture you created.

Go back to your original Index Bitmap--the unedited Sims 1 skin texture. Go to Image/Mode/RGB Color and paste your newly created texture.
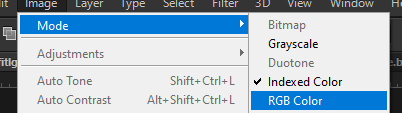
Now change it back to Indexed through Image/Mode/Indexed color. It'll pick the best 256 colors it can for your image. Now save the BMP. We'll go check out how it looks in TheSimsCreator.
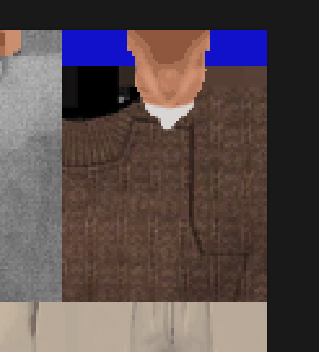
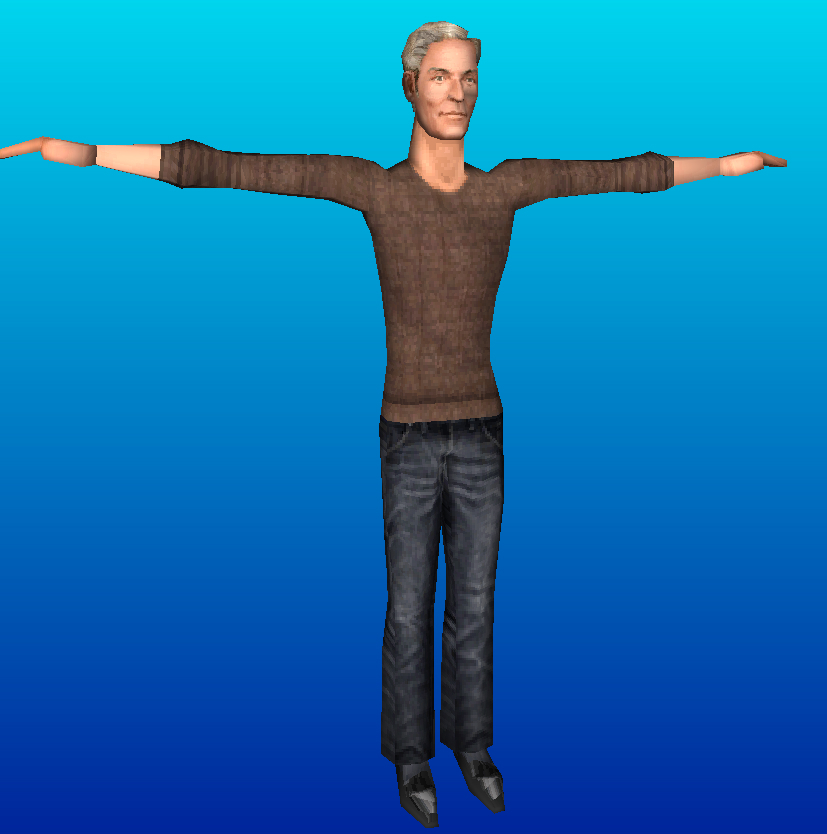
Back in TSC, it looks pretty darn good!
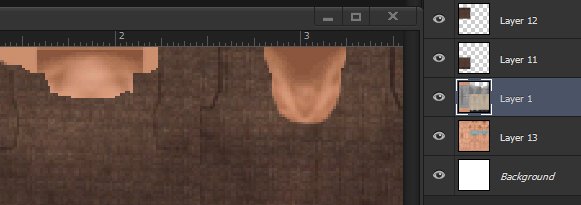
The neck got a little crunched up, though, and the collar could use some cleaning up. This is the part where I make note of what needs work and head back to Photoshop. What I'm going to do is go open my Skins folder and see if there's any textures in there with a better quality neck that I can take for my own skin.
Here I found some sleepwear by nostalgiasimsthings that I'll take the neck texture from.
I'll undo the flattening done to the working retexture project, and paste this texture under the skin texture, then erase the old neck so I have a better-looking one to work with.
Before,

And after. That gave us a little bit of smoothness back. Now do as before, flatten the image, convert to Indexed, and save again.
Back in TSC, it looks really good! I'll just add some finishing touches!
This is also the step where I go and paste the textures for the other skintones under all the clothes layers and save the BMPs just like we did before for the other skintones. Remember to use Indexed Bitmaps, I have downloaded CC recently that I've had to fix the BMP for because regular non-Index BMPs will show correctly in TSC, but will show up as an all white blank body in game. But after you're happy with the texture here, that's it! You're done! Your new Sims 1 skin is now finished.